Group
This tab allows customers to be organized into groups with automatic application of group‑specific discounts.
Main Screen> MENU> SETTINGS> CUSTOMER> GROUP
Go to MENU and press SETTINGS.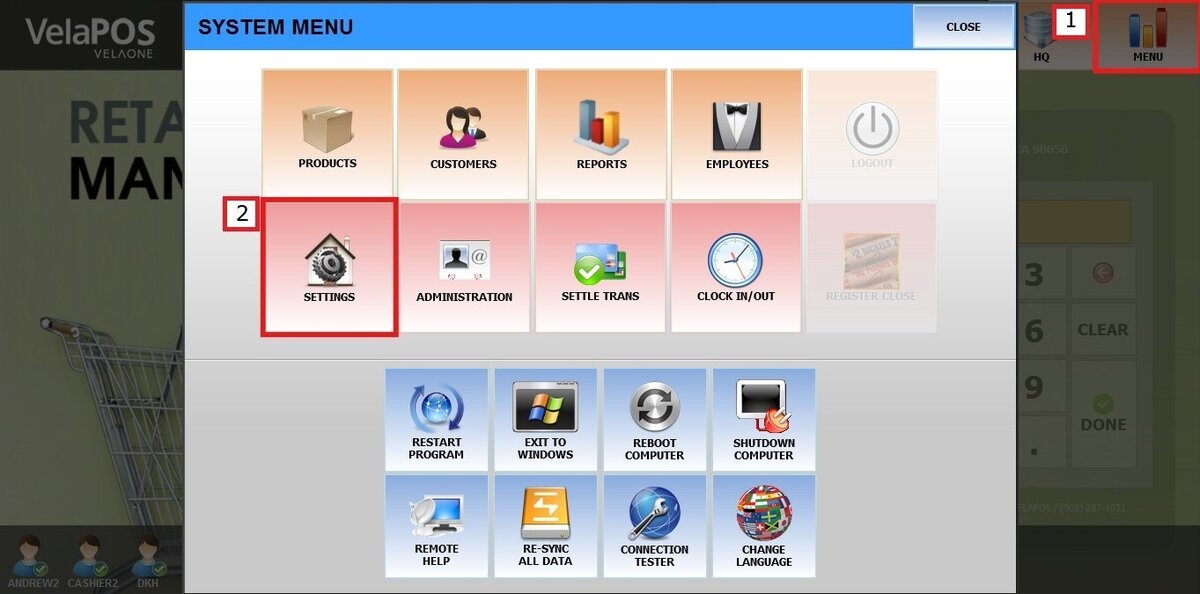
Select CUSTOMER, then tap GROUP.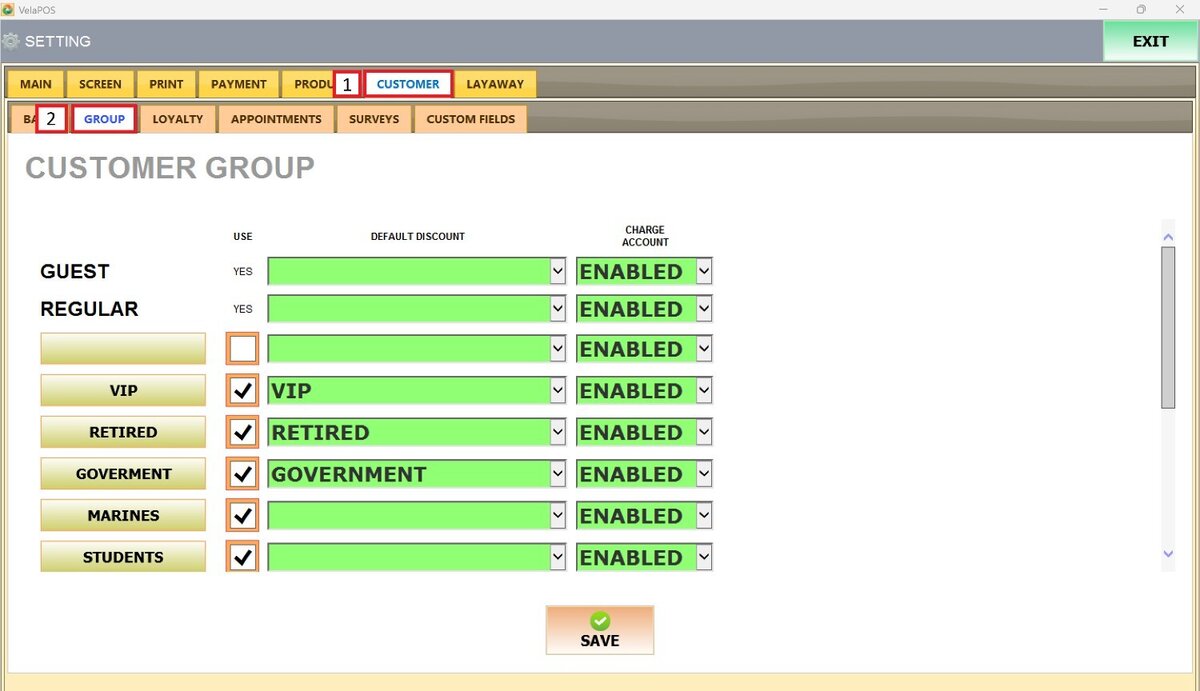
Create customer groups
The left column displays all existing customer groups.
To create a new group, tap an empty slot and enter the group name.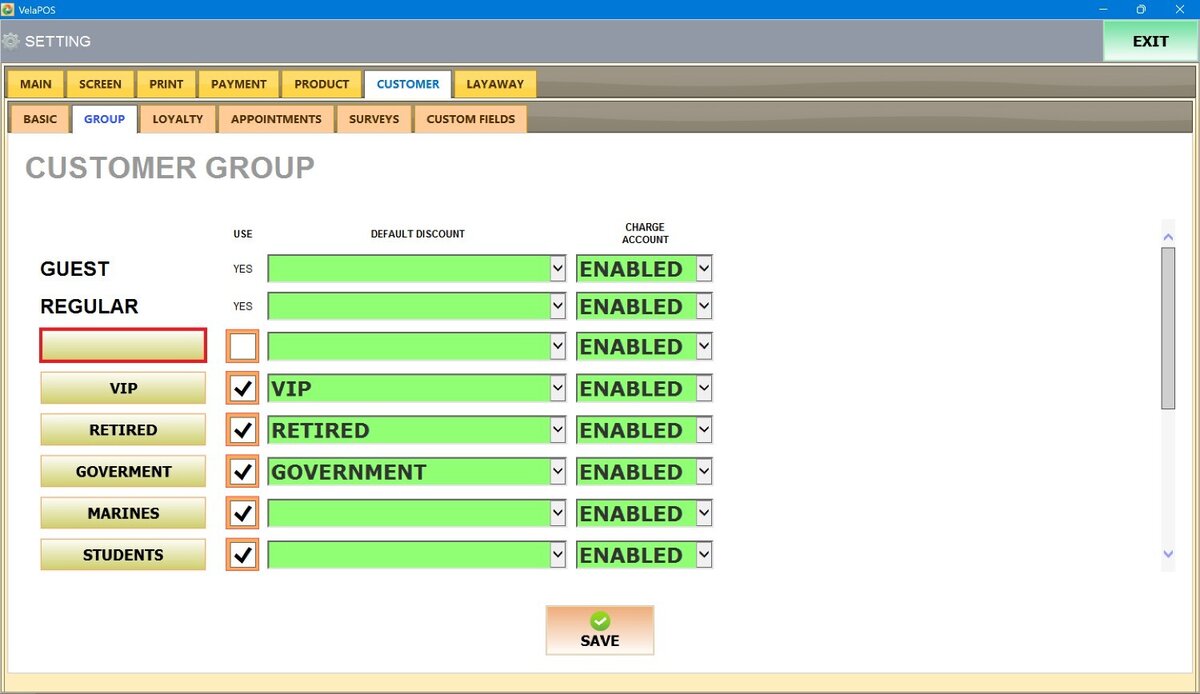
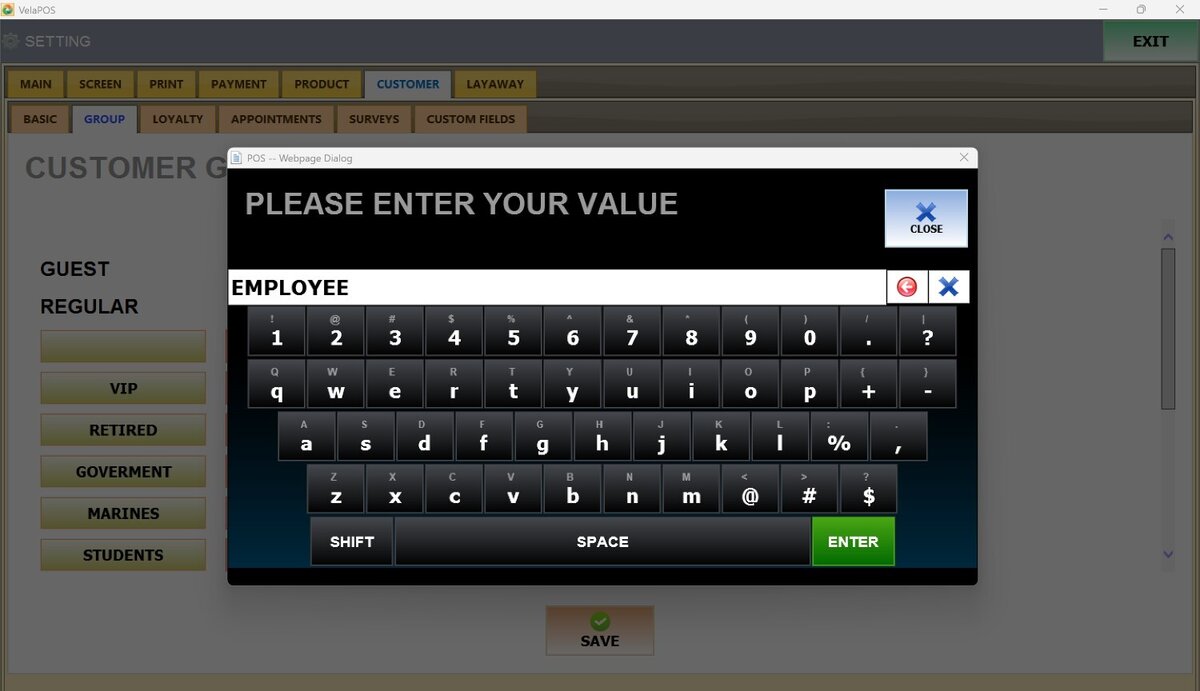
Result: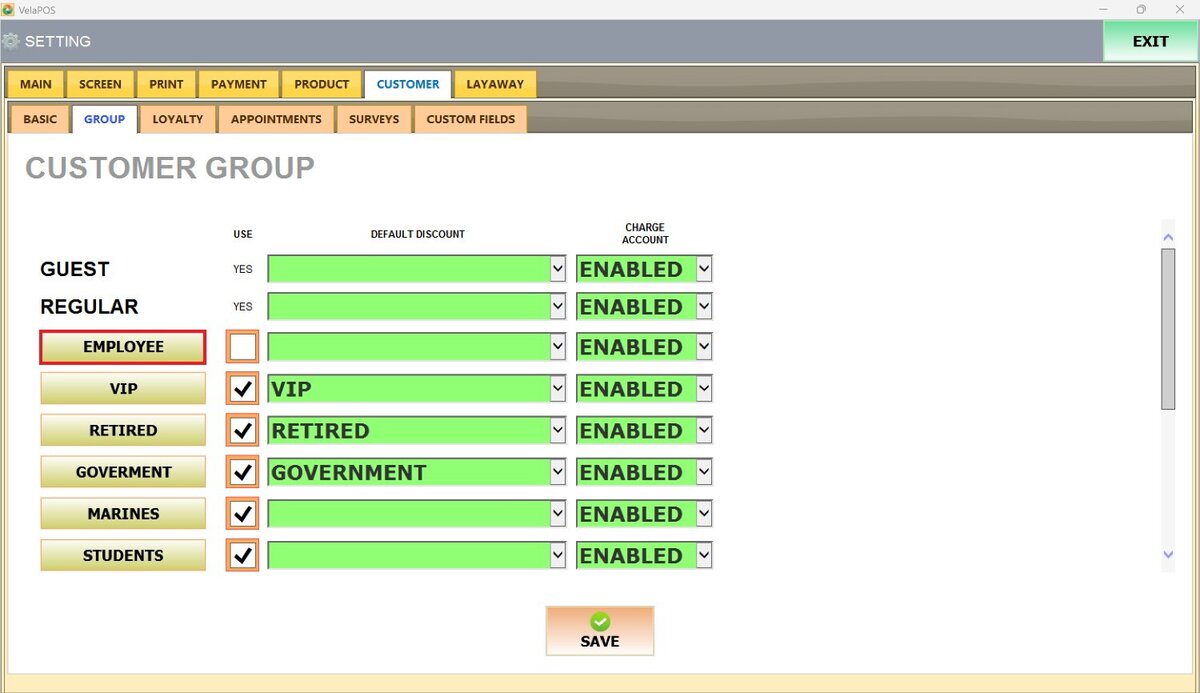
Note: To edit an existing group, tap the group name and update the text.
Use
To activate a group, check the box under the USE column.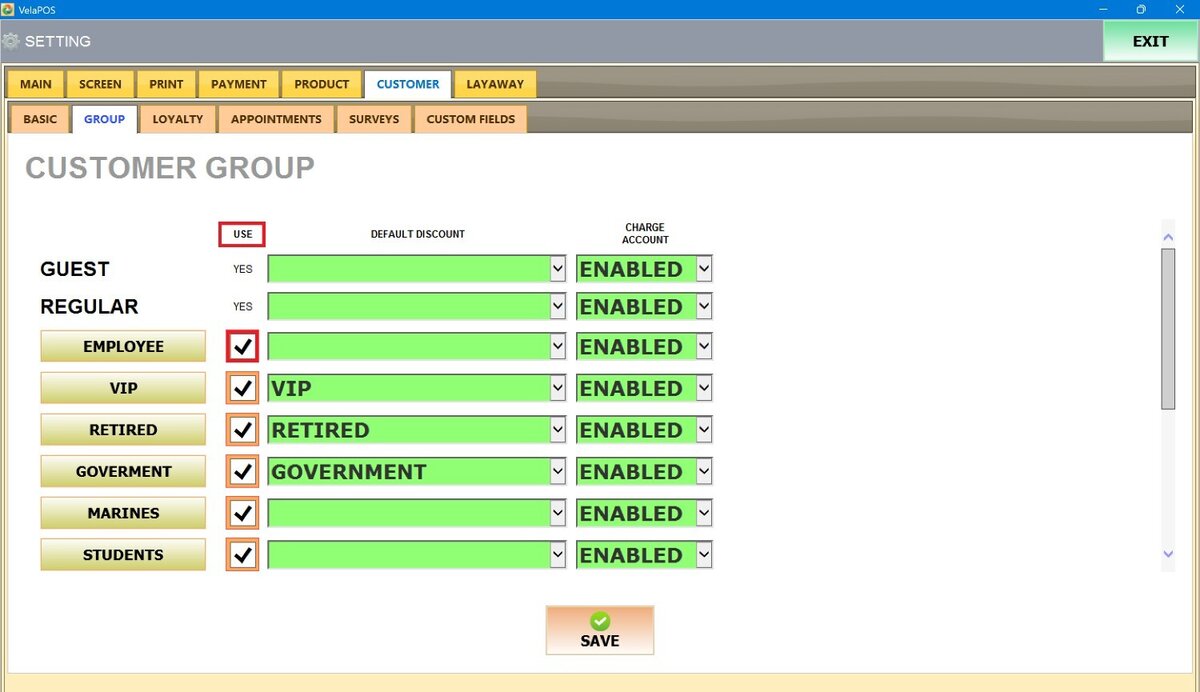
Default Discount
Each group can have a default discount that is automatically applied at checkout.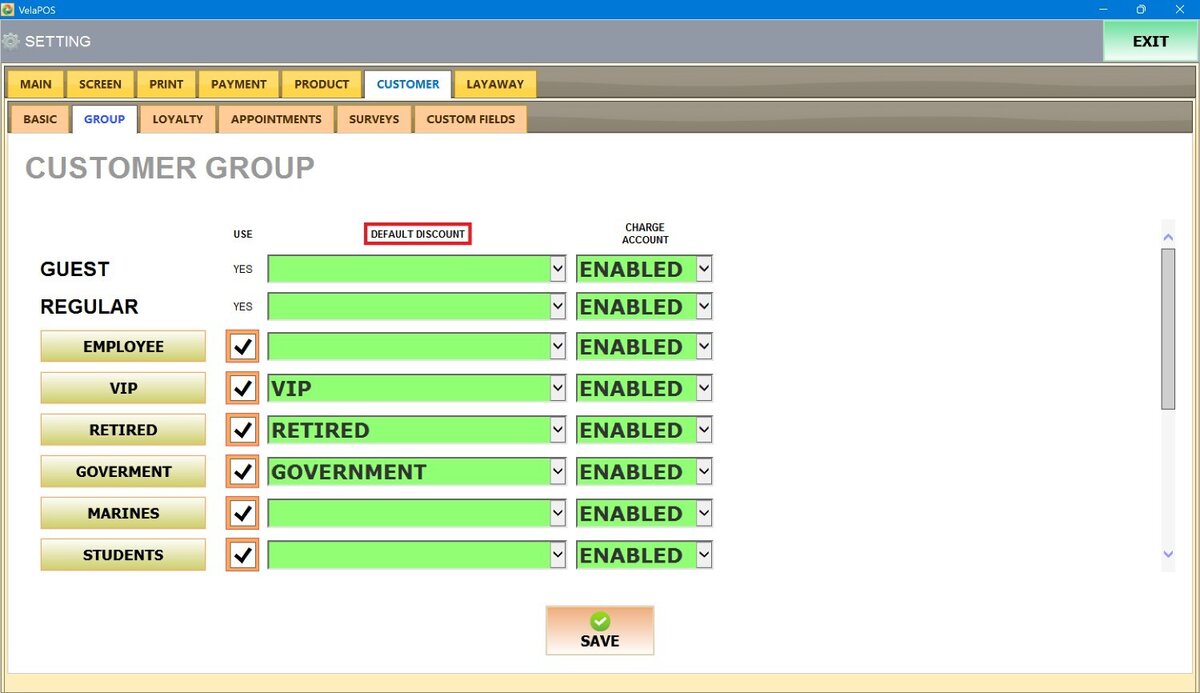
Open the drop-down menu under the DEFAULT DISCOUNT column. Select one of the previously created discounts.
Once assigned, this discount will automatically apply to all customers in that group whenever they make a purchase.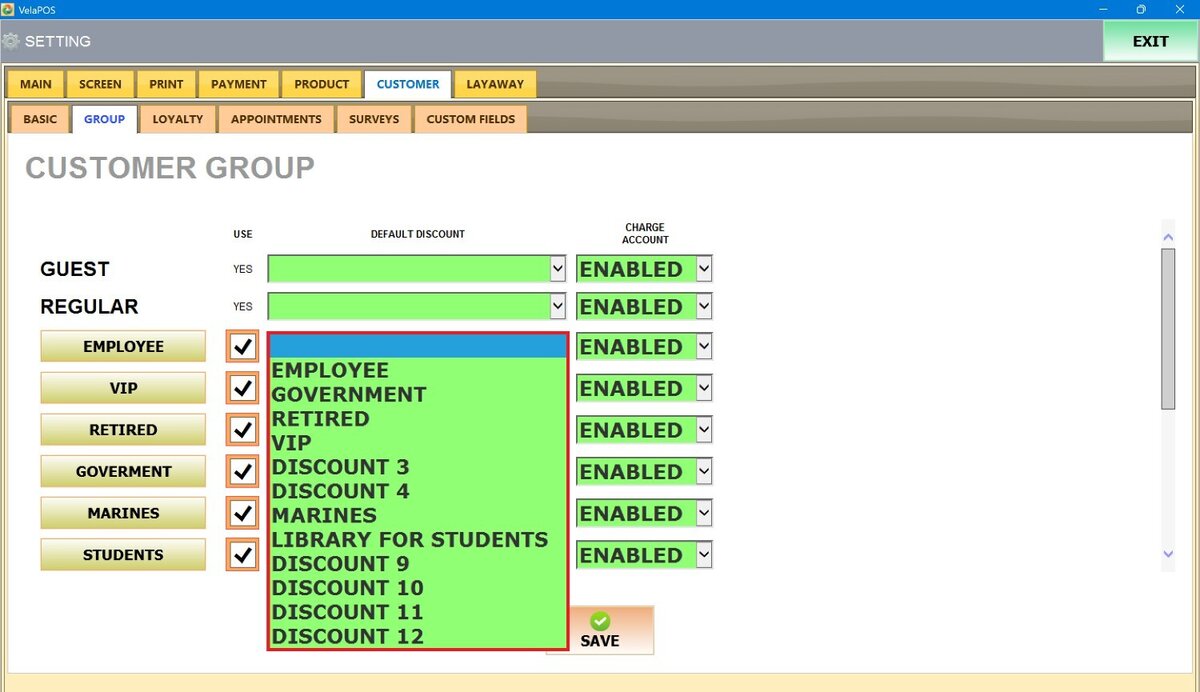
Note: For instructions on creating discounts, refer to How to create discounts.
Charge Account
This setting determines whether customers in a group can charge purchases to an account.
Open the drop-down menu under the CHARGE ACCOUNT column next to the group name. Select one of the following options:
1. ENABLED: Customers can charge purchases to their accounts.
2. DISABLED: Customers must pay at the time of the sale.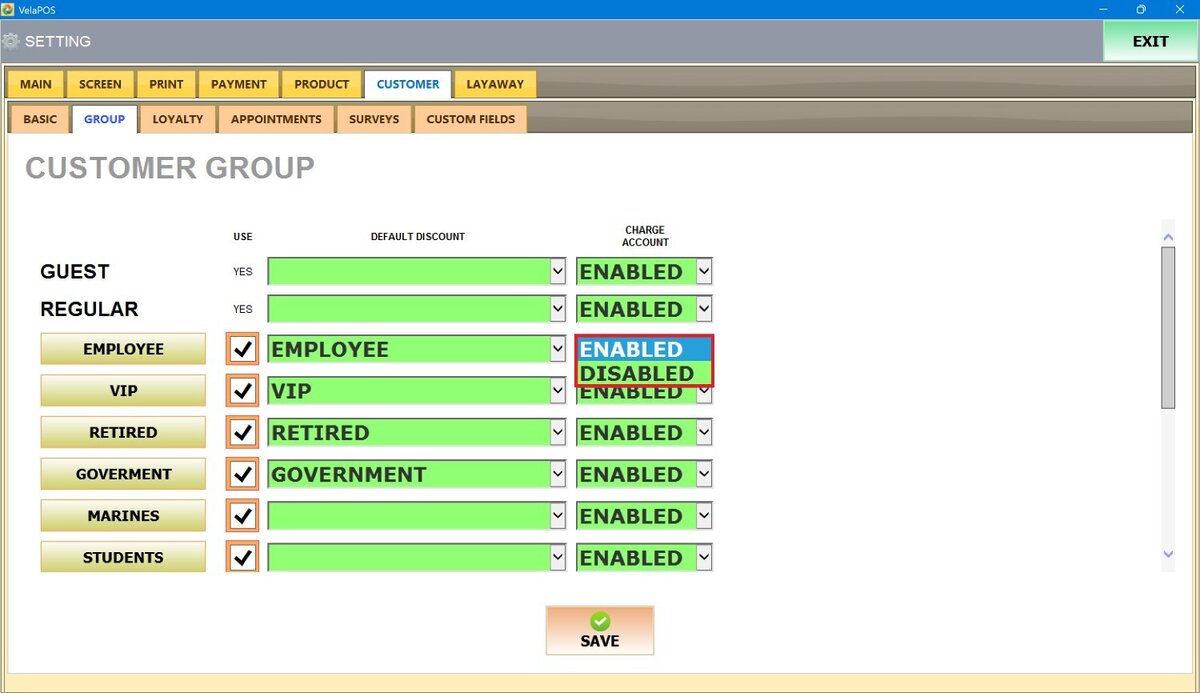
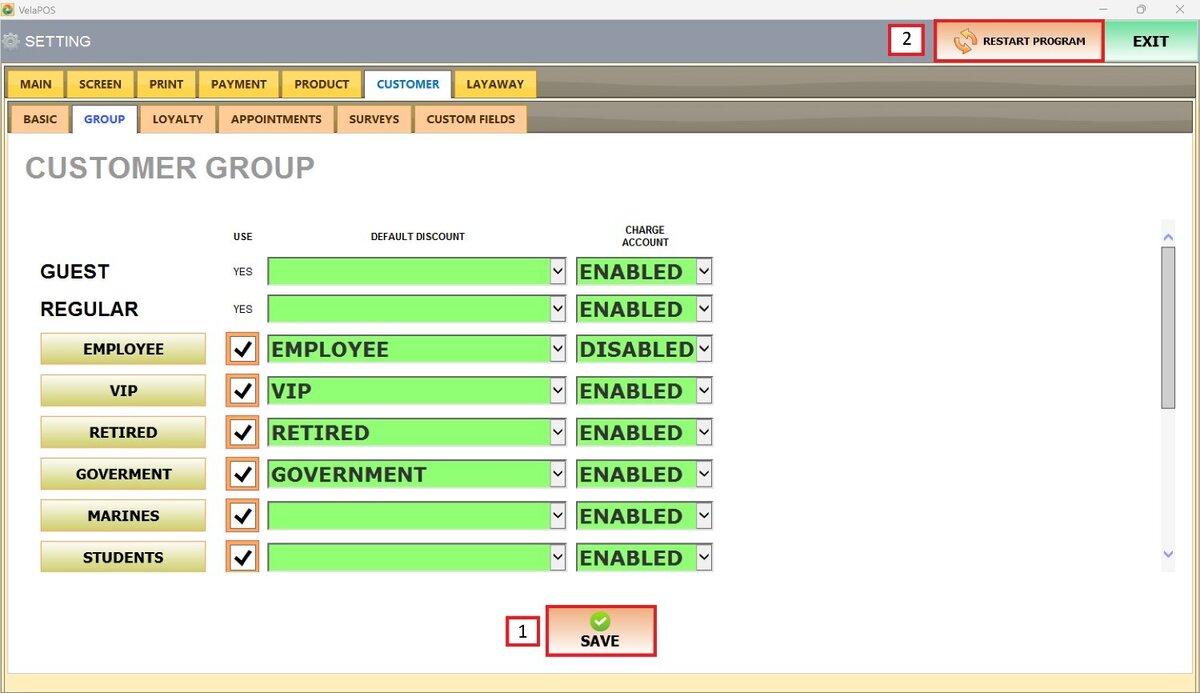
After completing all configurations, press SAVE, then RESTART THE PROGRAM to ensure all changes apply.
Result:
On the Payment Method Screen, choose the STORE CARD option and view the ALLOW TO CHARGE TO ACCOUNT box to record the purchase on the customer's account. Allowing the customer to pay off in future visits.
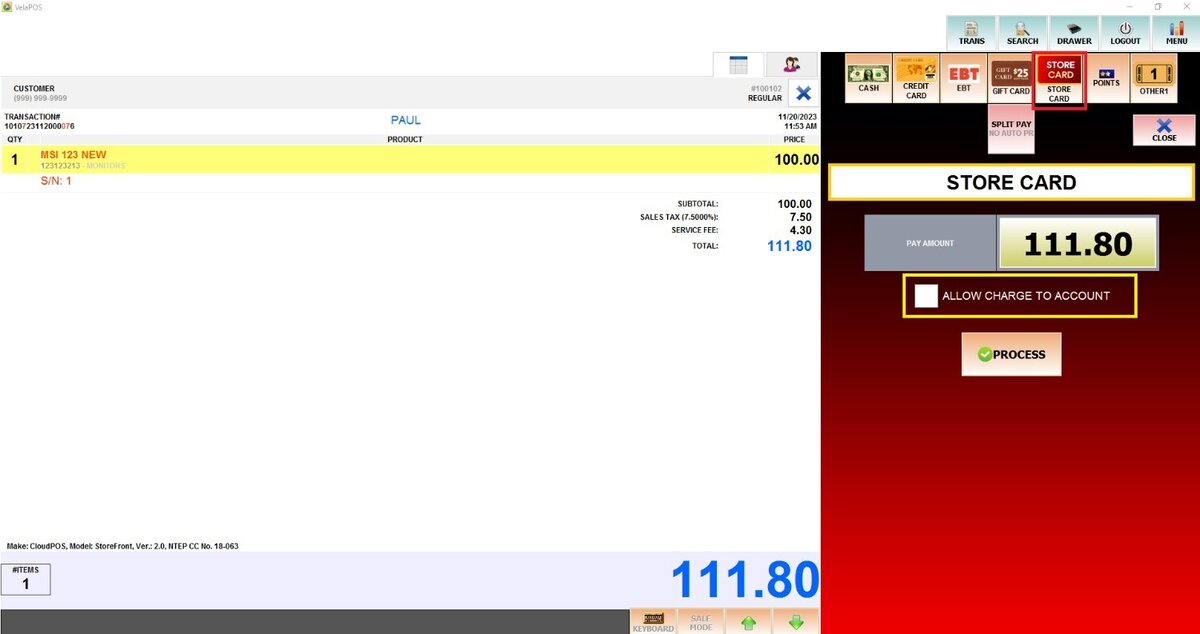
View the account balance listed under the customer’s name to see the charges applied.

Result:
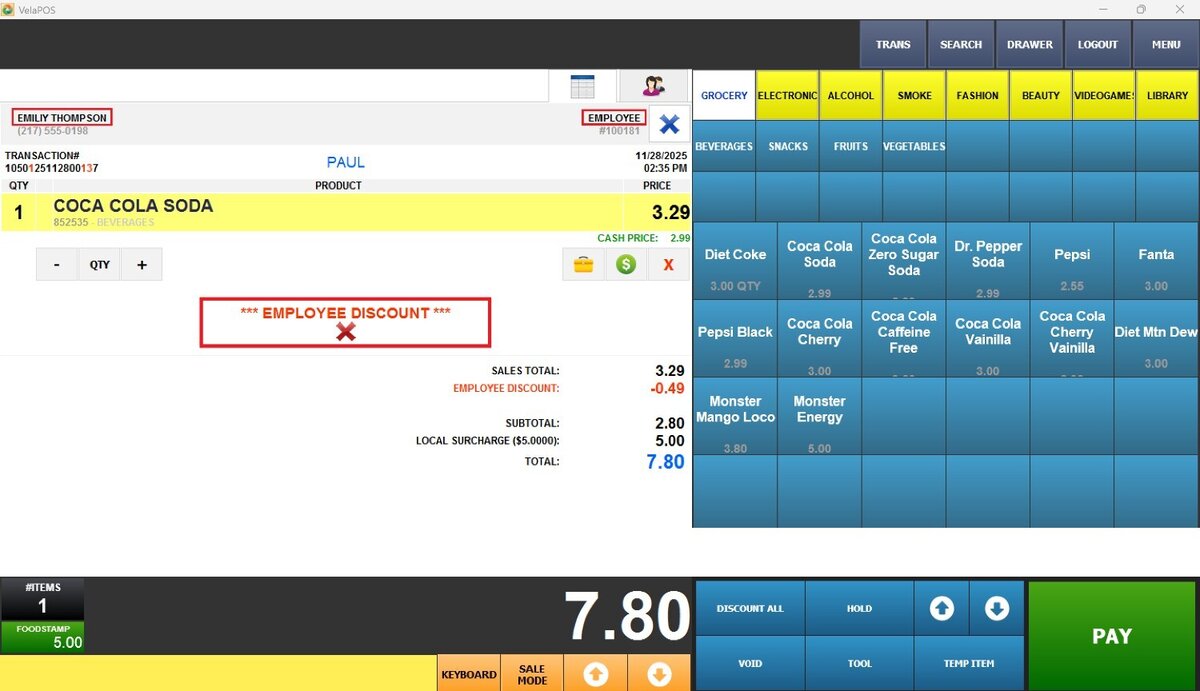
On the left side of the ticket, the customer’s name is displayed, and the assigned group on the right. In this example, since the customer belongs to the Employee group, the Employee Discount is automatically applied, shown beneath the item added to the ticket and under the sales total.