Assign Key Tag to Customers
This guide walks you through the process of assigning KeyTags to customers. KeyTags are customizable labels used to categorize customers, making it easier to organize and manage your customer database.
Main Screen> Number Pad> Sales Screen> Customer tab
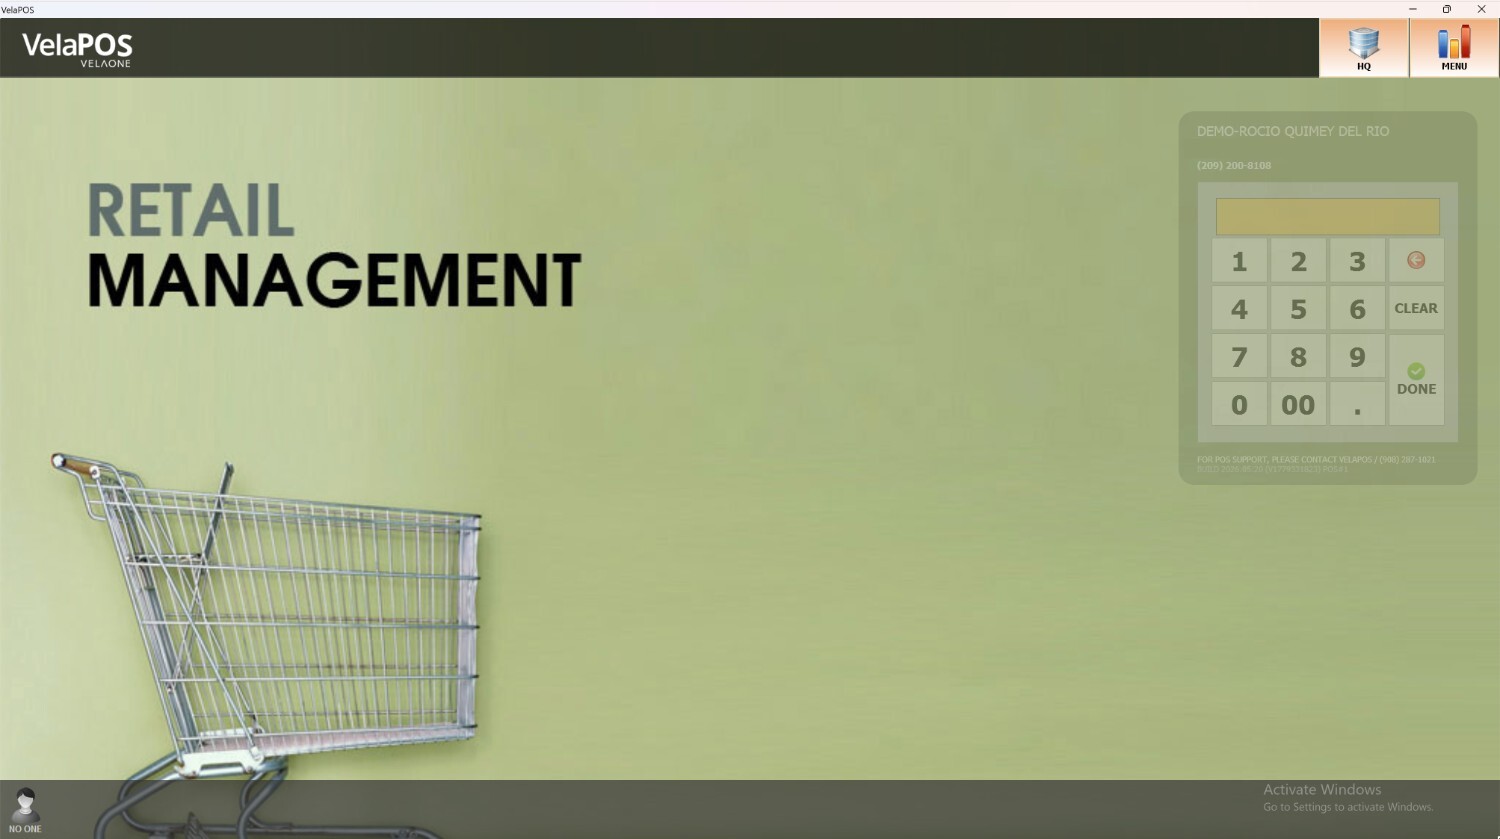
From the Main Screen, click on the numberpad and input the assigned personal password to log in.
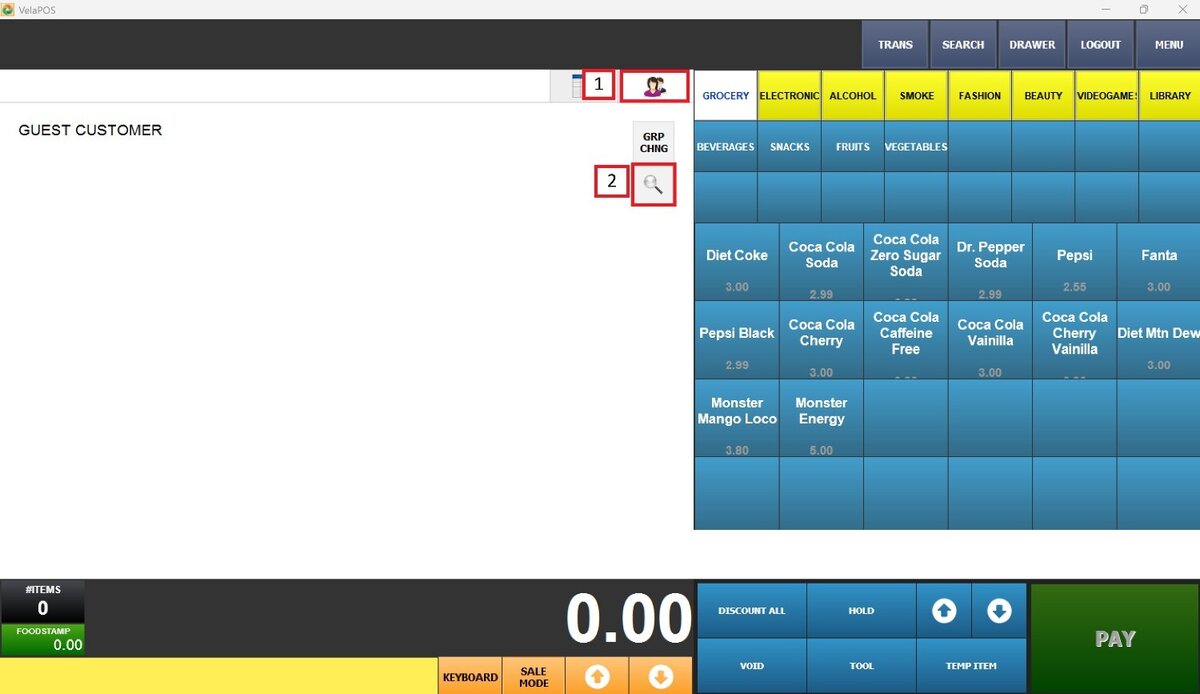
Once on the sales screen, press the two person icon and on the customer panel select the magnifying glass to open the customer search screen.
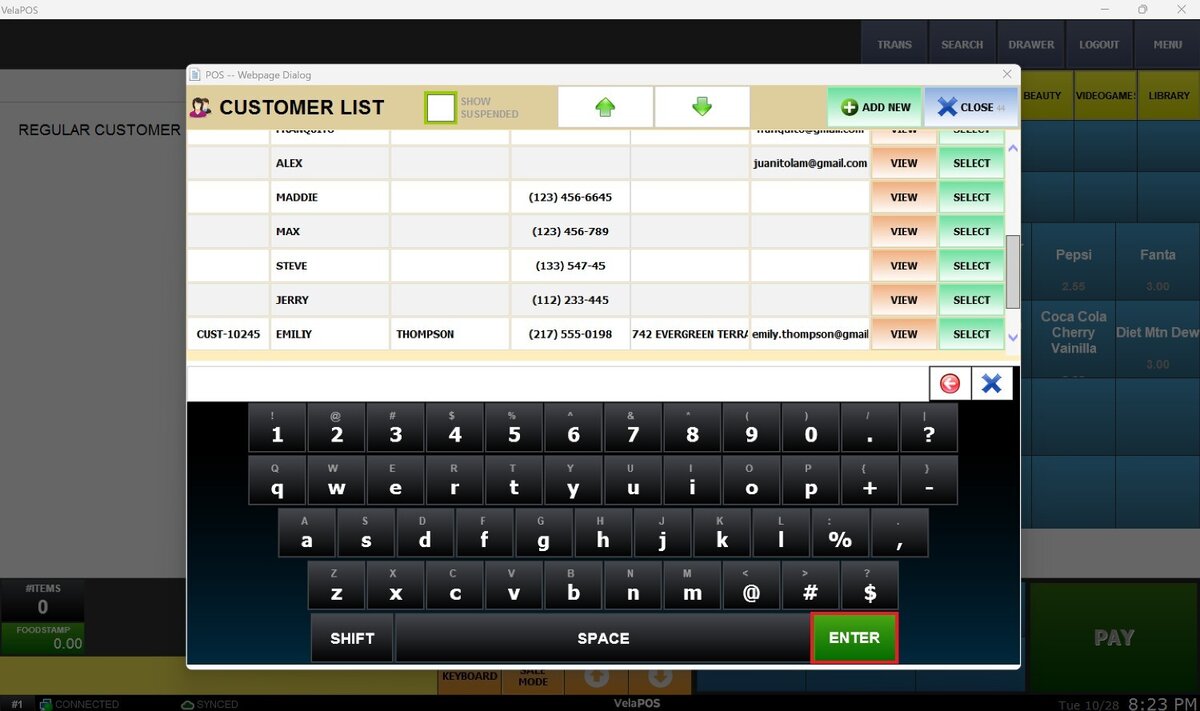
In the pop-up window, press ENTER on the keyboard to load the complete list of customers, including their names, contact details, and other relevant information.
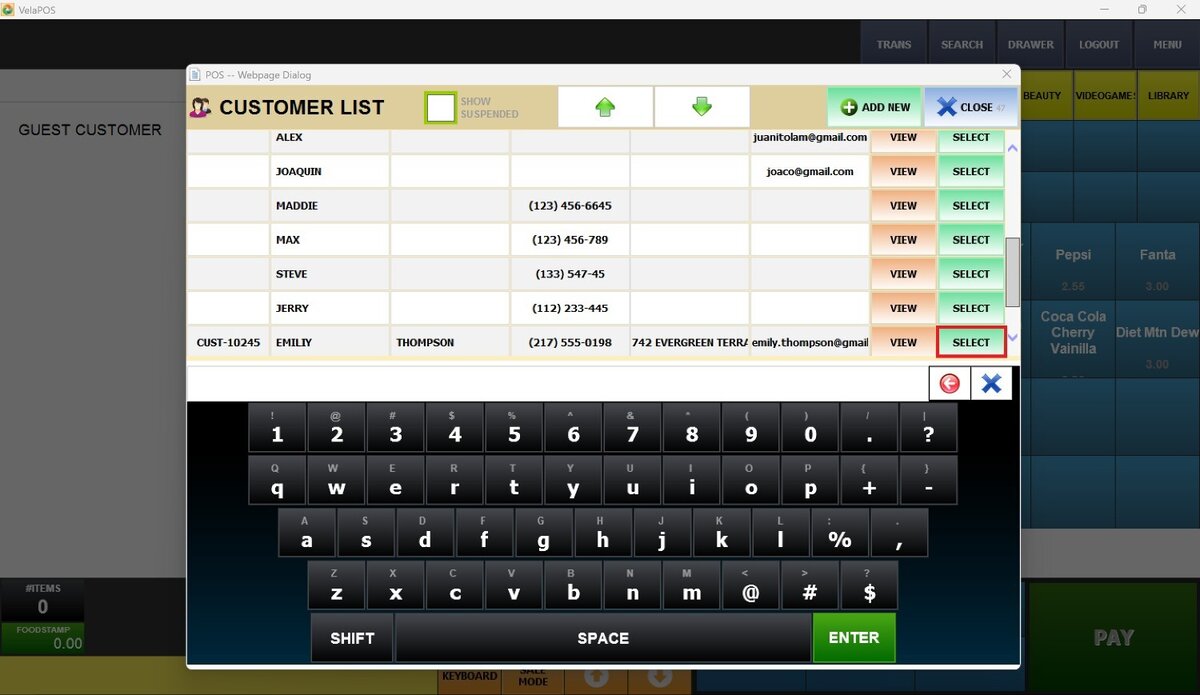
Once the correct customer is found, press SELECT to link the customer account to the transaction.
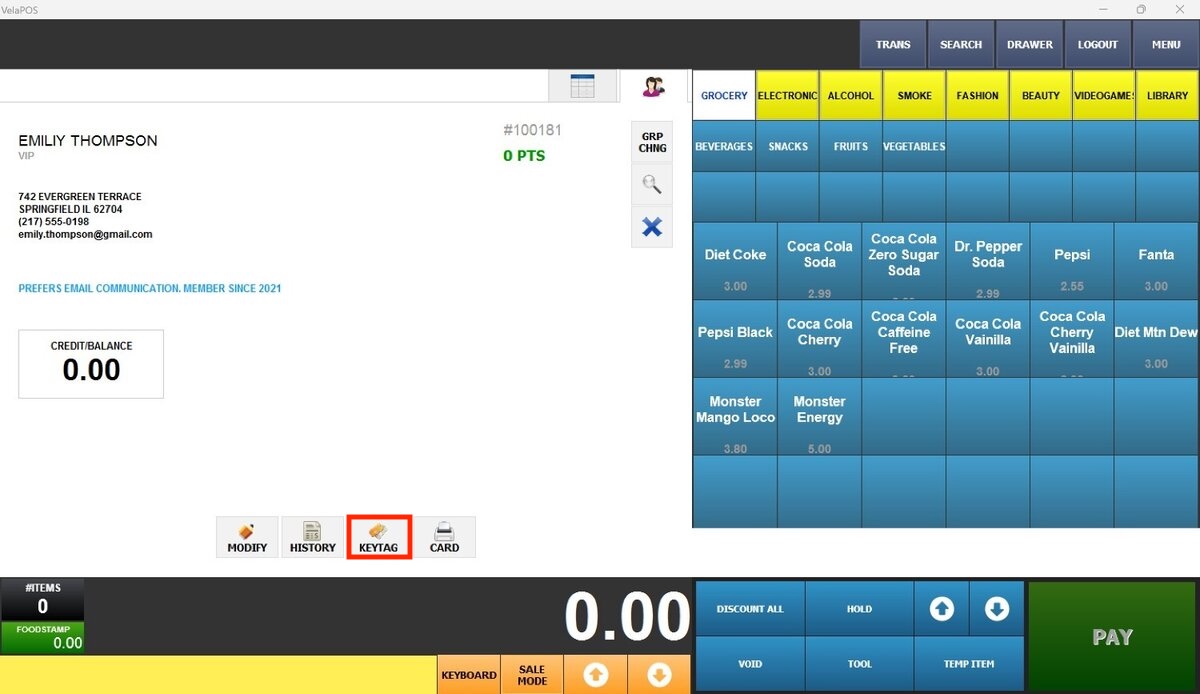
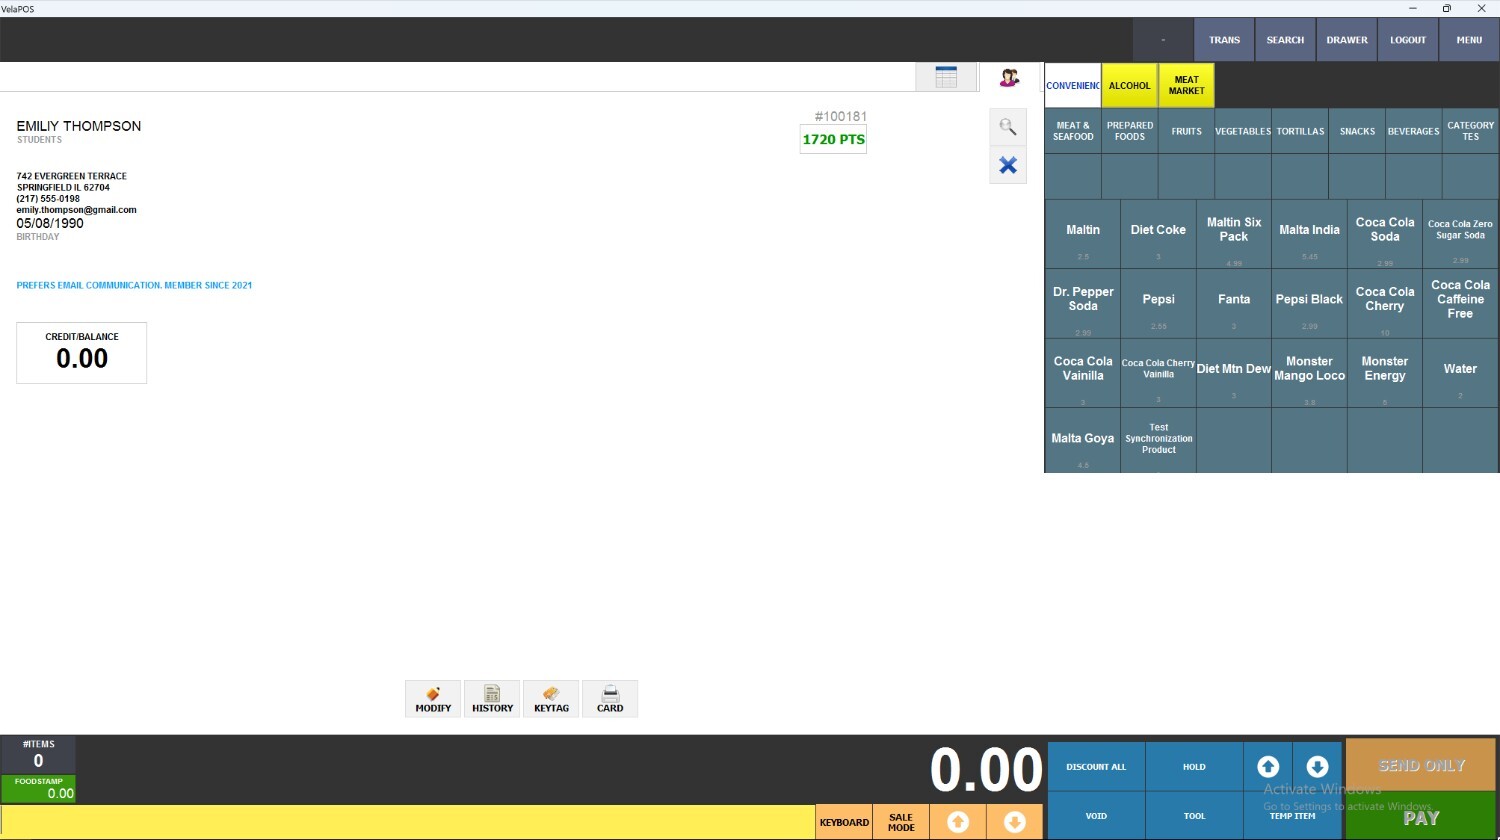
The customer will appear as shown below. Press the KEYTAG button.
A number pad will appear for you to input the key Tag number.
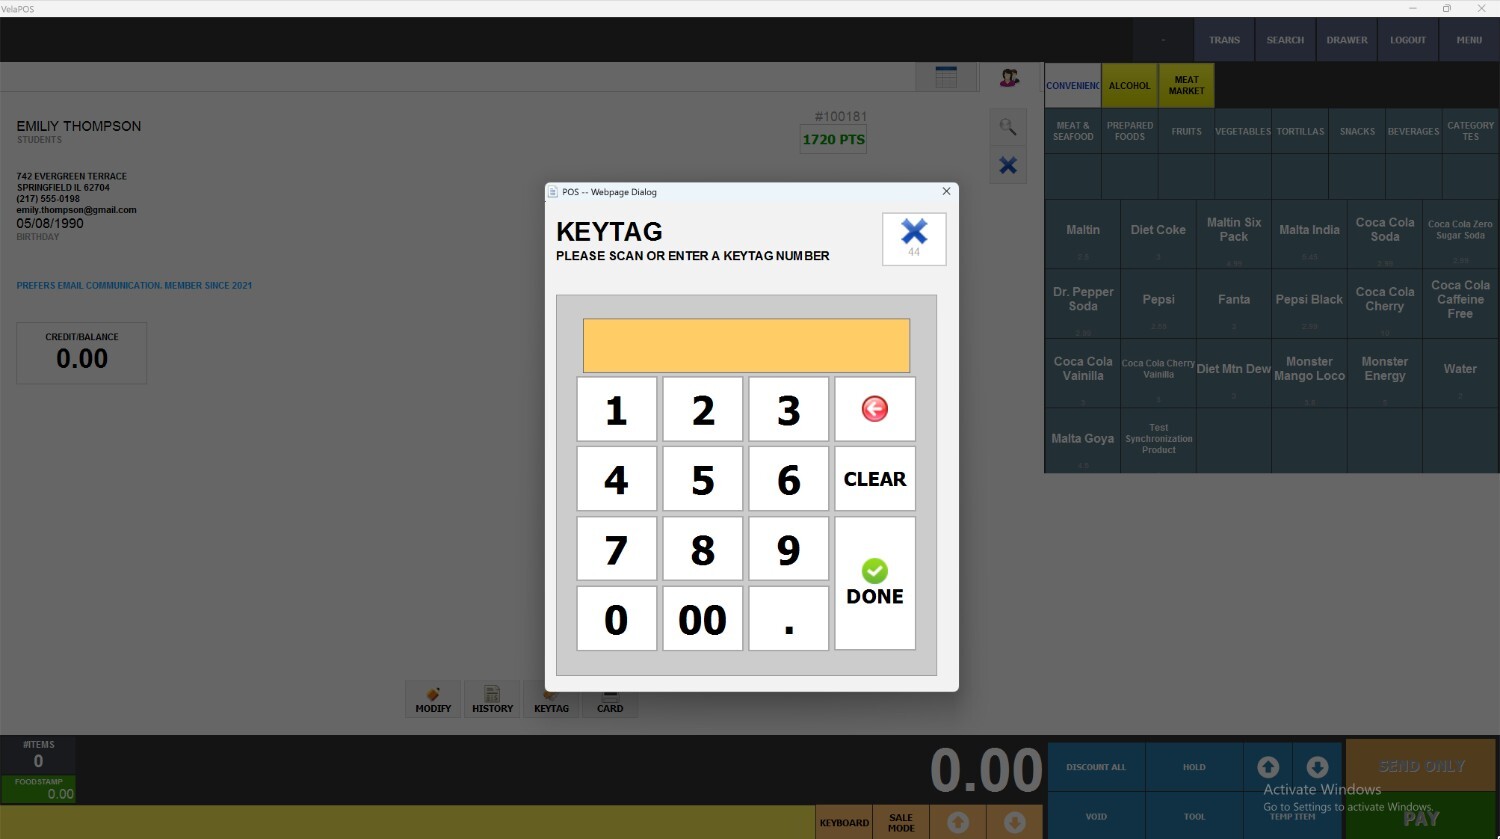
Note: The entry must meet two criteria: it must contain exactly 16 digits, and the first four digits must all be “5.”
After pressing DONE, a confirmation message will appear indicating that the Key Tag has been successfully added.
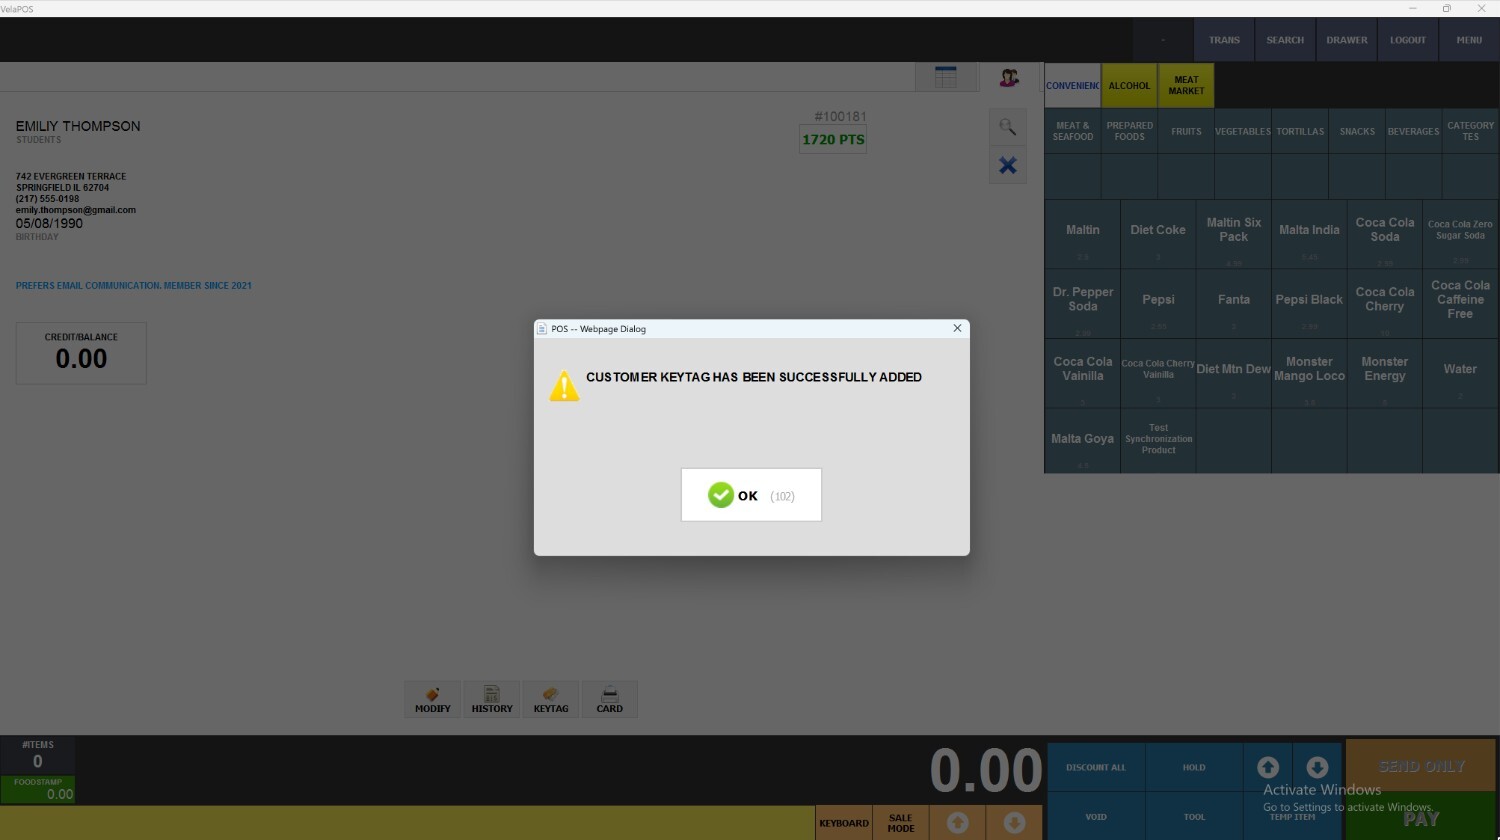
Result:
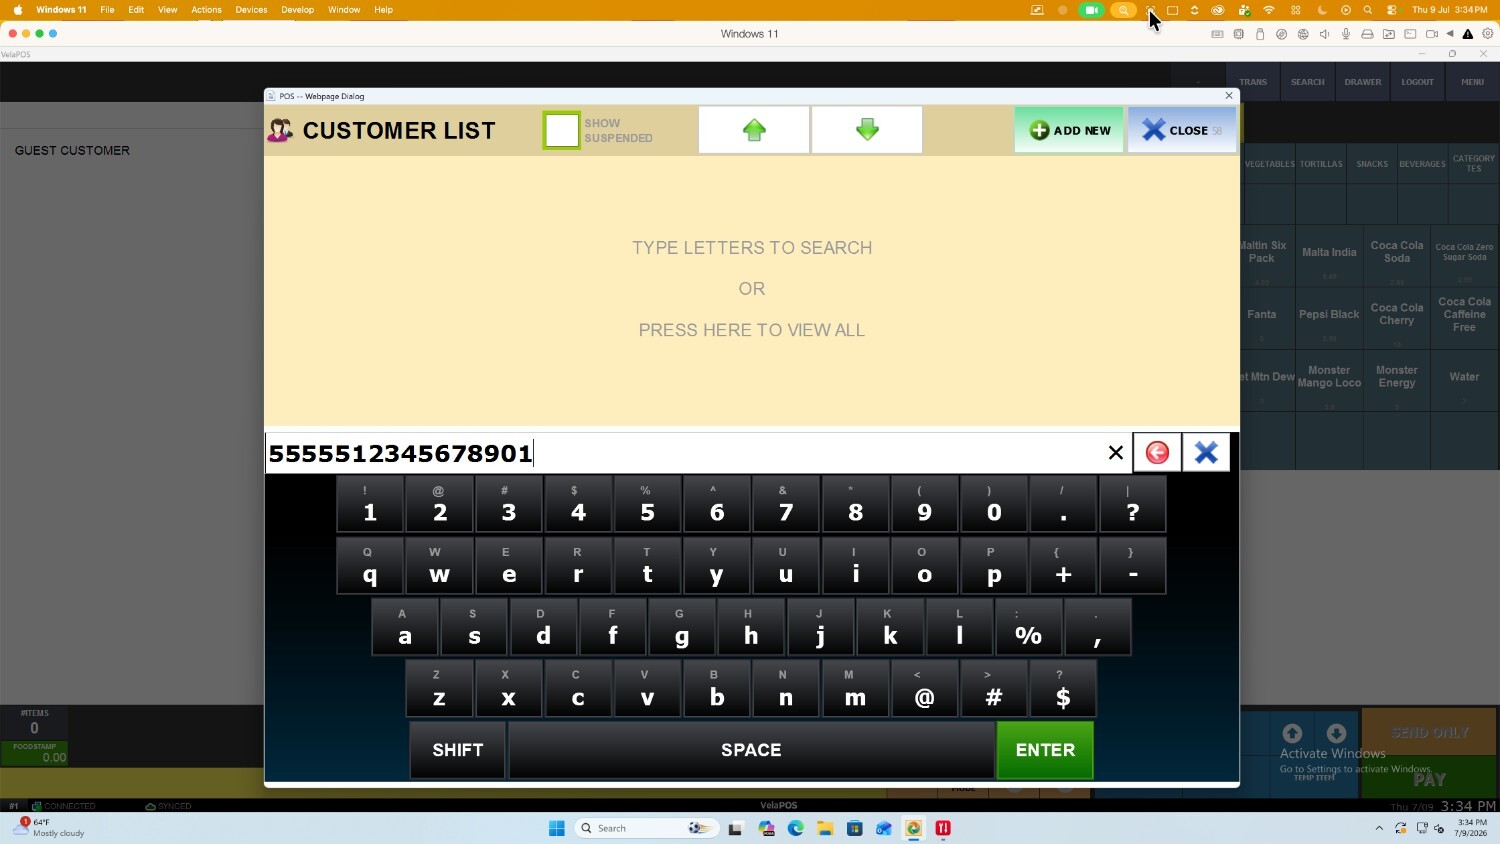
Input the Key tag in the customer search screen, and the customer's profile will pop up on the screen.
Note: To enable the key tag option on the sales screen, refer to the Key Tag settings.