Custom Message
This section allows you to print messages at the bottom of the receipt.
Main Screen > MENU> SETTING> PRINT> FOOTER> CUSTOM MESSAGE
Go to MENU, then select SETTINGS.

Under the PRINT tab, select FOOTER.

To enable the CUSTOM MESSAGE section, select the checkbox.

To start adding information, click on + ADD A LINE button.

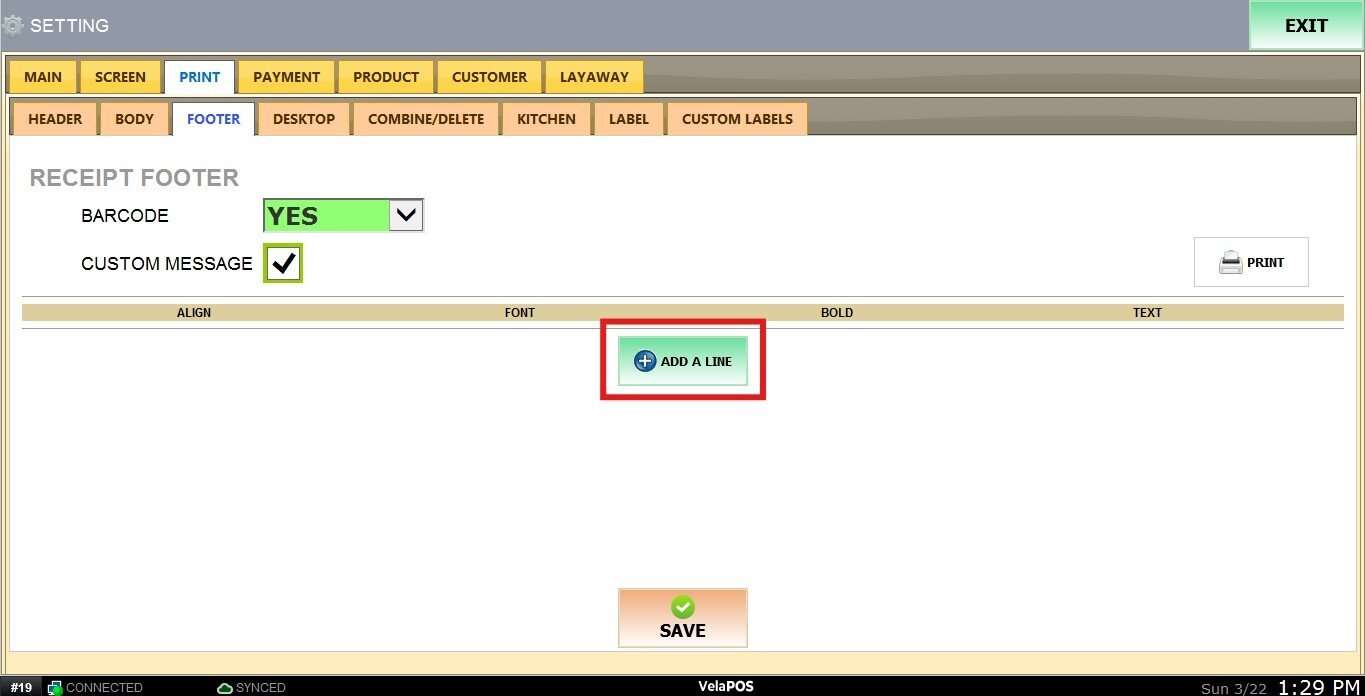
A section will appear allowing you to begin customizing the message content.

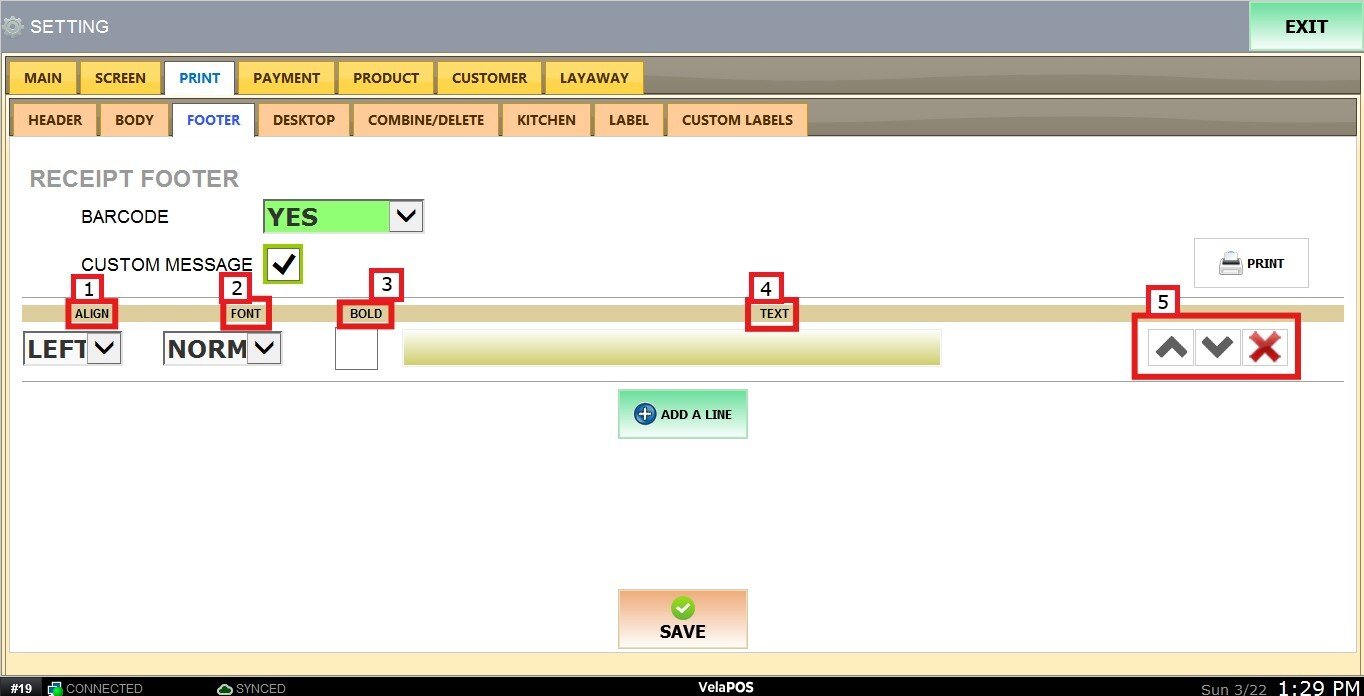
1. ALIGN: Select the alignment of the text: left, center, or right.
2. FONT: Choose the font size for the text.
3. BOLD: Enable this option to display the text in bold.
4. TEXT: Enter the content you want to display.
5. BUTTONS: Use the arrow buttons to reorder lines, or click X to delete a line.
Once all information has been entered and the custom message is configured, click on SAVE and RESTART THE PROGRAM.
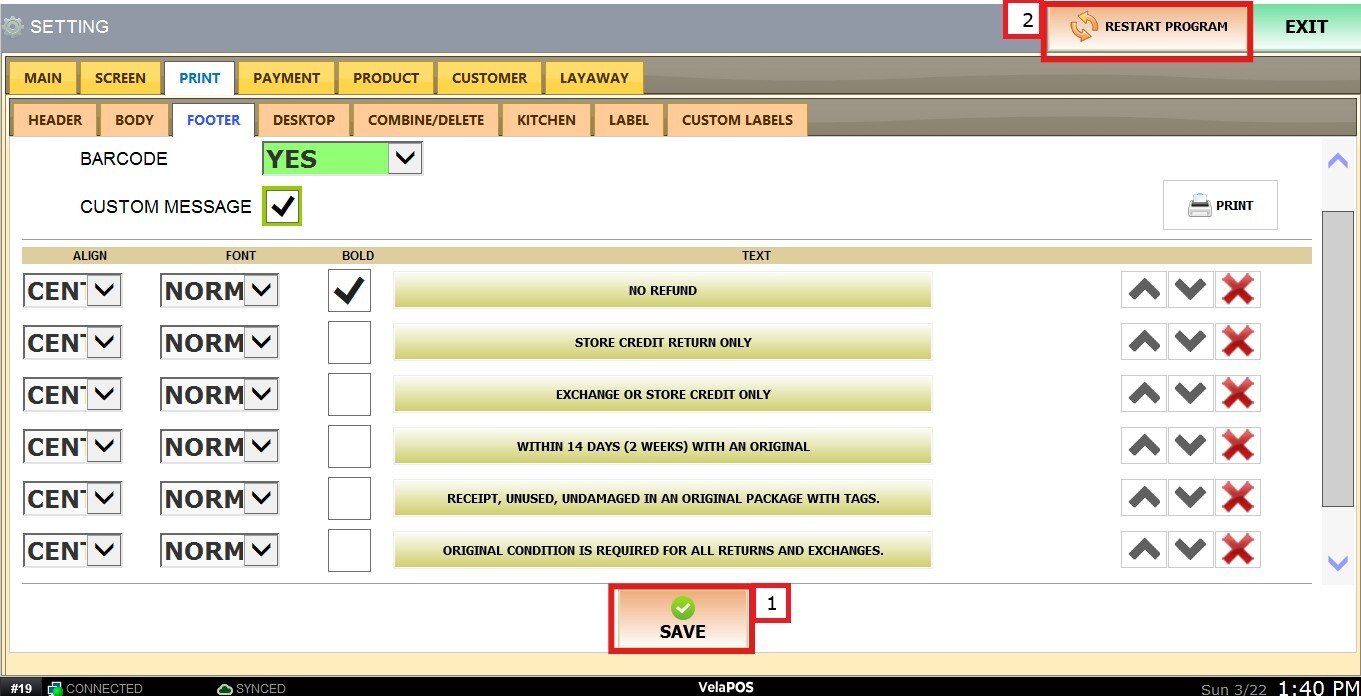
Result:
