Custom Menu
This option allows users to build and customize their own menu layout, offering flexibility to organize products or categories to fit the needs of the store.
Main Screen>MENU> PRODUCTS> MENU> CUSTOM
Go to MENU and select PRODUCTS.
CREATING A TEMPLATE
Open the MENU tab, click on CUSTOM, and select TEMPLATE to begin to create a new menu layout.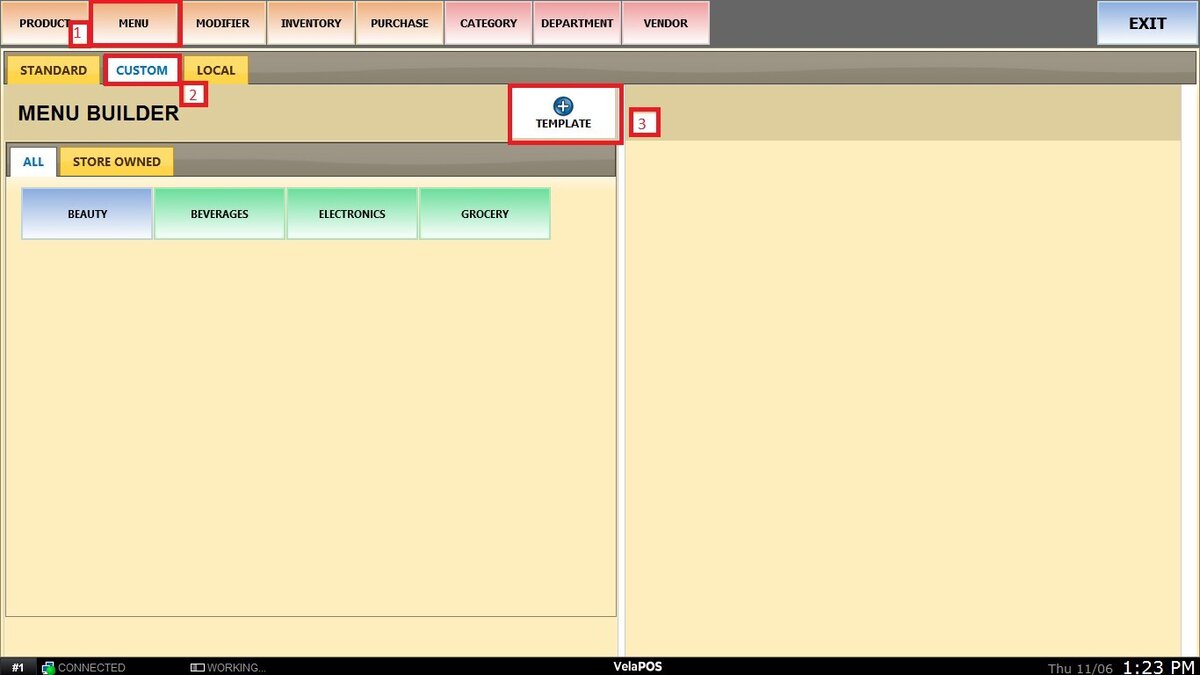
Complete the required fields, such as NAME and DESCRIPTION
Use the drop-down menu to set the NUMBER OF ITEMS that will go inside of it.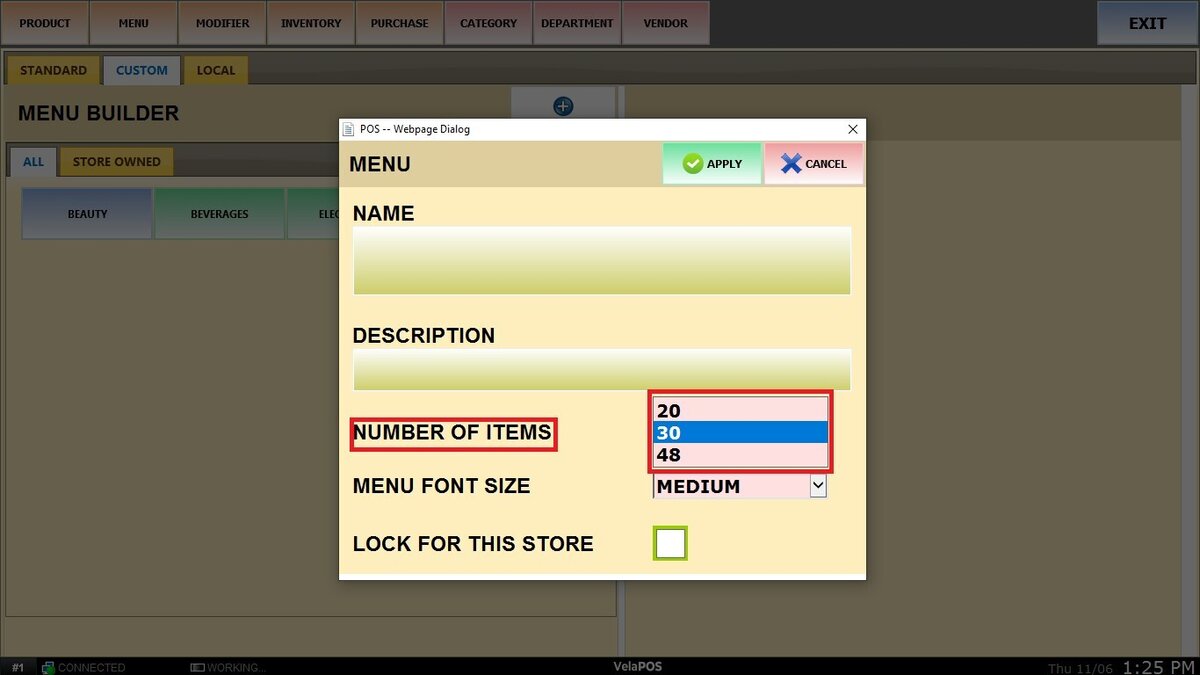
Use the drop-down menu to set the MENU FONT SIZE.
If the template should apply only to the current store, check the box “LOCK FOR THIS STORE.”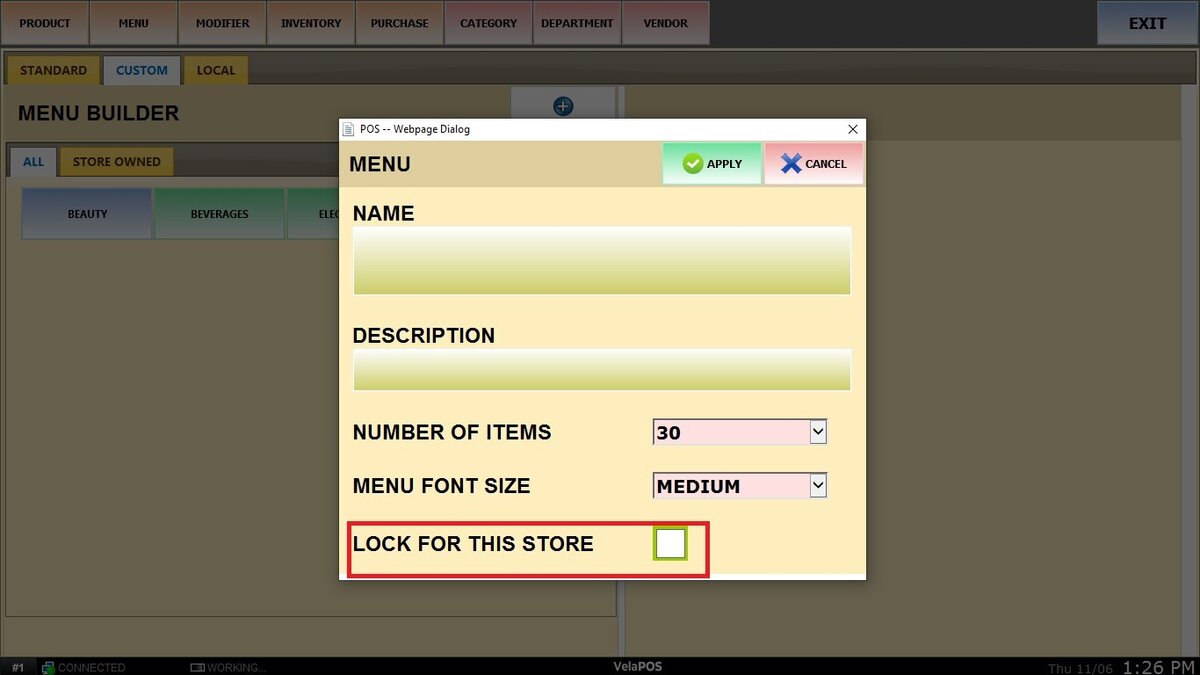
Click on APPLY to create the template.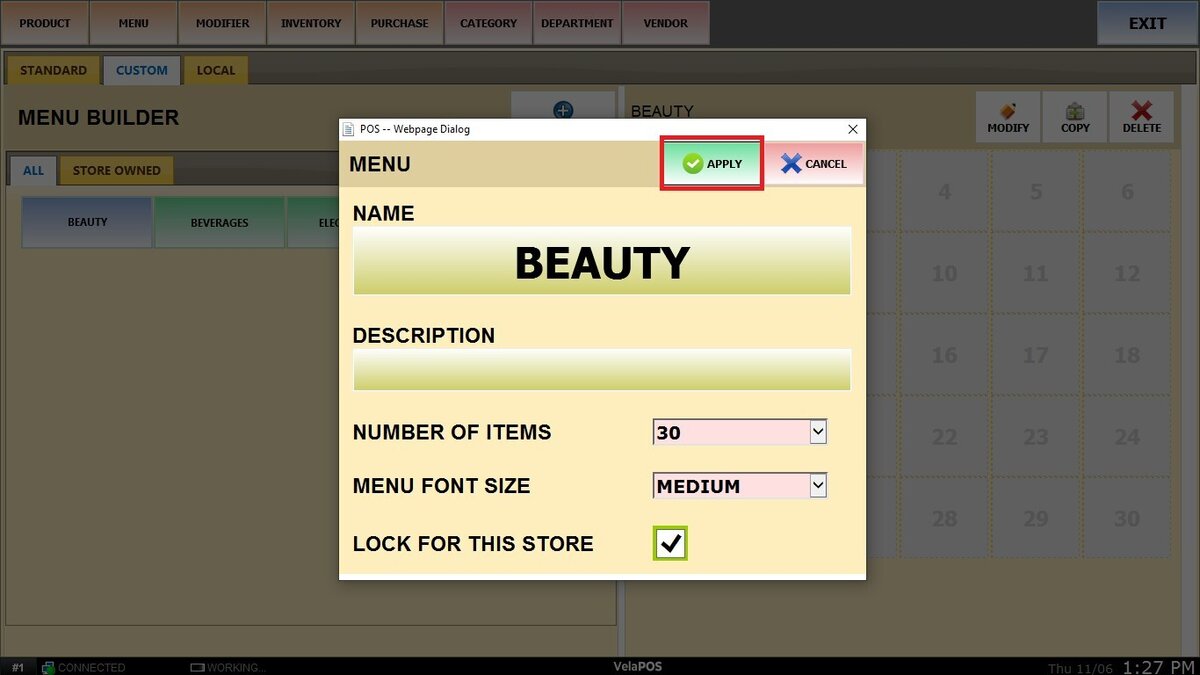
ADDING ITEMS
Once the template is created, a grid of boxes will appear on the right side. Click on any box to configure what will be displayed in that position.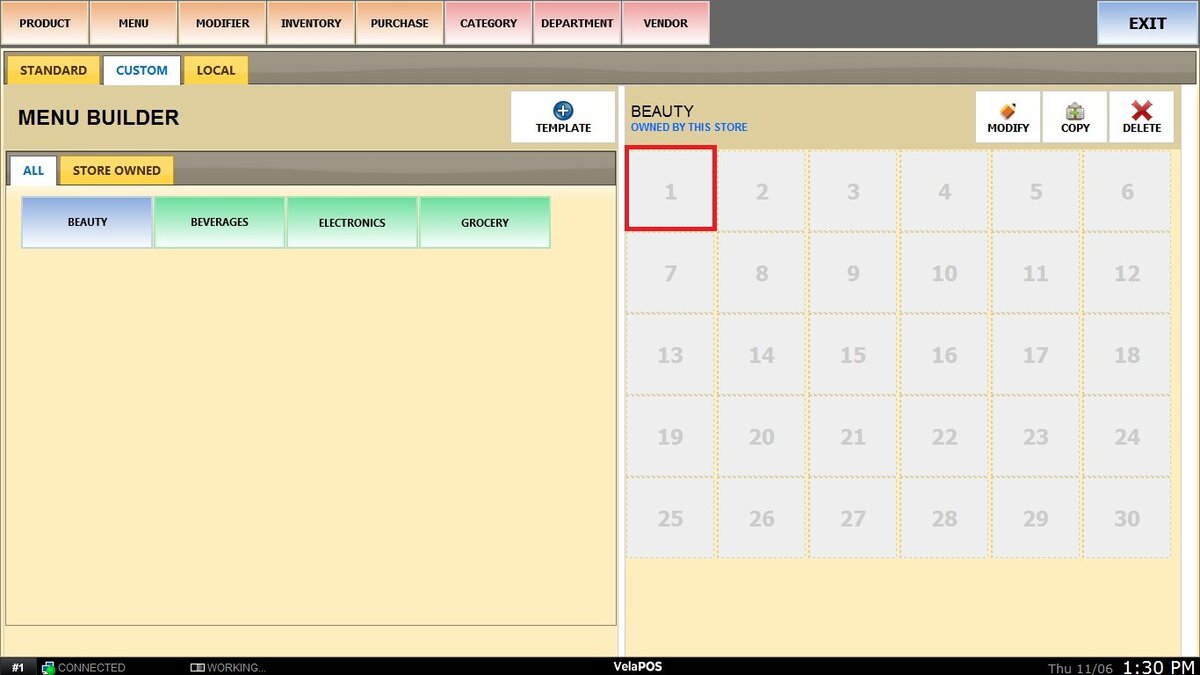
Select a TYPE from the drop-down menu.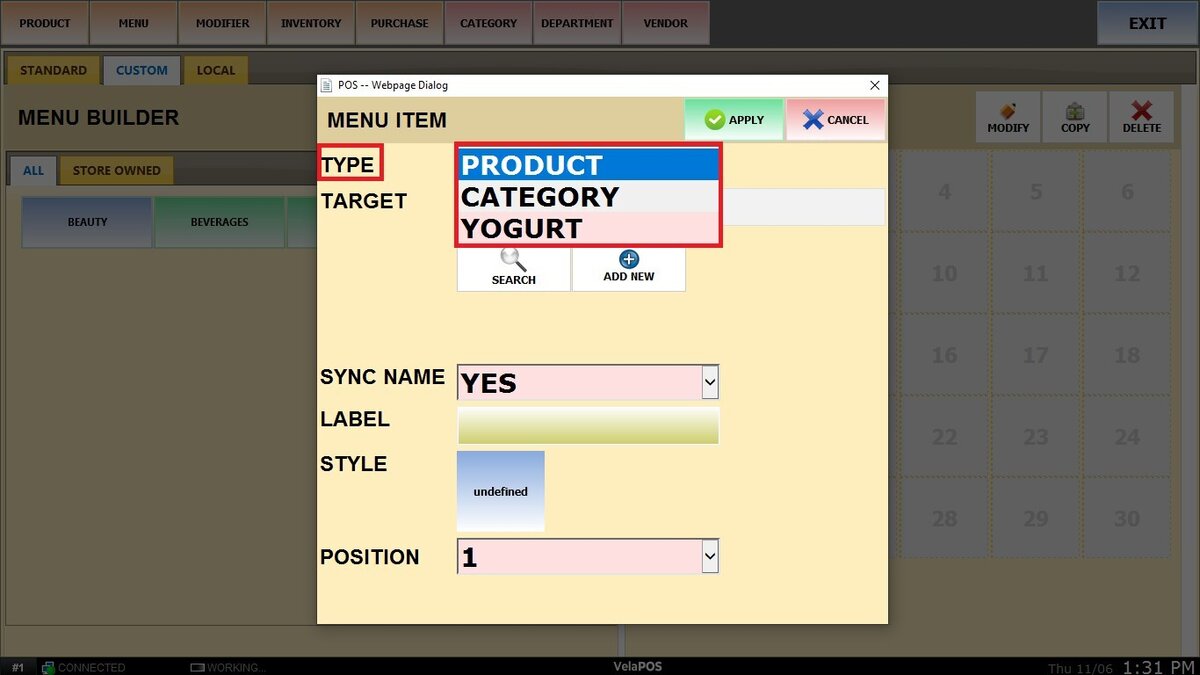
1. Product: You can either create a new product or select one from the existing (standard) inventory.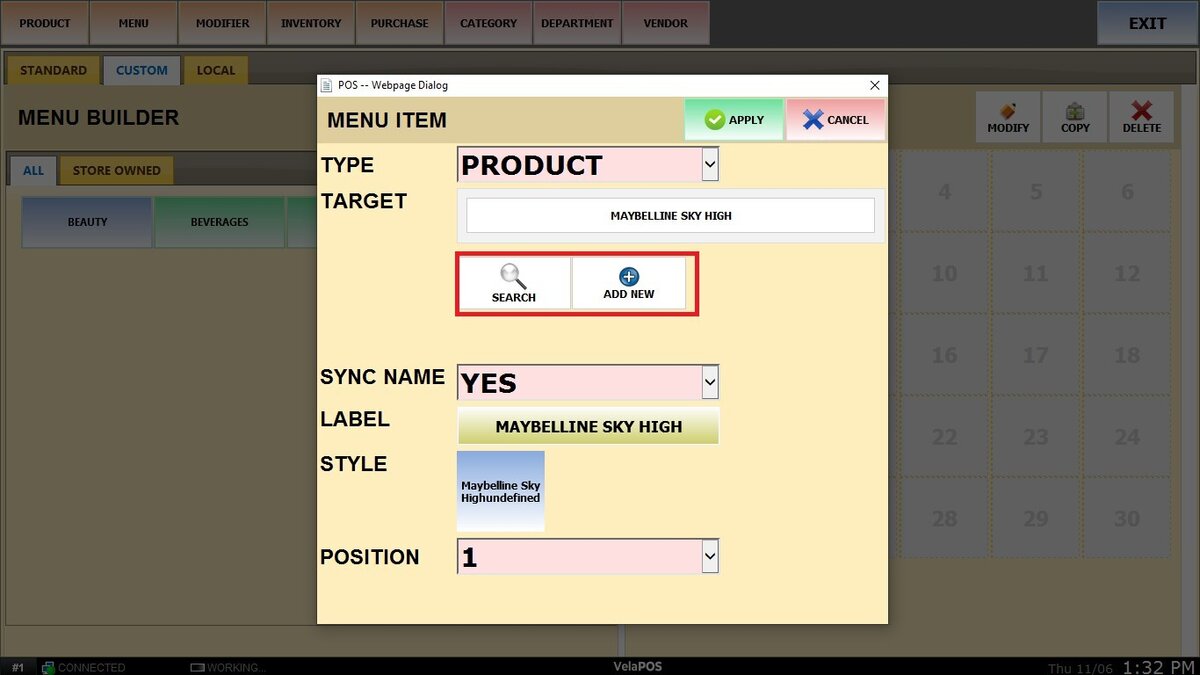
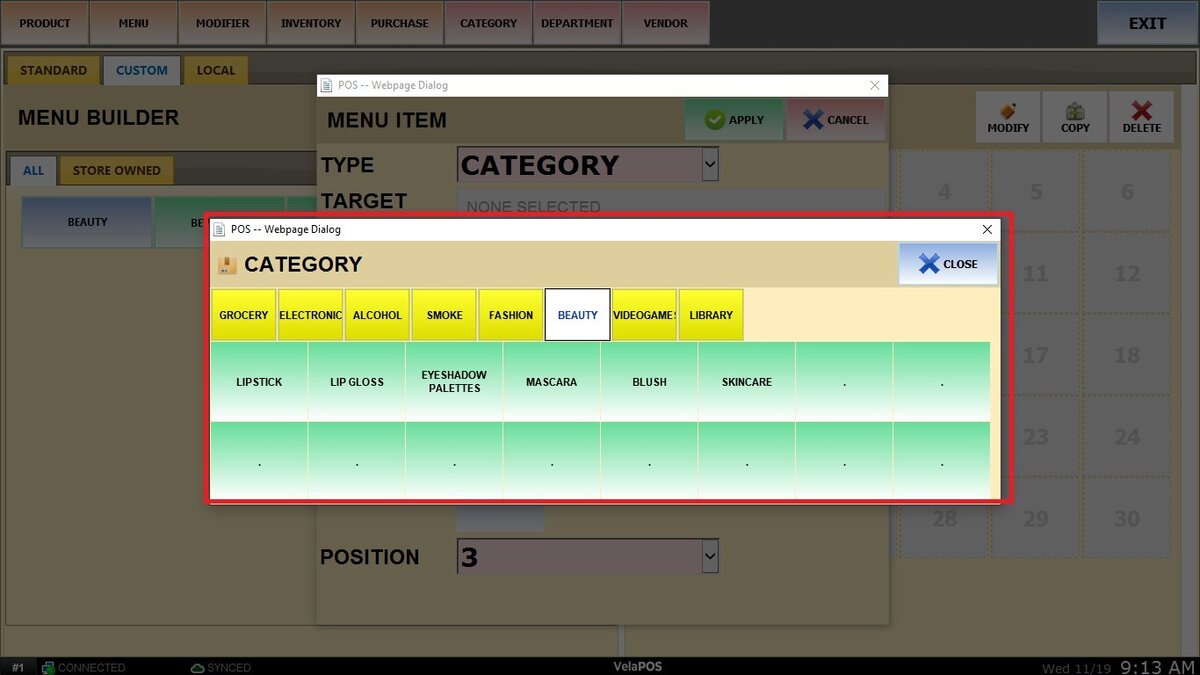
2. Category: You can select an existing category from your inventory.
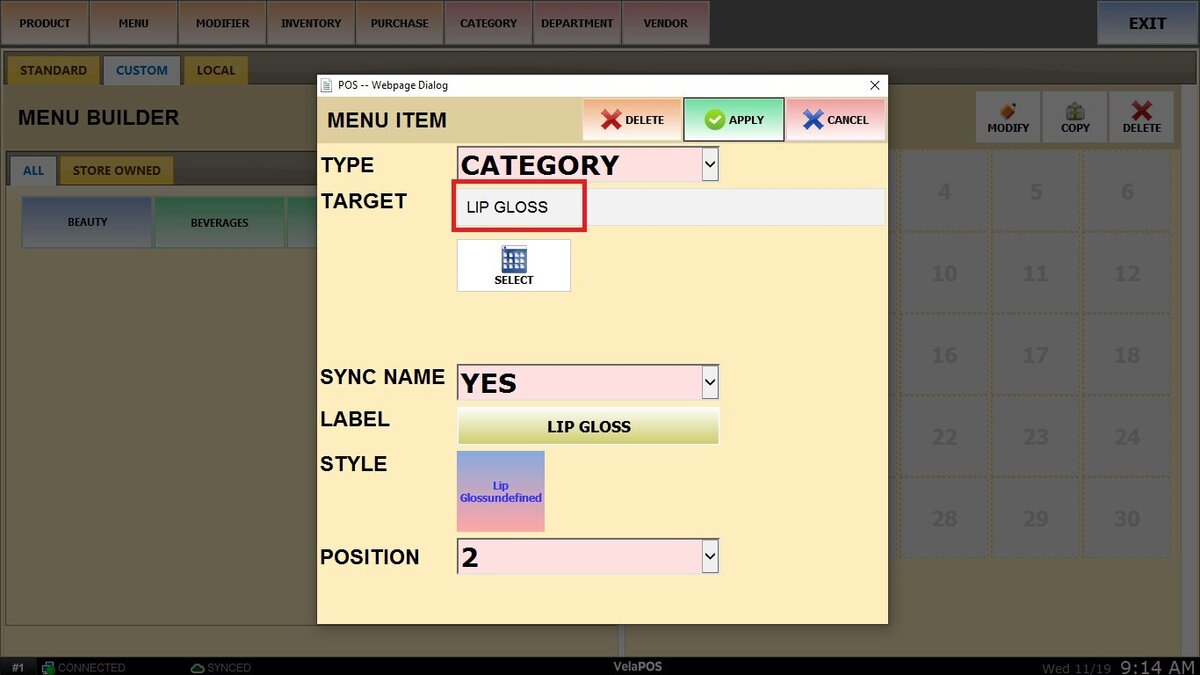
In SYNC NAME choose YES or NO to determine whether the item name updates automatically.
In LABEL enter the custom name that will appear on the button.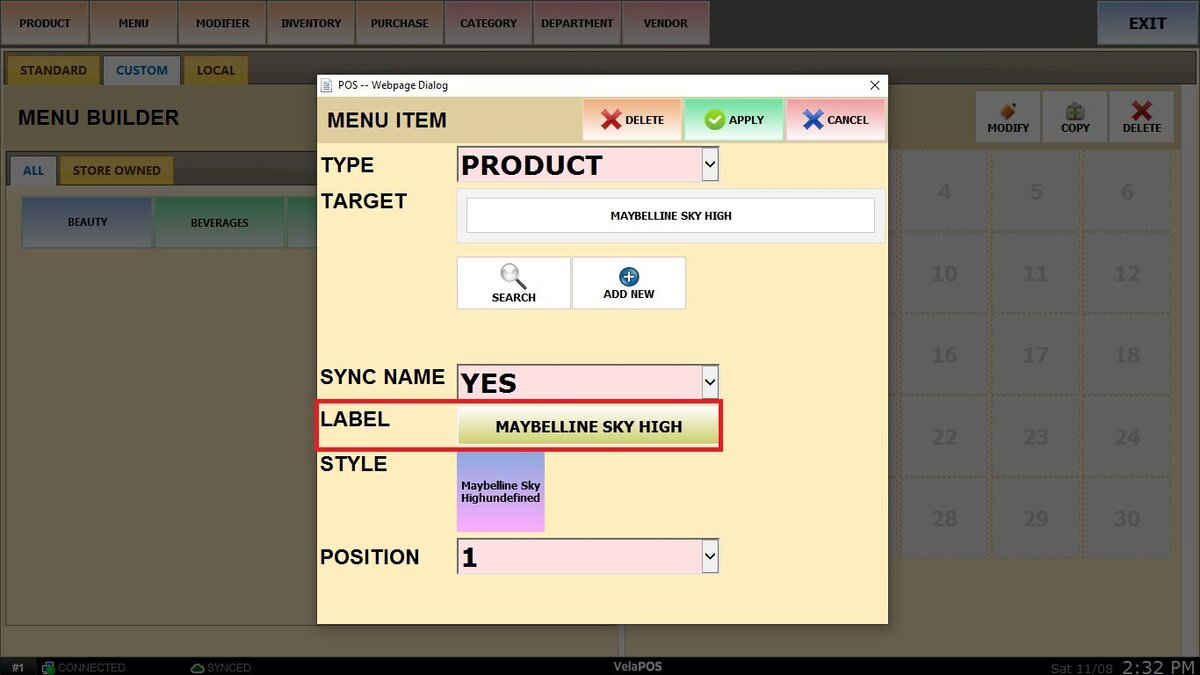
Click on STYLE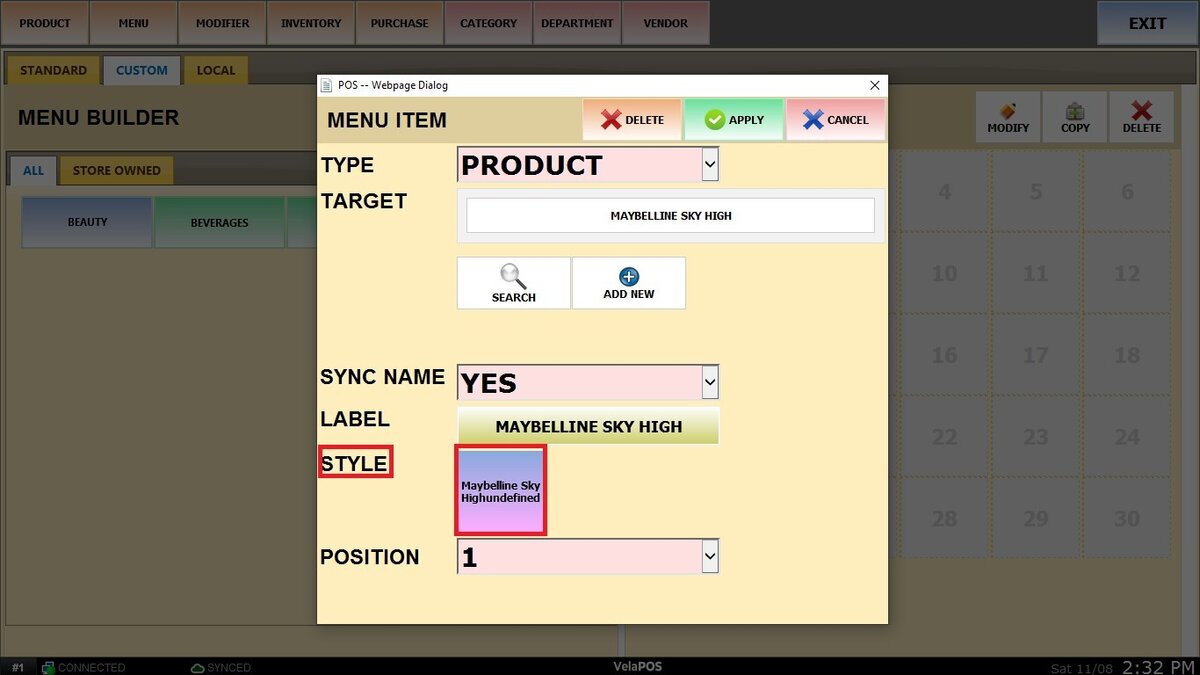
Choose a color to help visually organize your items.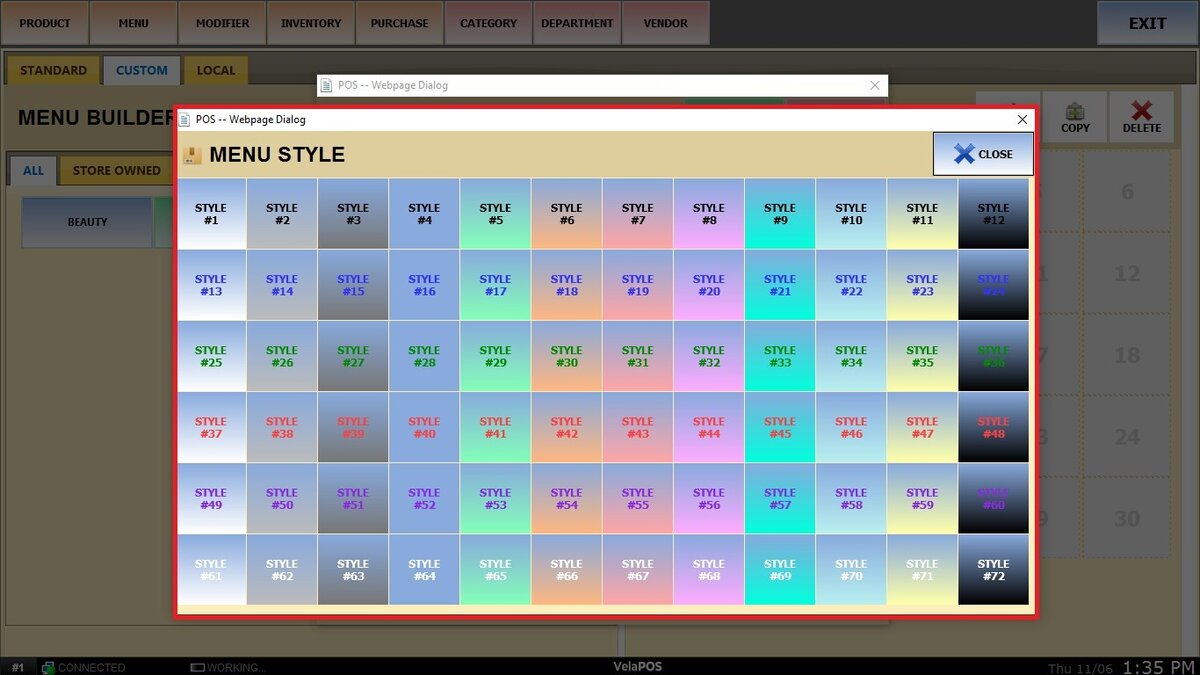
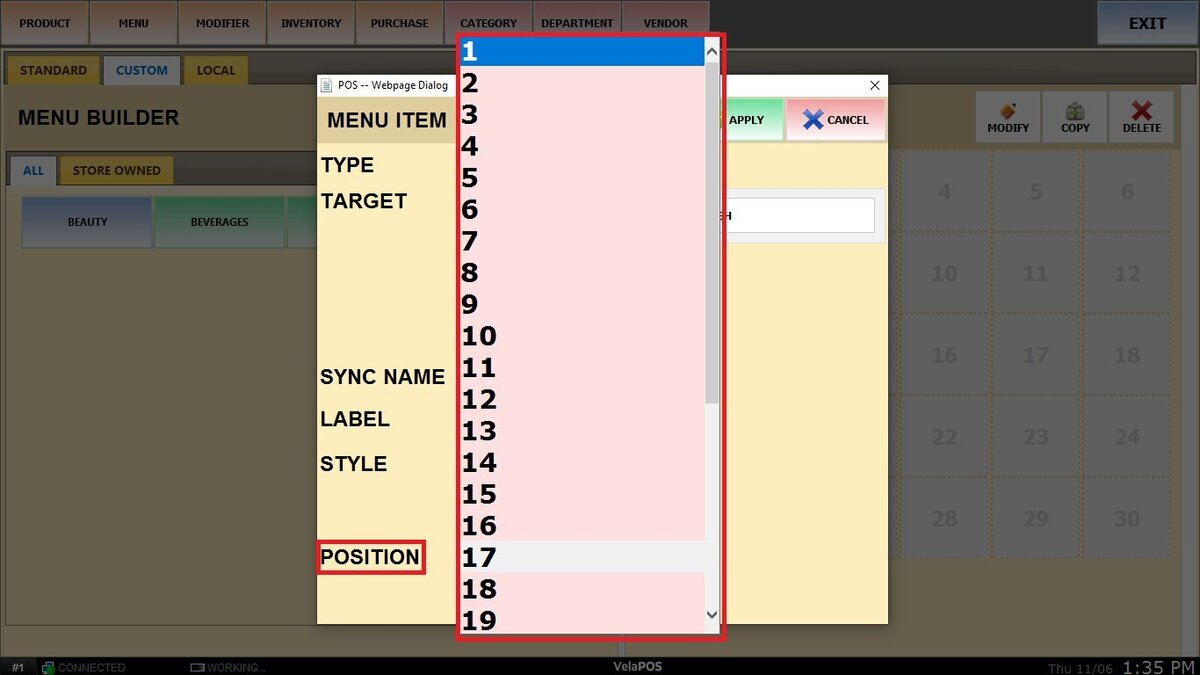
Use POSITION to define where the item will be placed in the layout.
Click APPLY to save the item.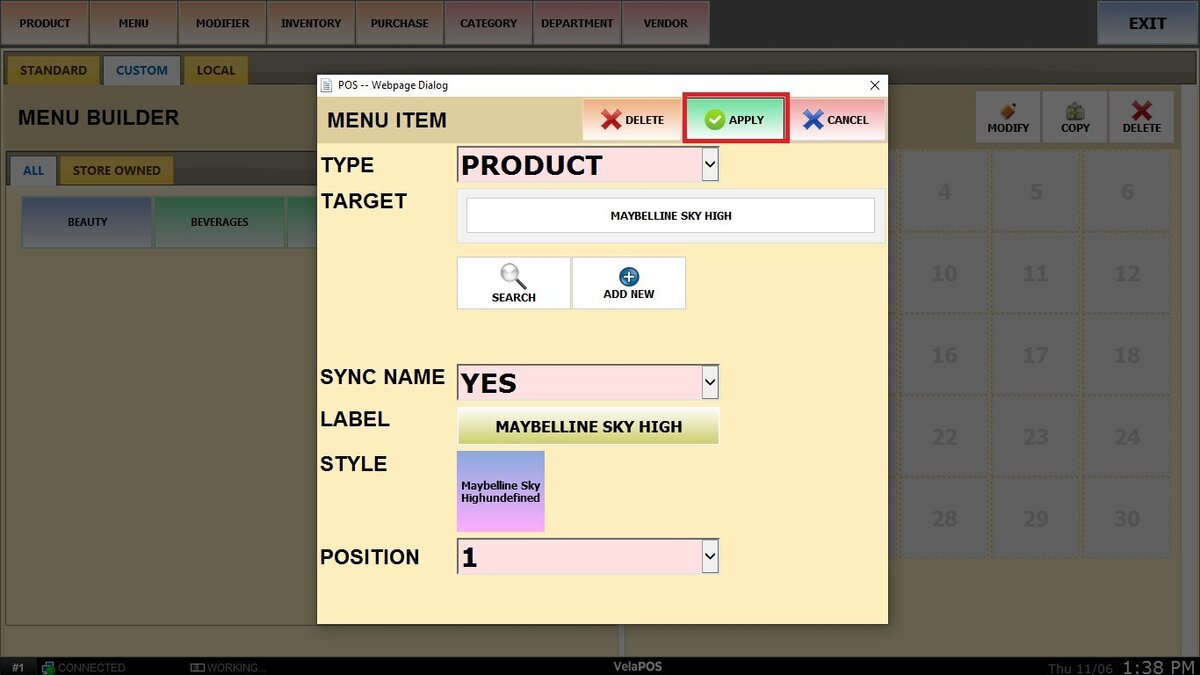
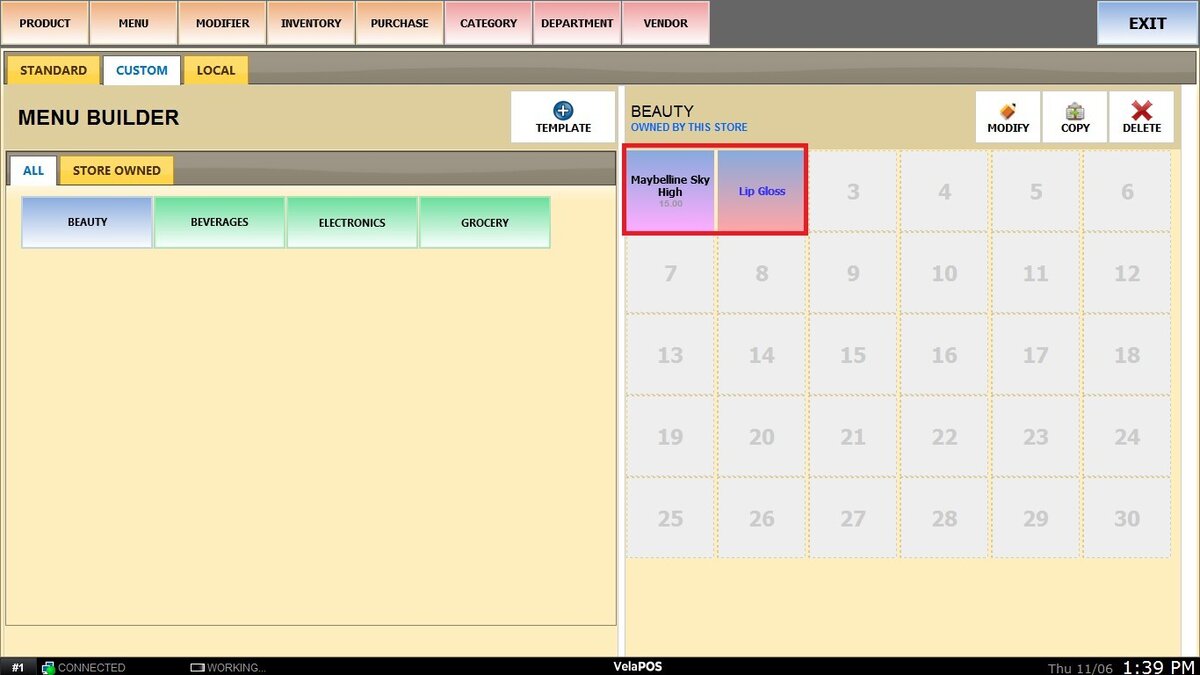
It will now appear in the grid.
You can use the MODIFY, COPY and DELETE options on the right to manage your menu items.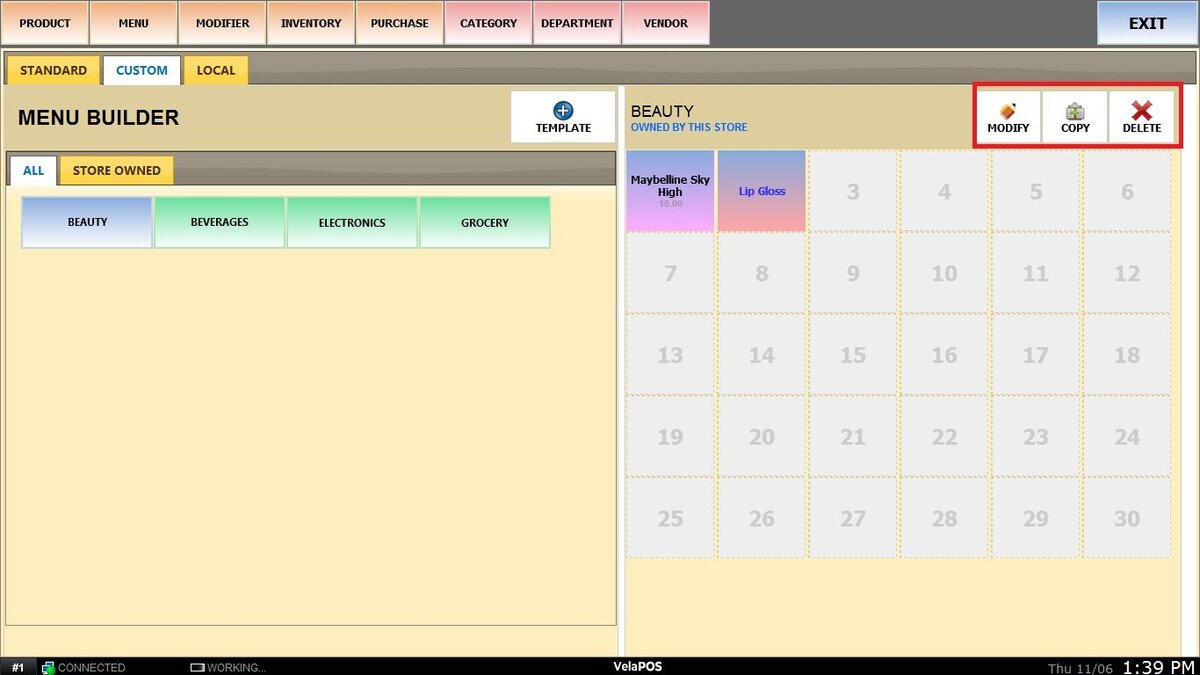
Note: To delete a template, all items inside it must be deleted first.
Under the STORE OWNED tab, you will find all the templates that were created and locked for that specific store.
Result:
In order to set the custom menu on the sales screen see Sales Screen Layout.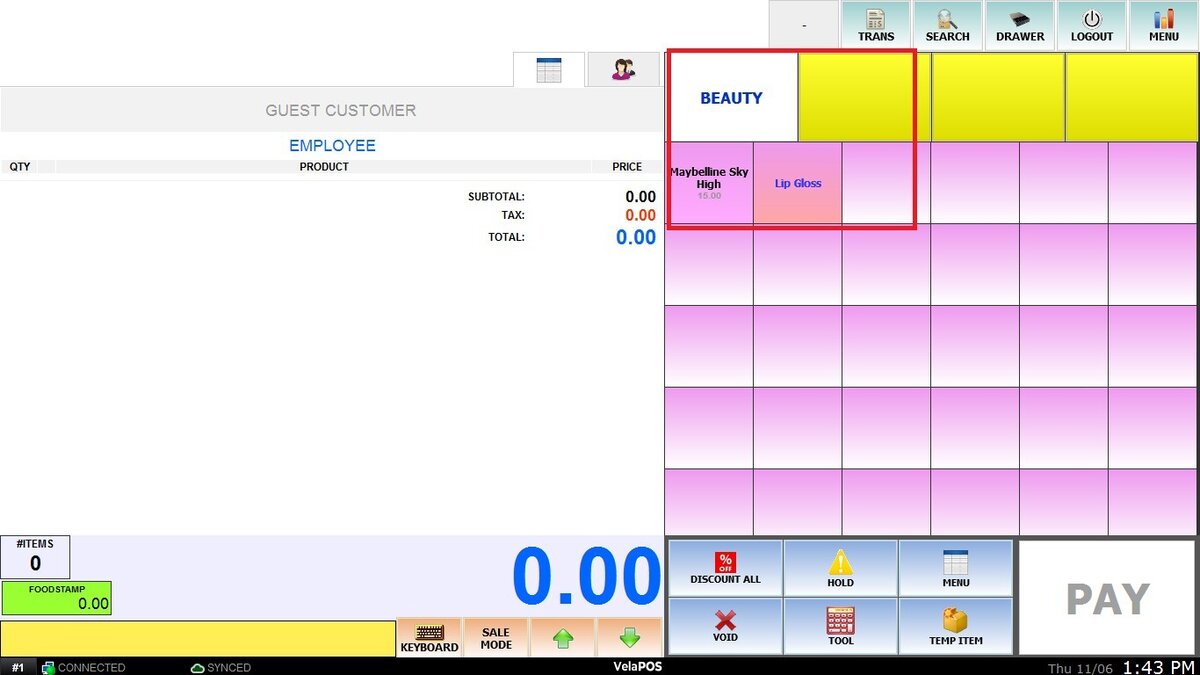
All created templates can be combined and displayed on the sales screen. For configuration details, refer to Custom Menu Settings.