Vendor List
This section displays all registered suppliers within the POS, allowing users to view, search, and manage vendor profiles.
Main Screen> MENU> PRODUCTS> VENDOR
Go to MENU and press PRODUCTS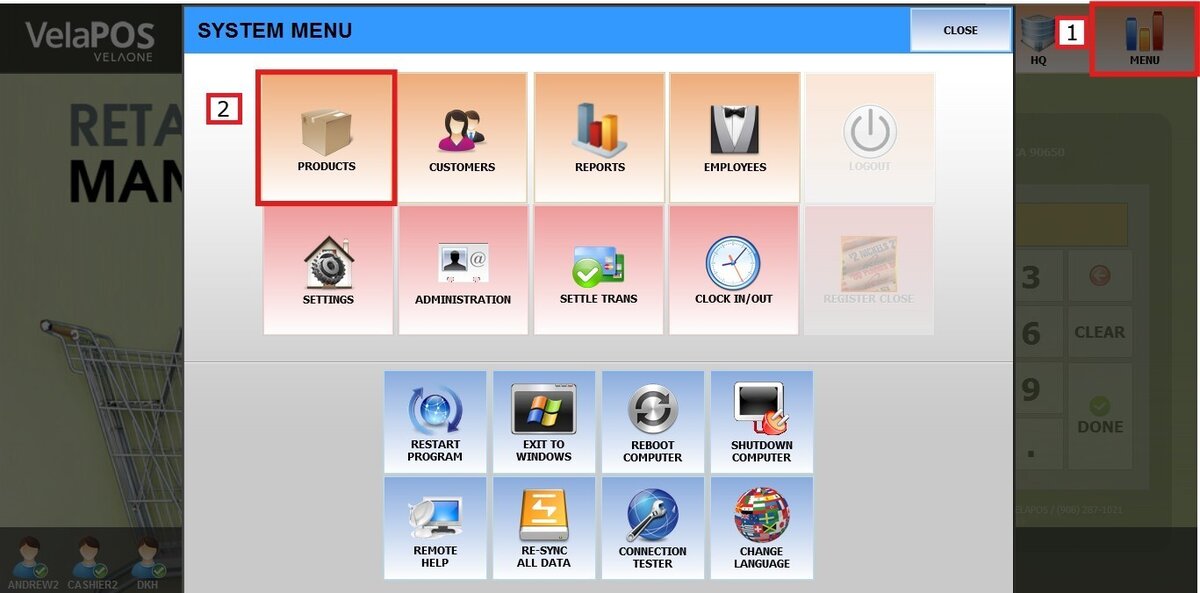
Press VENDOR to find the complete list of vendor accounts. Each entry includes details such as Vendor Name, Phone Number, Address, City, State, Zipcode, and Email.
Hint: Use the letter buttons on the top of the screen to find a vendor's name quickly by filtering the first letter of a vendor's name.
Create a New Vendor
In the Vendor Management screen, press ADD NEW VENDOR.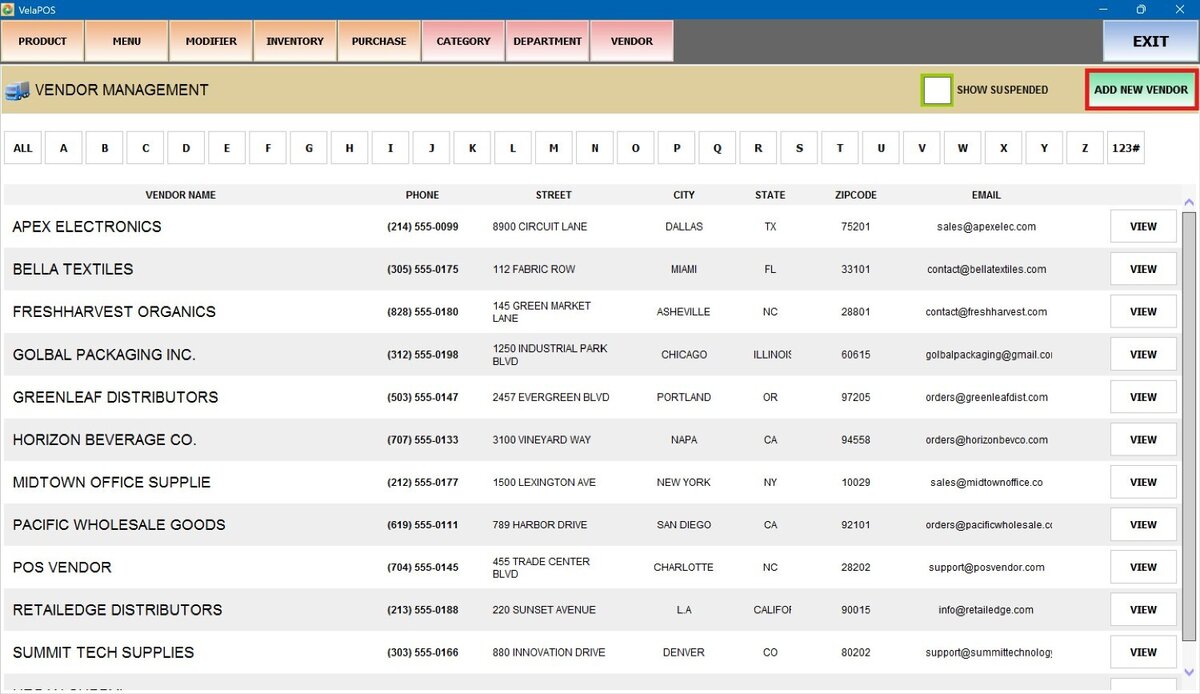
A pop-up screen will appear where you can enter the vendor's basic information.
Once all required fields are filled out, press SAVE to register the vendor and add them to the list. 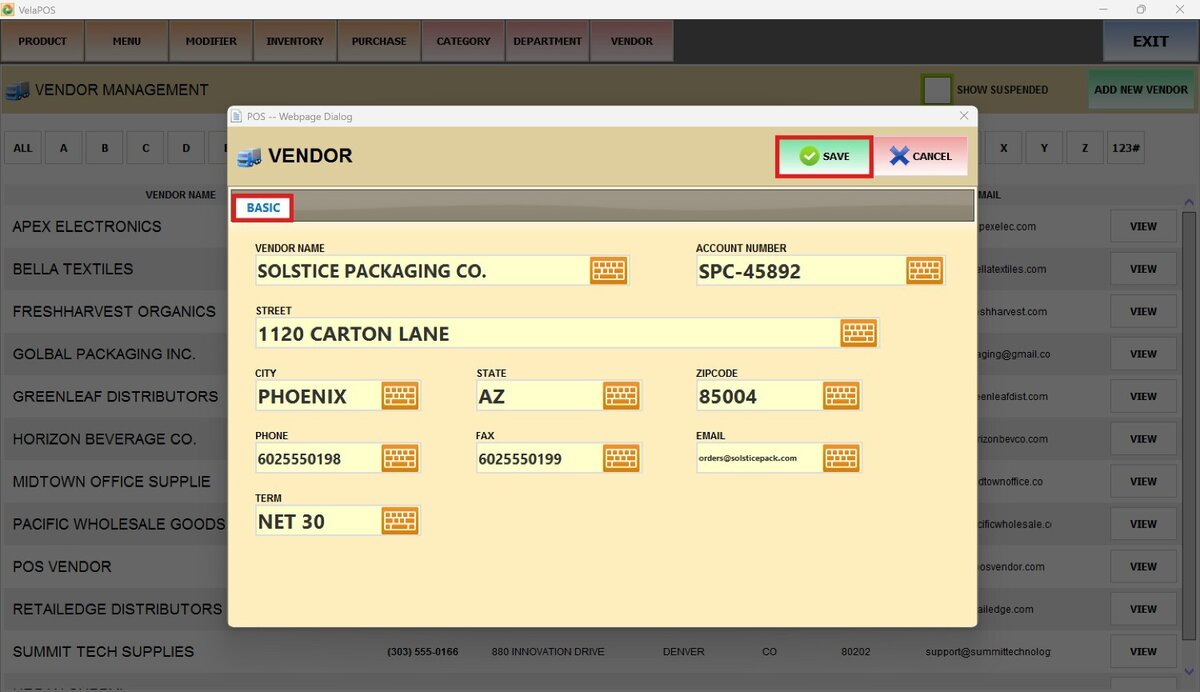
Result: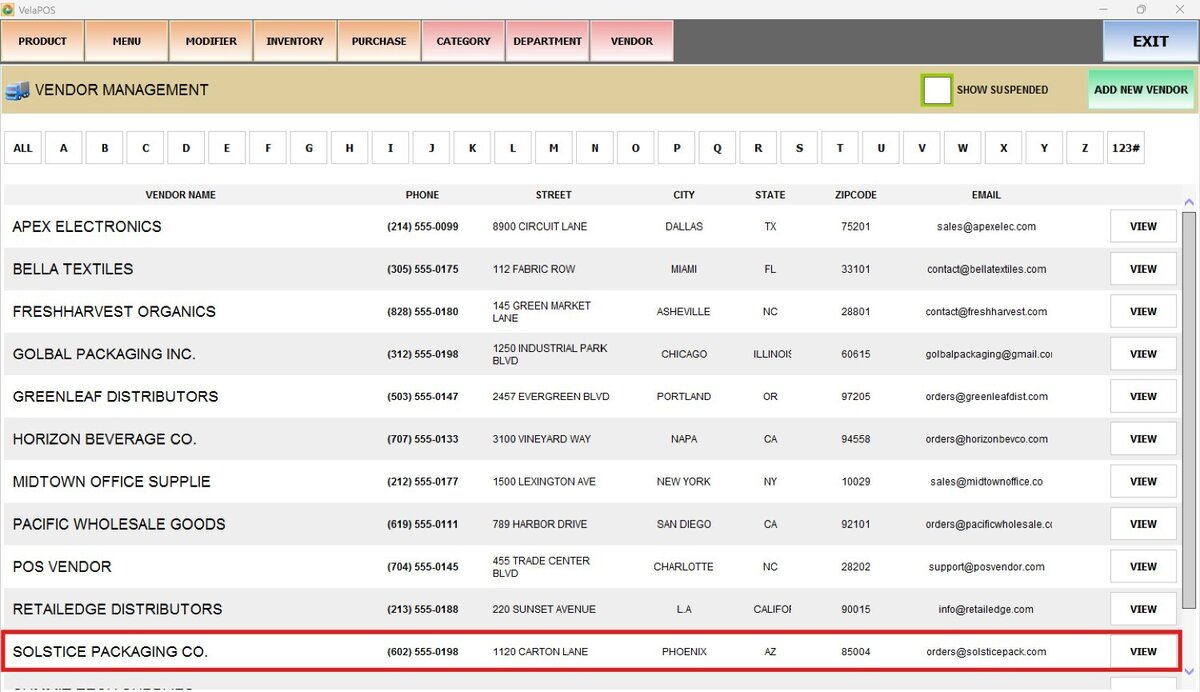
Hint: If you want to assign a vendor to a product, refer to Vendor in the product detail.
View and Edit
Press VIEW to display the vendor profiles' additional fields, such as account number and contact details, and edit them. 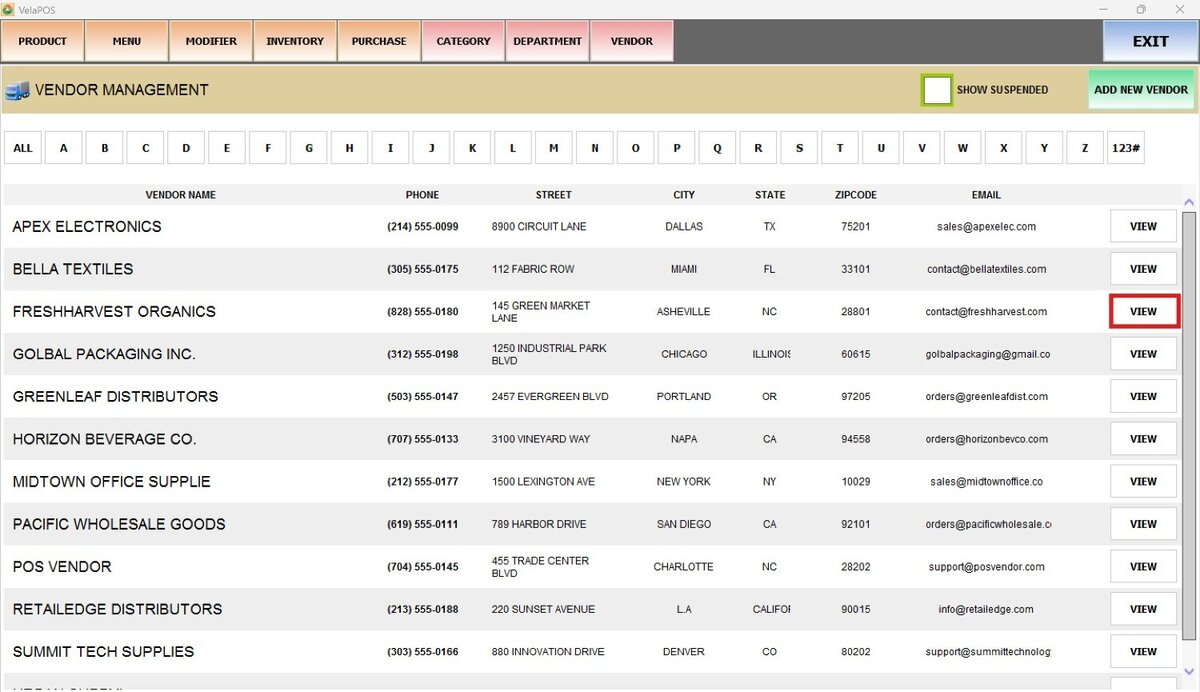
BASIC
In this section, make the modifications you want and press SAVE to apply the changes.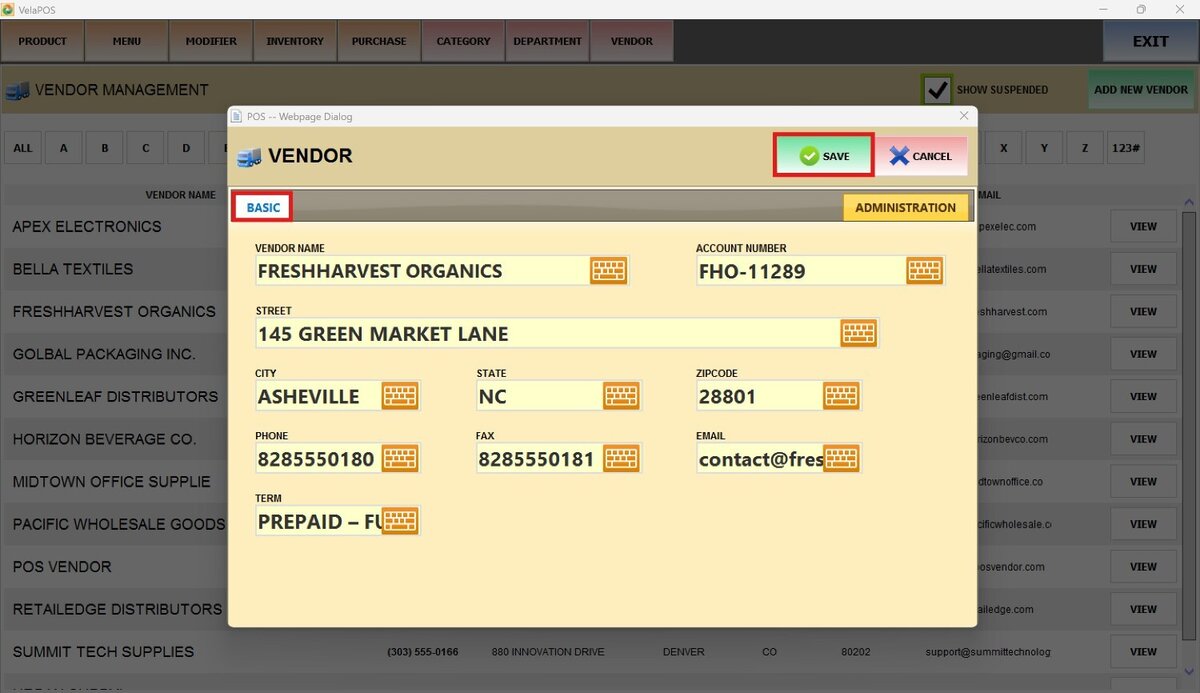
Suspend Vendor
On the ADMINISTRATION section, you can deactivate the vendor by pressing SUSPEND VENDOR. This action will remove them from the active list, and they won't appear by default.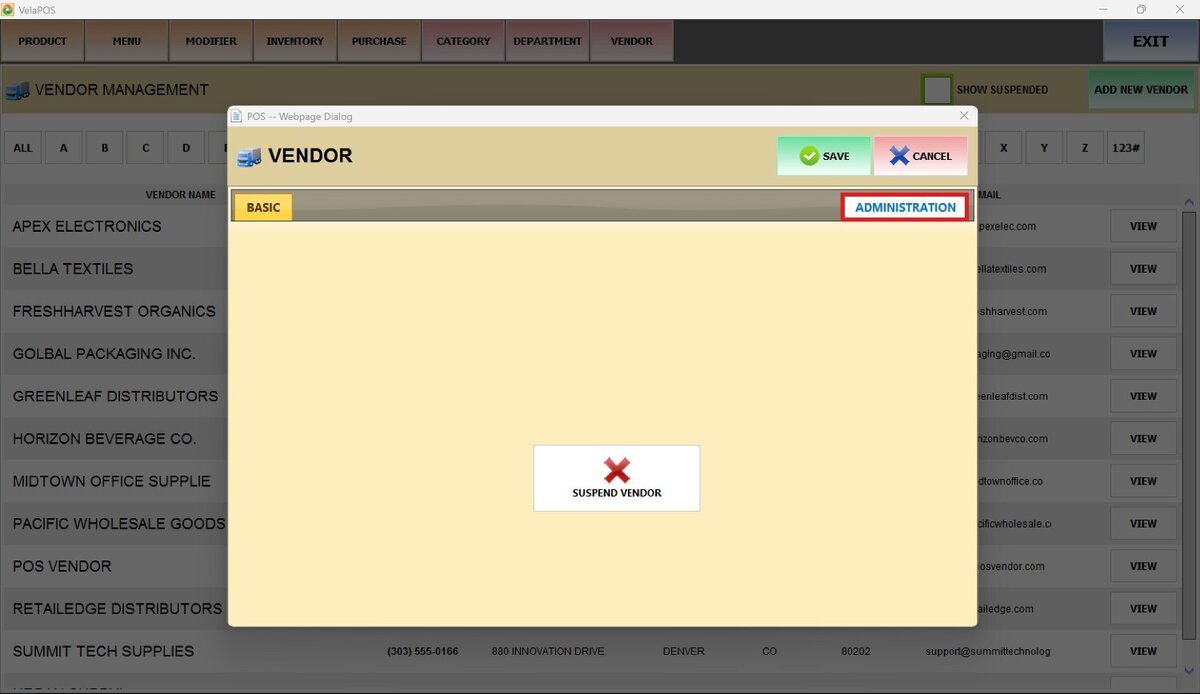
Press YES to finalize the process.
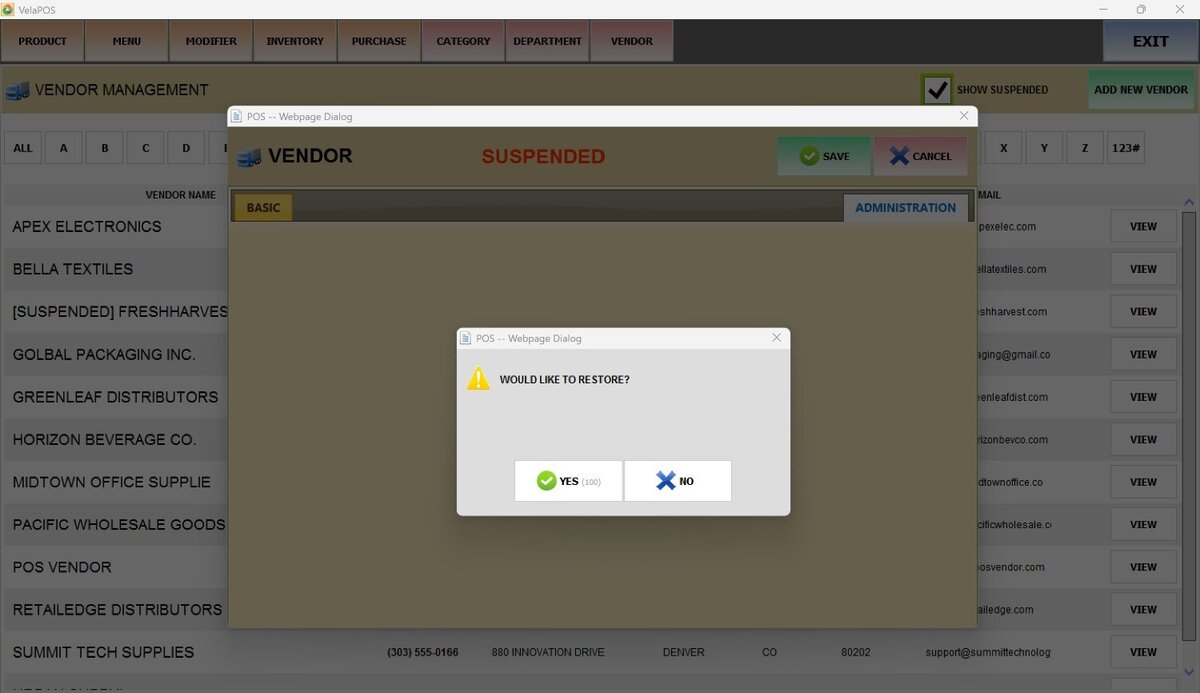
To reactivate the vendor, check the SHOW SUSPENDED box to display vendors marked as suspended.
Find the one you need, and press VIEW.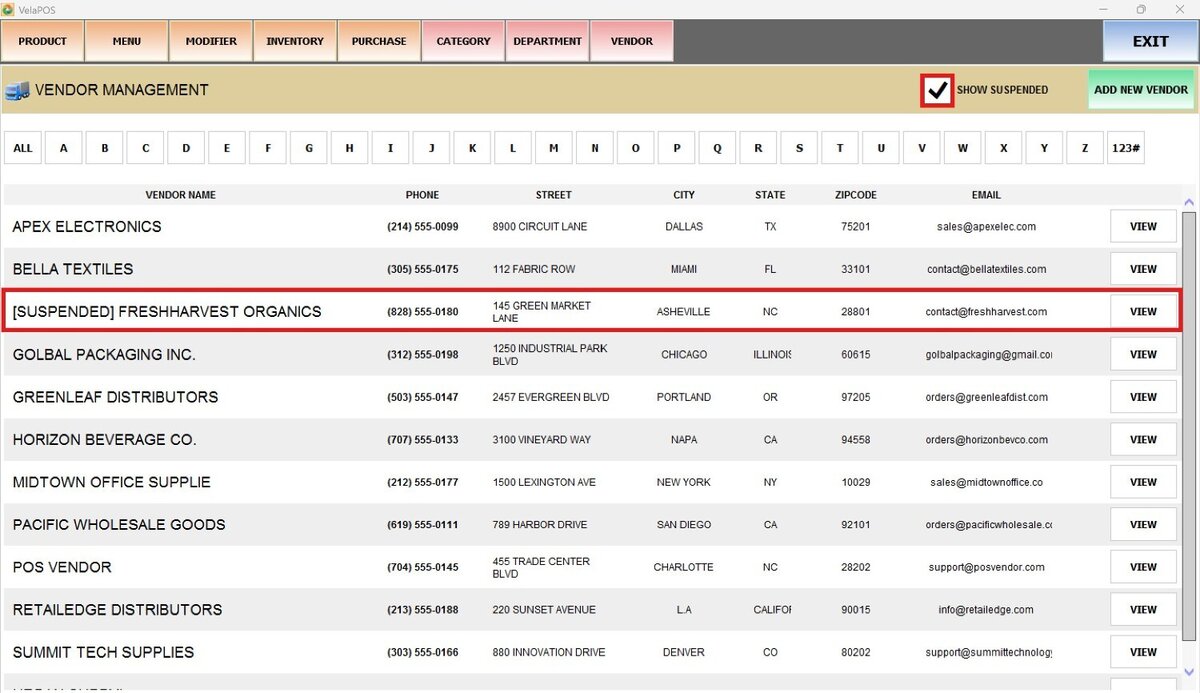
Go to the ADMINISTRATION tab and select RESTORE VENDOR.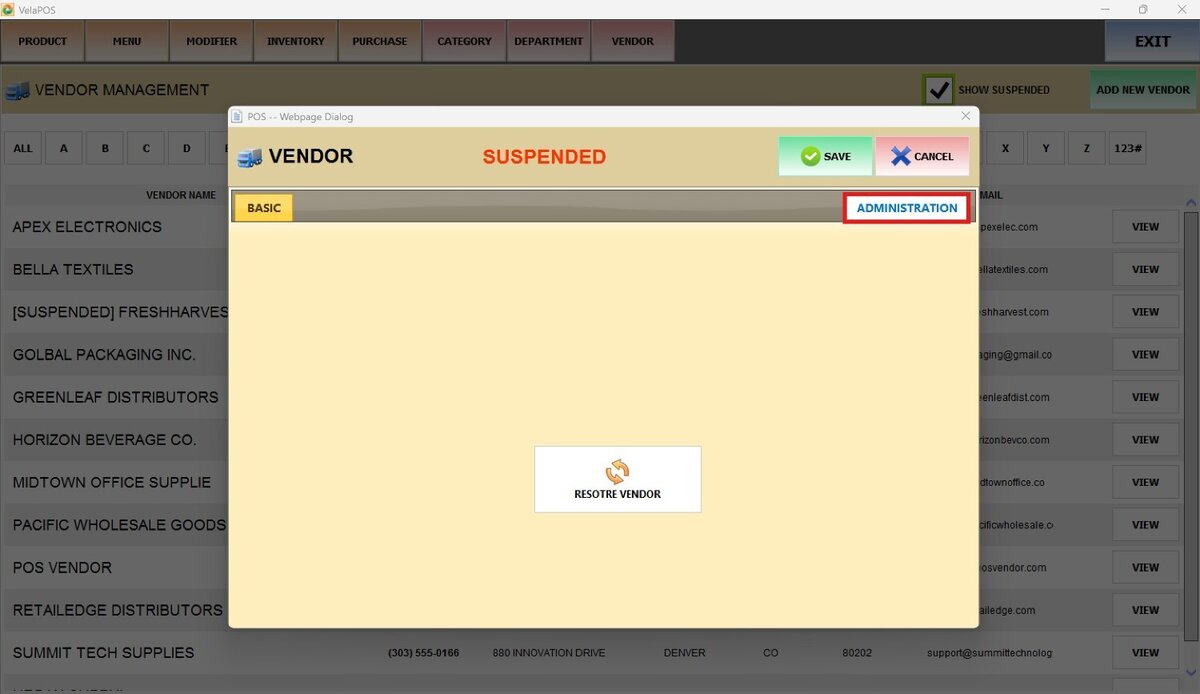
Press YES to complete the process, and the vendor will return to the supplier's main list.