New Addition
This feature enables you to record new inventory quantities added through invoices.
Main screen> MENU> PRODUCT> INVENTORY> ADDITIONS> New additions
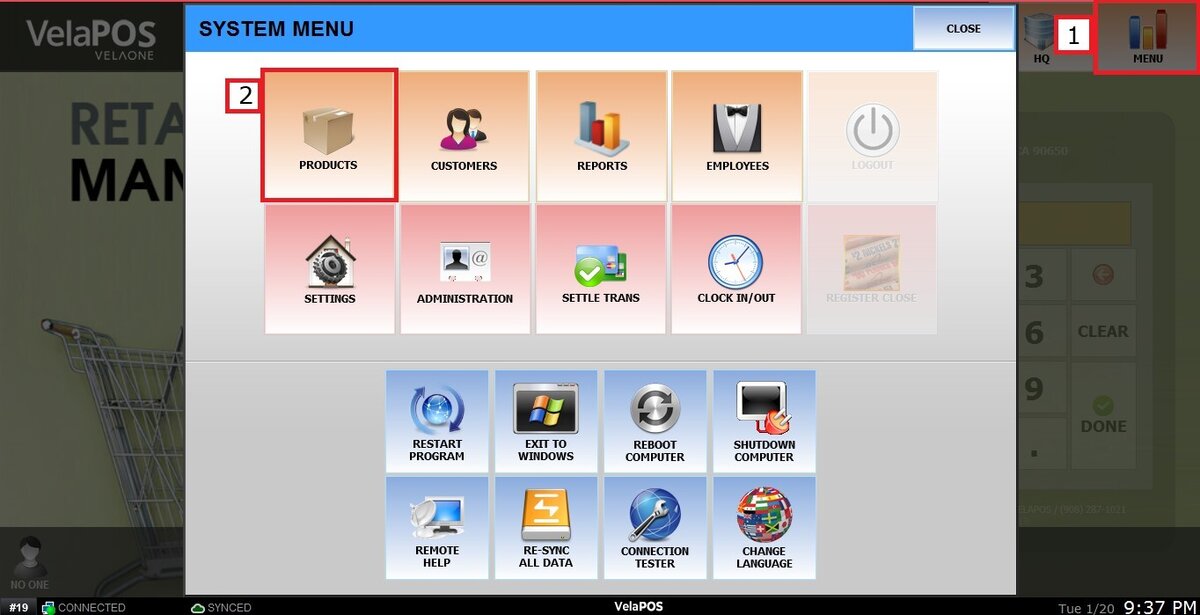
Go to MENU and select PRODUCTS.
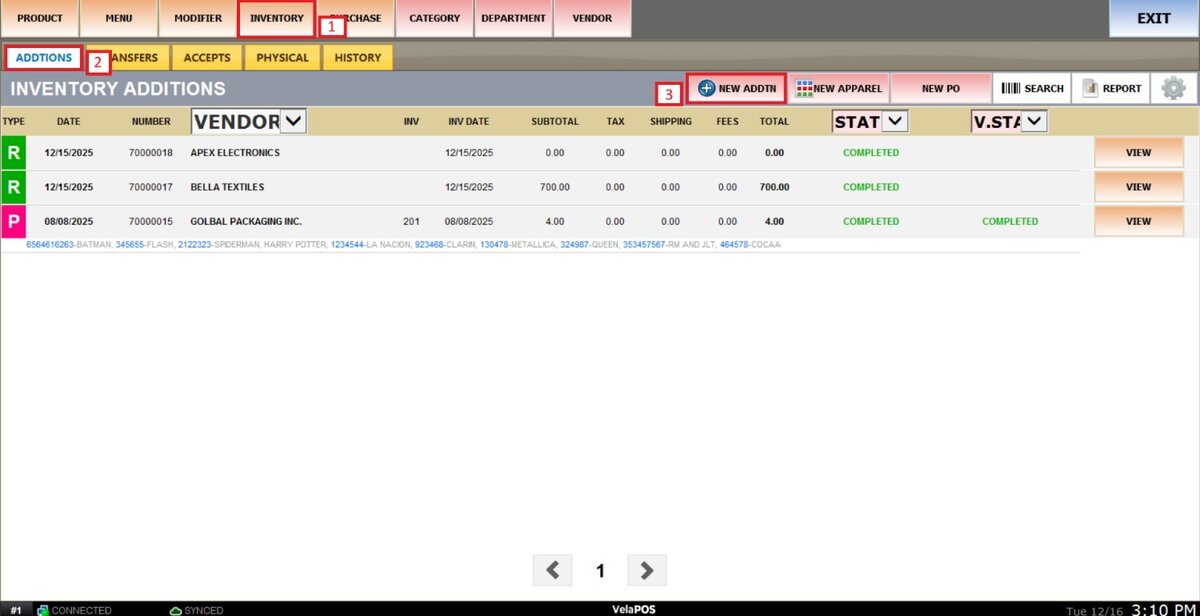
Go to INVENTORY, select ADDITIONS and press on NEW ADDTN.
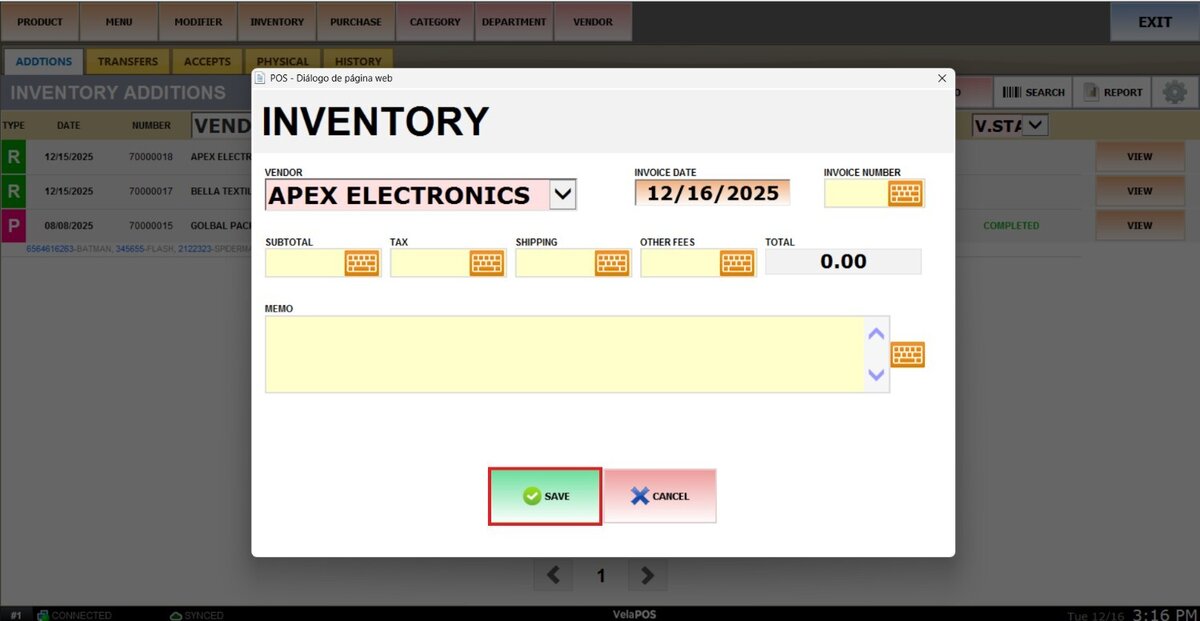
From here, you can enter the invoice information. The minimum required details are the date and the selected vendor.
Once completed, click on SAVE.
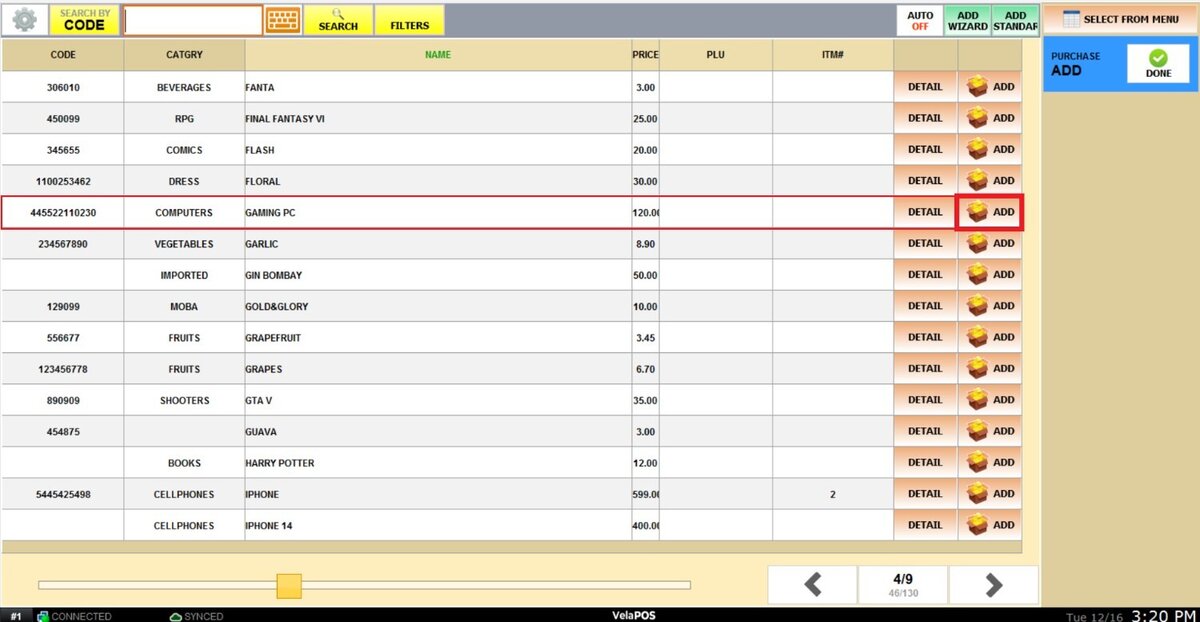
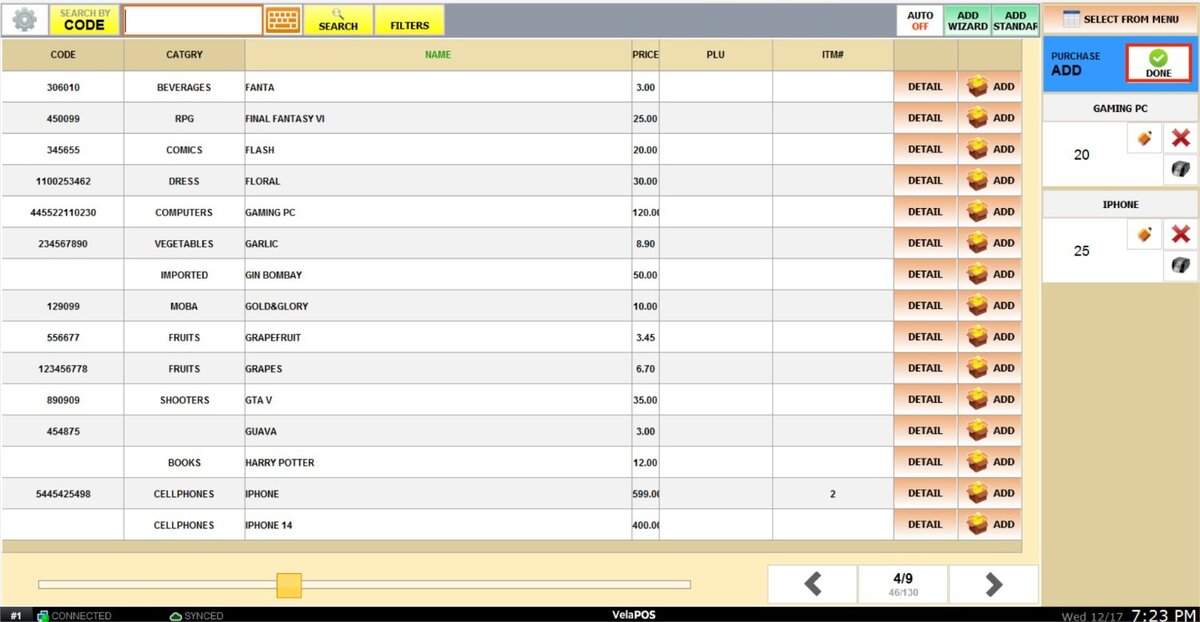
Select the products you want to add to stock by clicking ADD, then enter the quantity for each item.
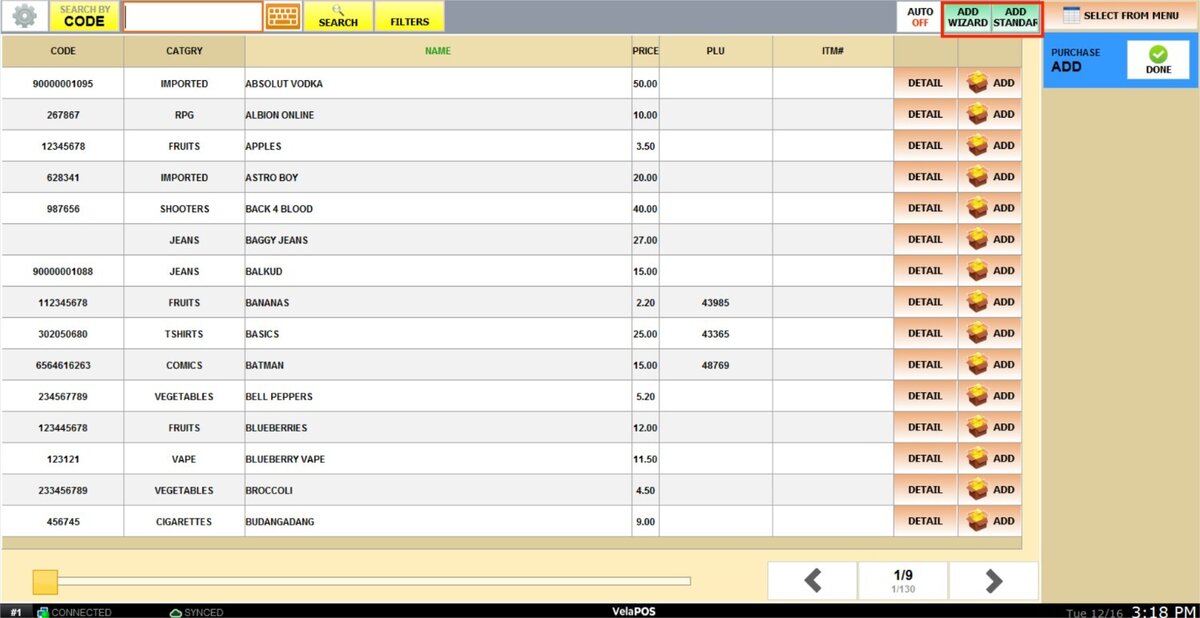
Hint: You can add new products from this screen by pressing on ADD WIZARD or ADD STANDARD.
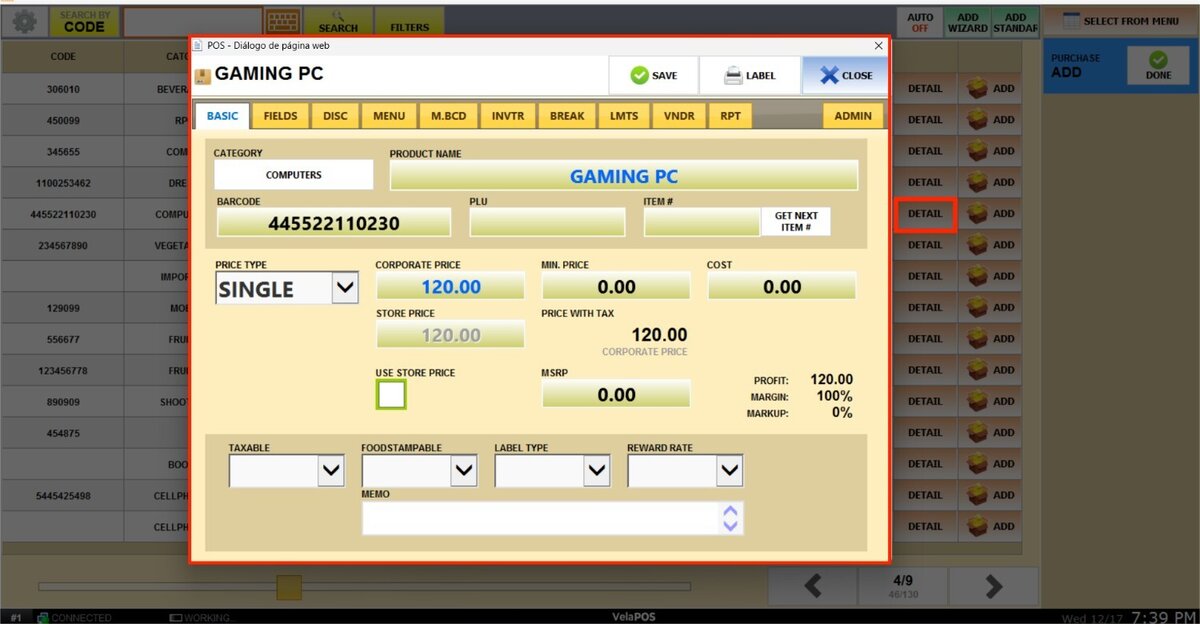
You can also view and edit the product's details by pressing on DETAIL.
After completing the process, click on DONE.
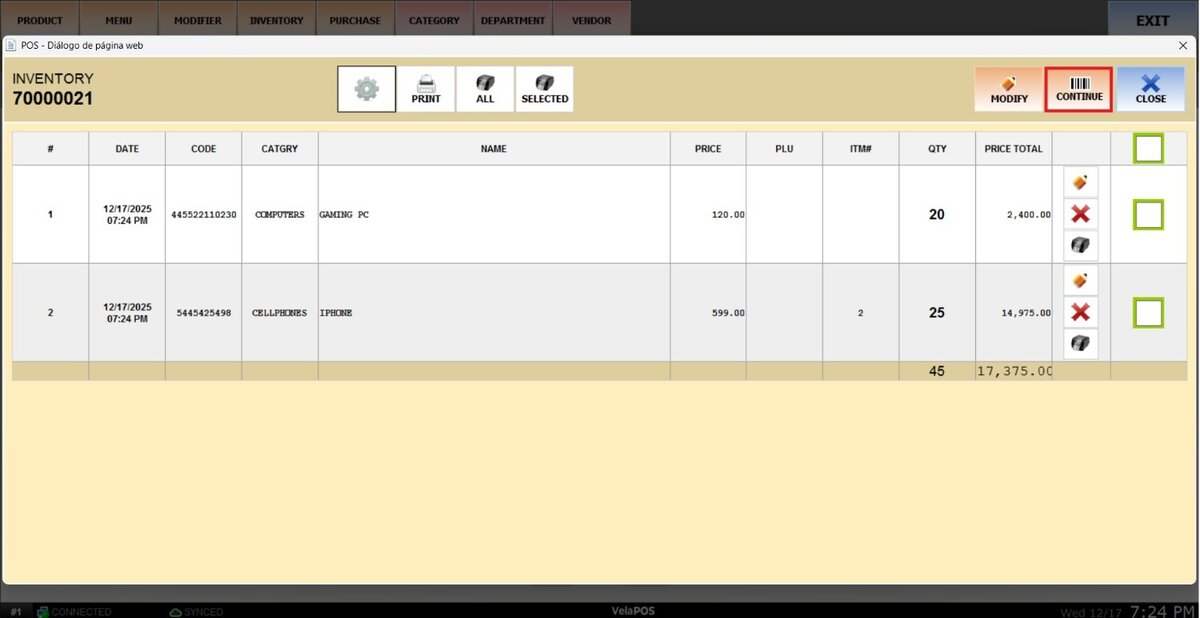
Here, you can review the invoice's information, print the invoice, print labels for selected or all products, and edit the invoice's information by pressing on MODIFY.
To continue editing the product's quantities, add more products or remove one, click on CONTINUE.
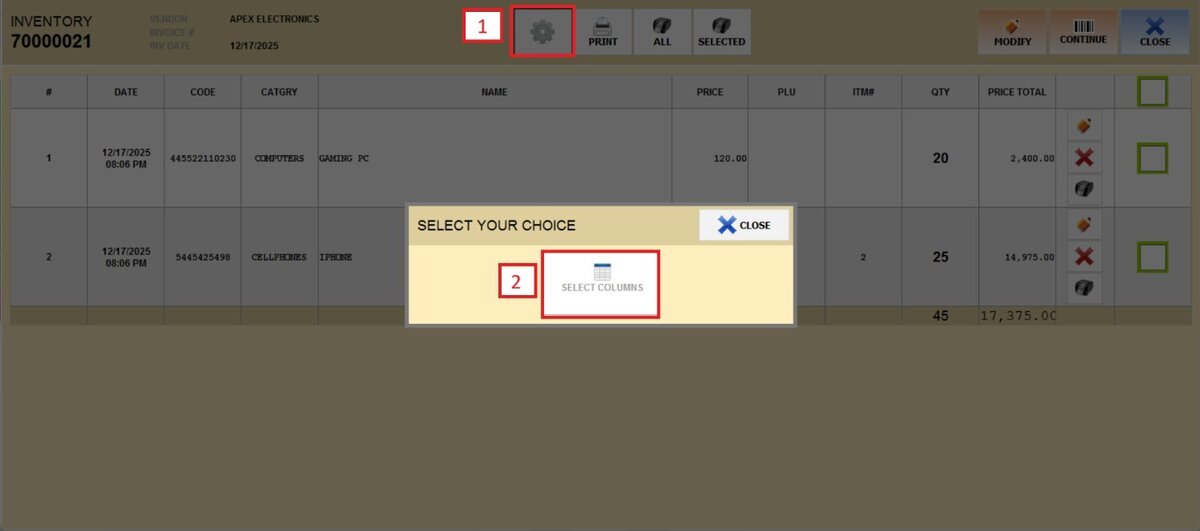
Hint: You can edit the columns shown on the invoice by going to the gear icon and pressing SELECT COLUMNS.
Check the box next to the information you want to be displayed on the invoice.
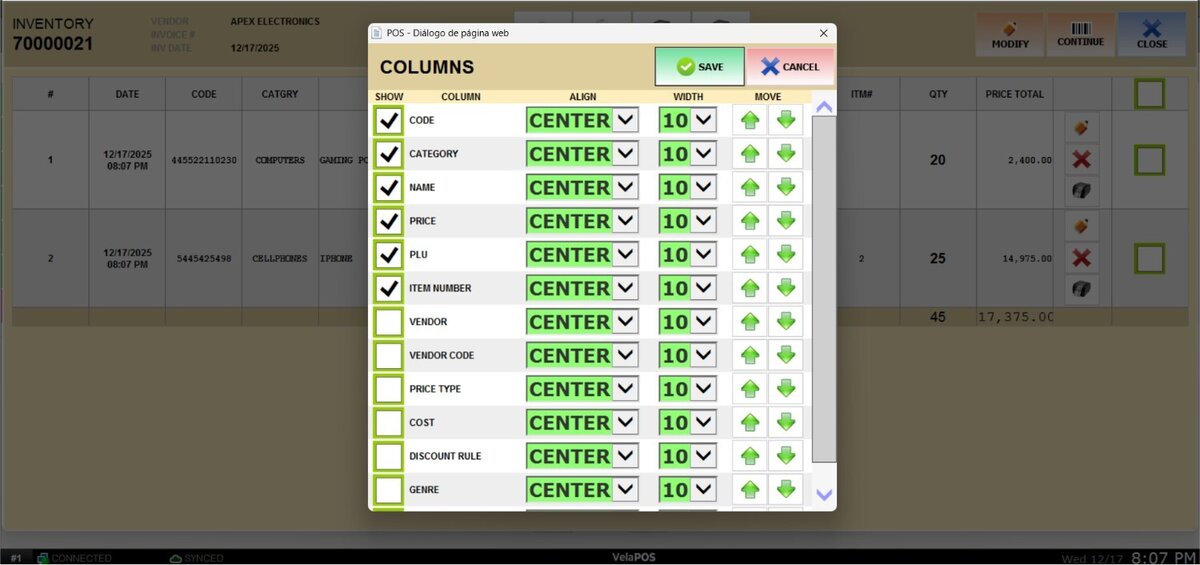
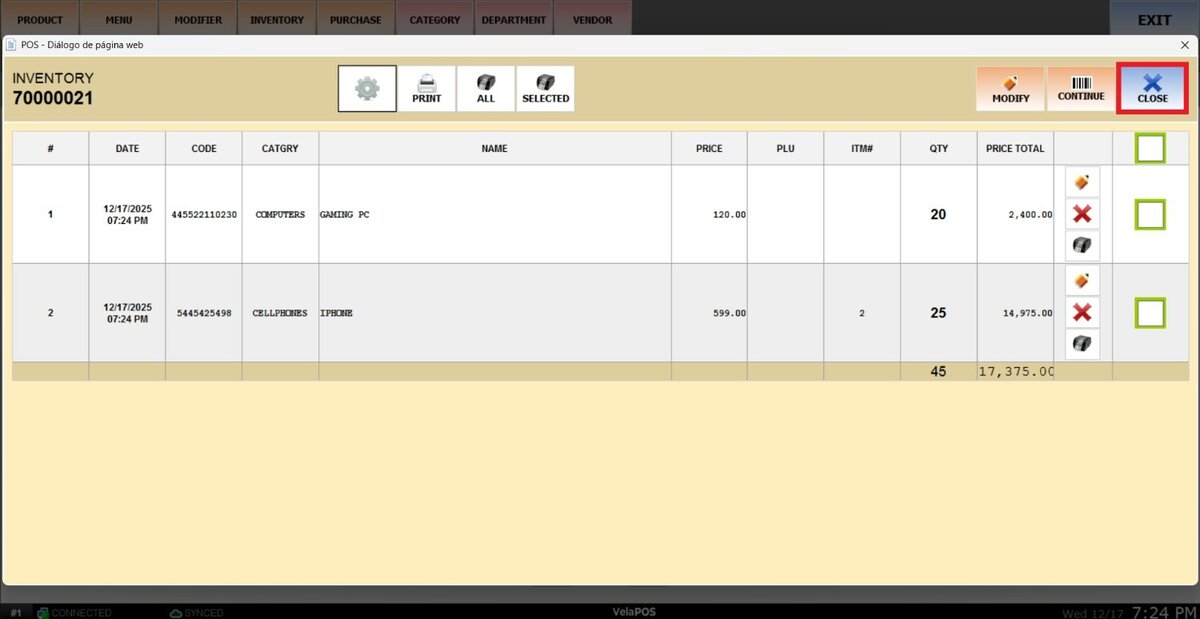
Once completed, press CLOSE.
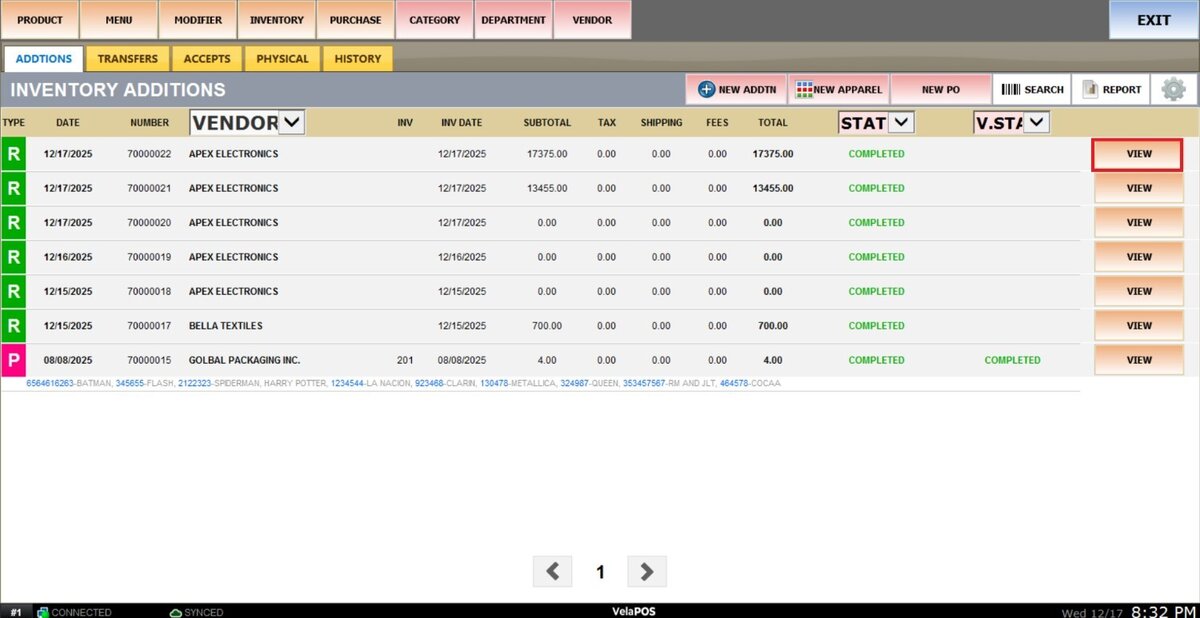
Result:
Here you can see the invoice with a COMPLETED status.
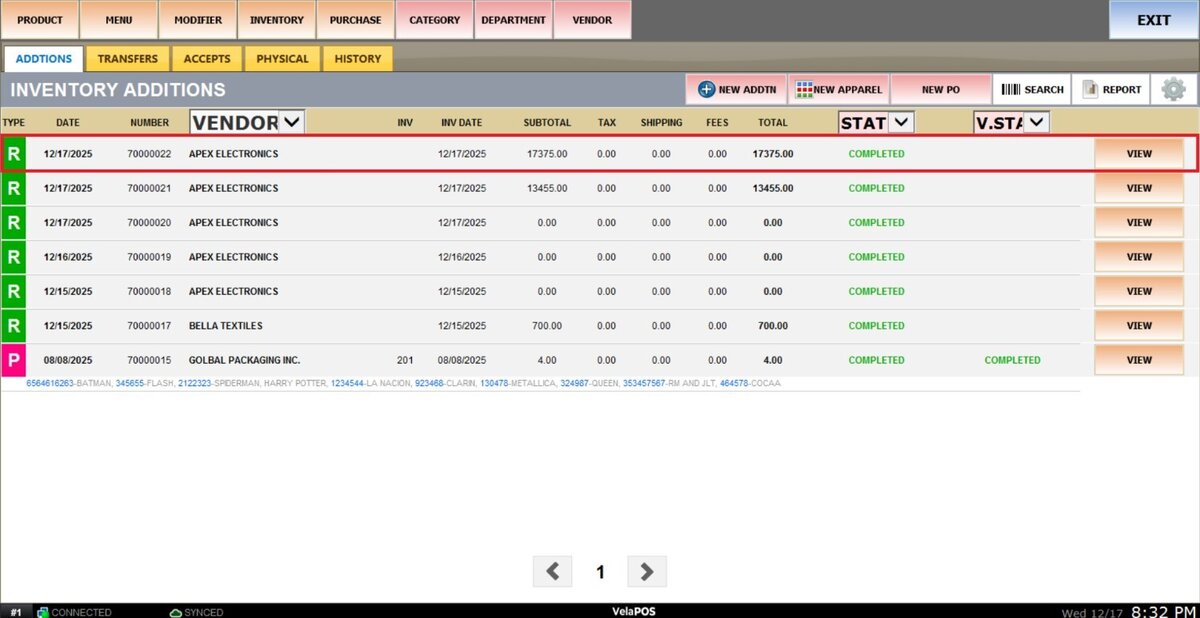
To keep editing the invoice, click on VIEW.