Modifier
Modifiers are customizable options that let you tailor a product to customer preferences. This guide walks you through how to create and manage modifiers, step by step.
Main Screen> MENU> PRODUCTS> MODIFIER
Go to MENU and press on PRODUCTS.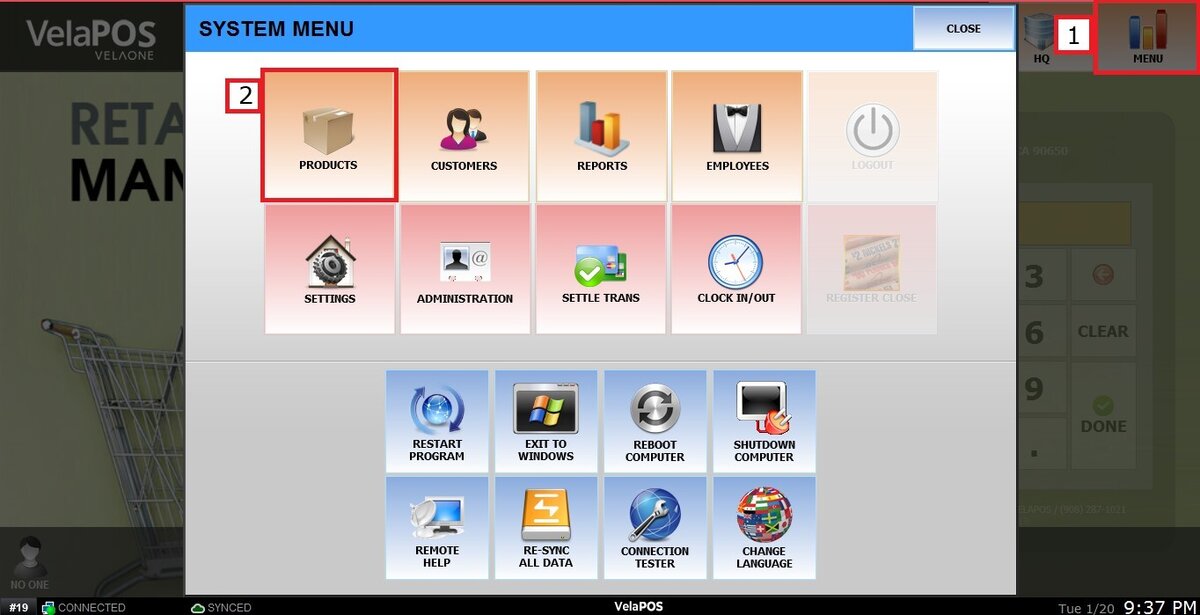
Go to the MODIFIER tab 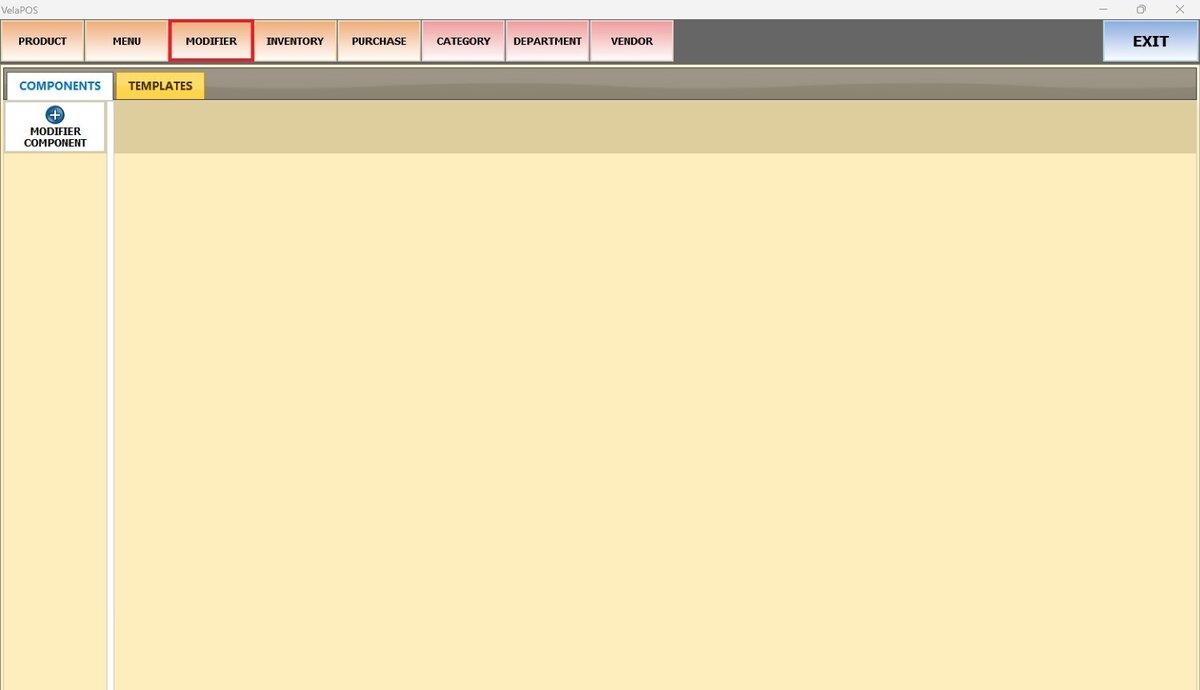
COMPONENTS
Open the COMPONENTS tab to create and organize groups of related modifier items.
Select MODIFIER COMPONENT.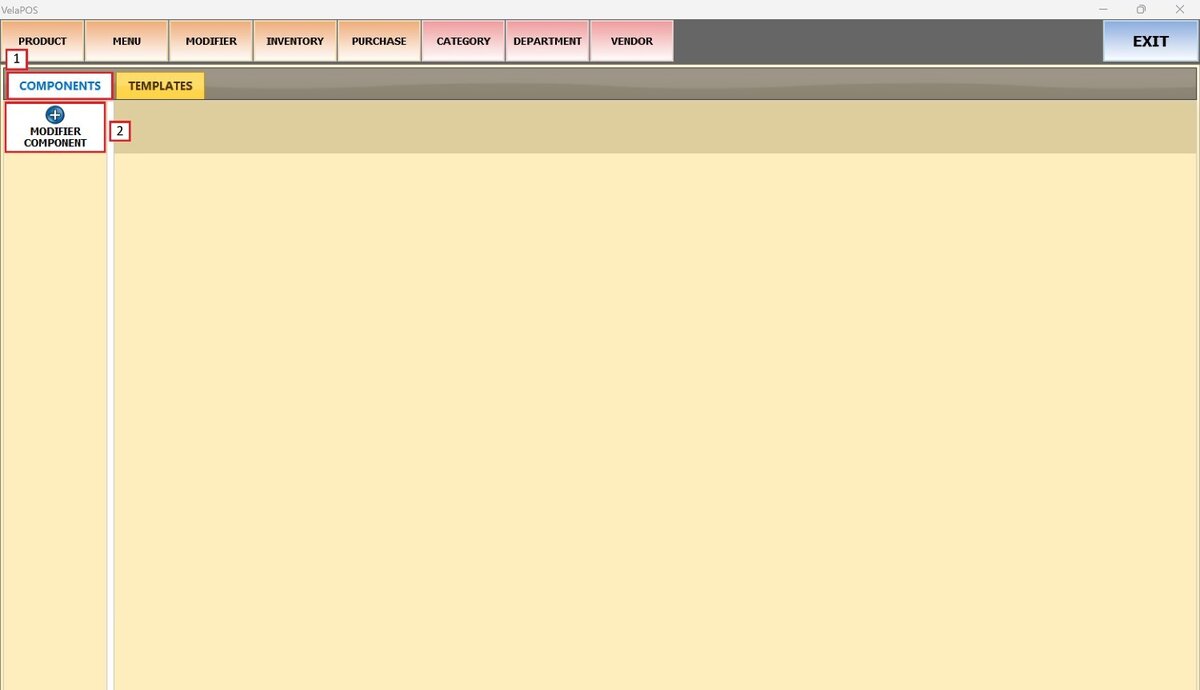
Enter a name for the new component when prompted.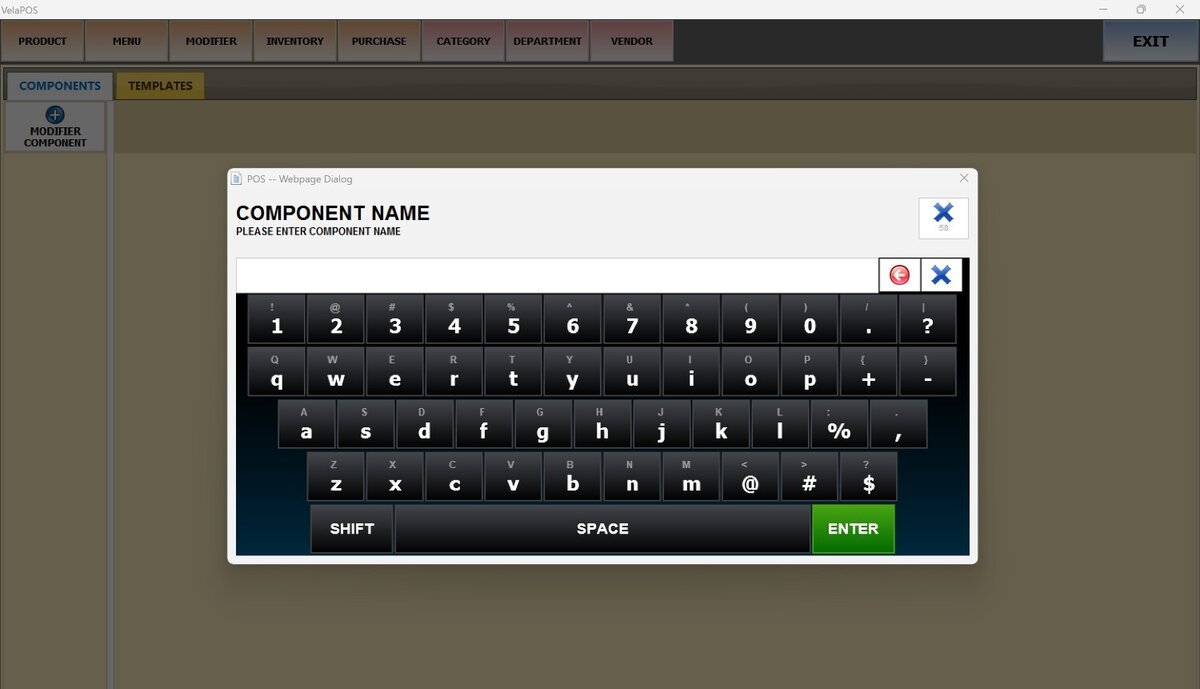
You can use DELETE to remove a component and MODIFY to rename it.
Open a component and select ADD ITEM to create items within that group.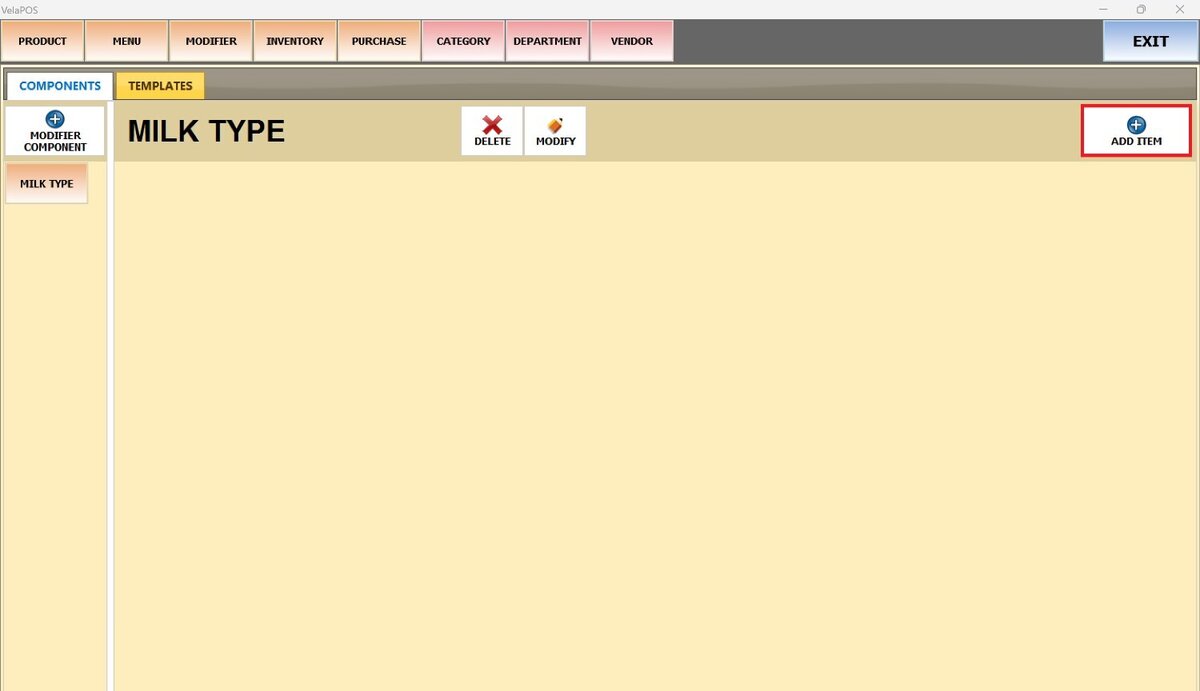
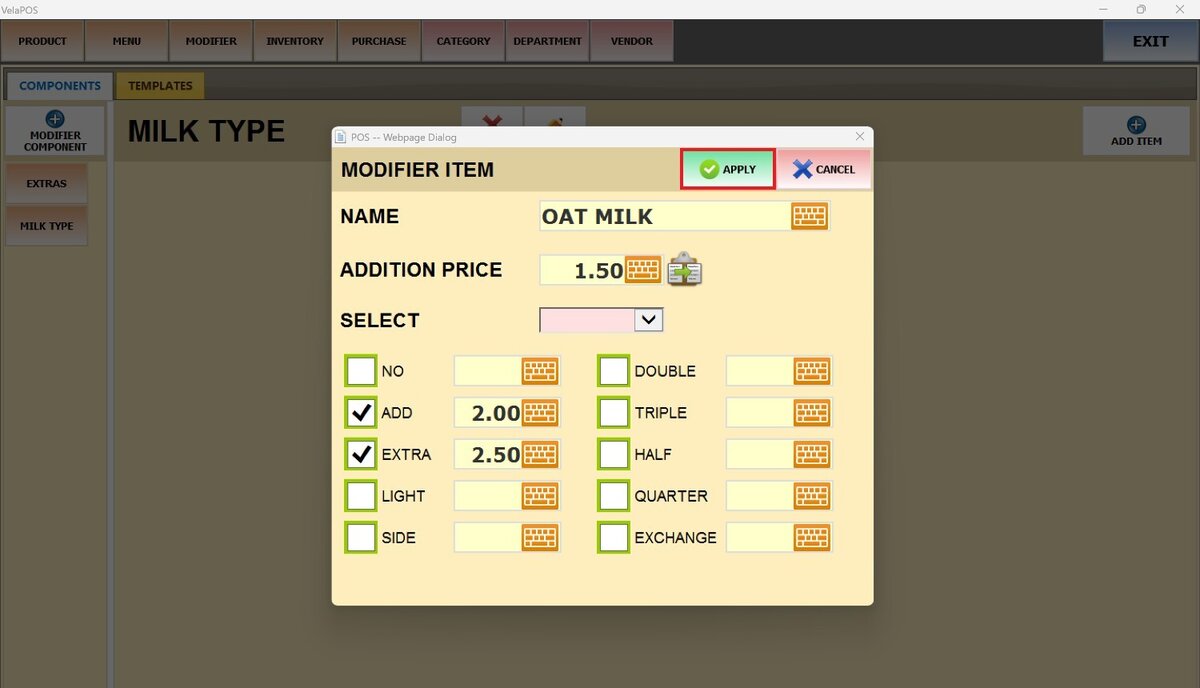
When pressing the ADD ITEM button, a screen opens up to input the item's information:
1. NAME: Enter the label that identifies the item.
2. ADDITION PRICE: Enter the charge applied when the item is added to the base product during a sale.
3. SELECT: Open the drop-down menu and choose DEFAULT for the item to be automatically applied to the base product during a sale.
4. MODIFIER QUANTITY OPTIONS: Each selection adjusts the quantity, intensity, or proportion of an ingredient, topping, or component. Enter the value and check the appropriate box to enable the surcharge.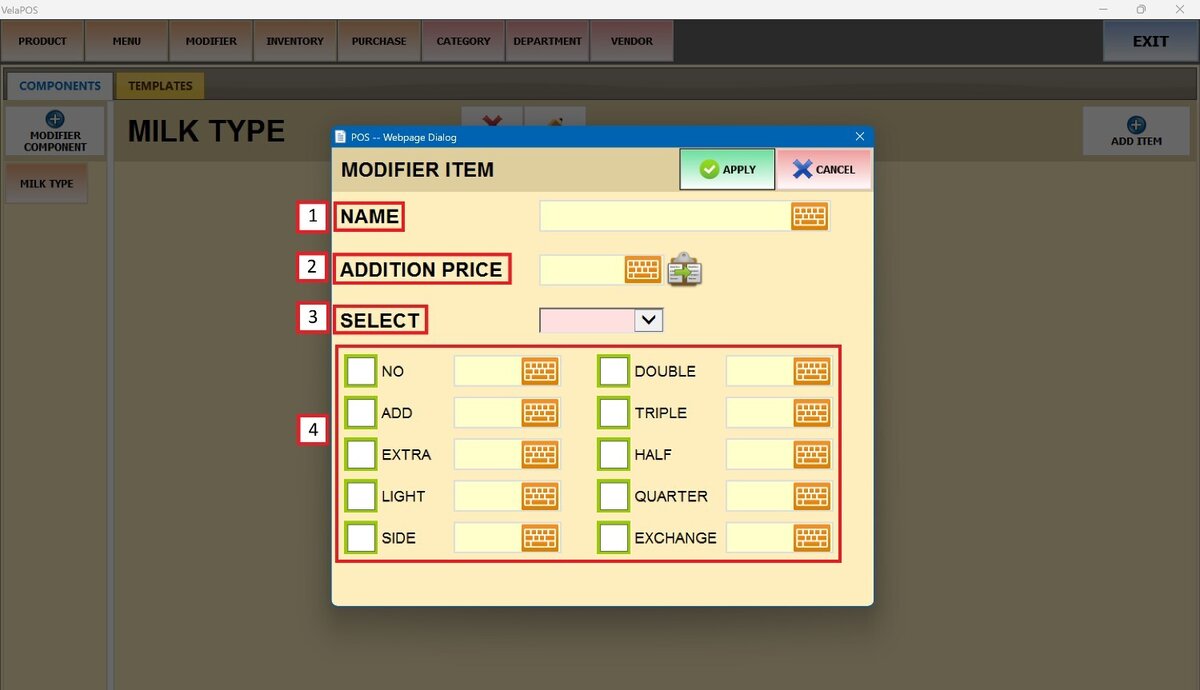
Hint: The clipboard icon next to the ADDITION PRICE field opens a list of existing modifier items within the same group. From the pop-up, select the item whose information you want to copy.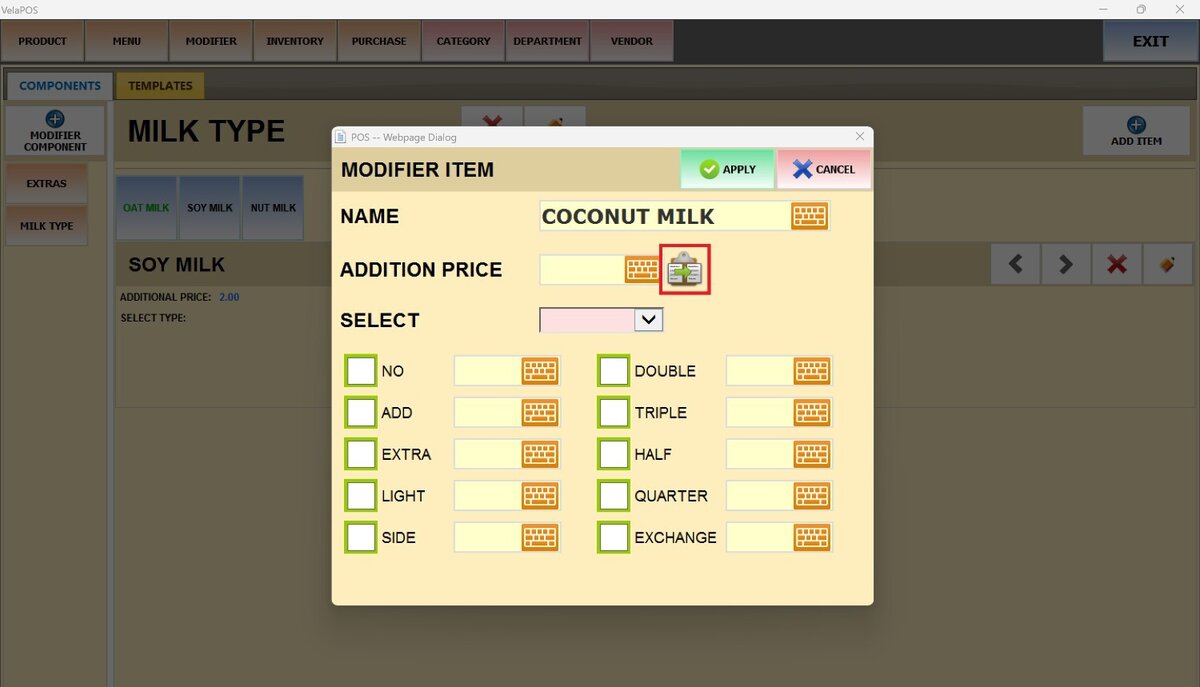
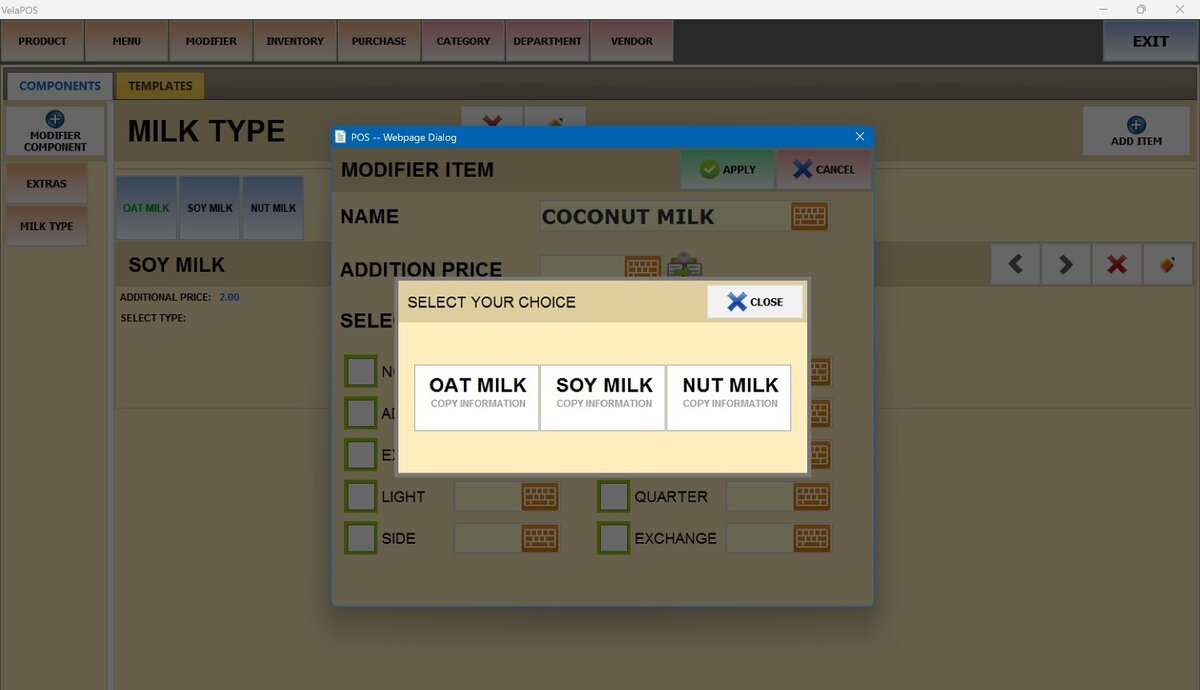
Result:
The information is copied automatically into the new modifier item.
Once you finish filling out the information, press APPLY.
Result: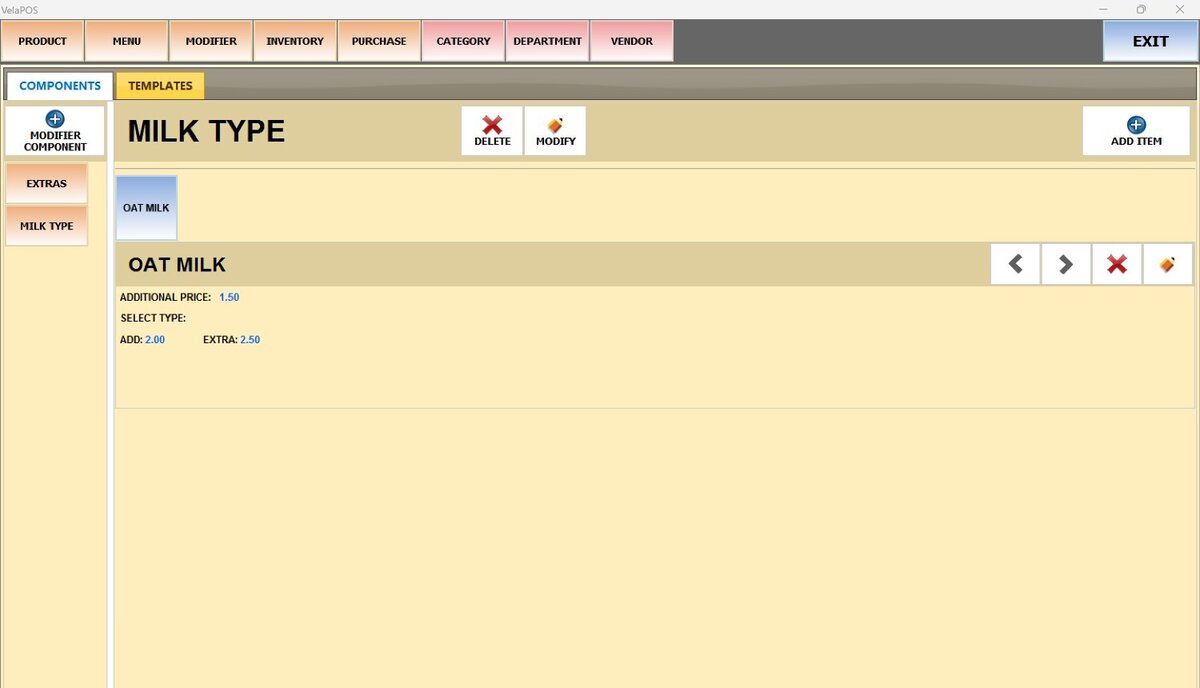
You can later select X to remove an item from the component and select the PENCIL ICON to edit it.
TEMPLATES
Templates allow you to group multiple components together so they can be assigned easily.
Open the TEMPLATES tab.
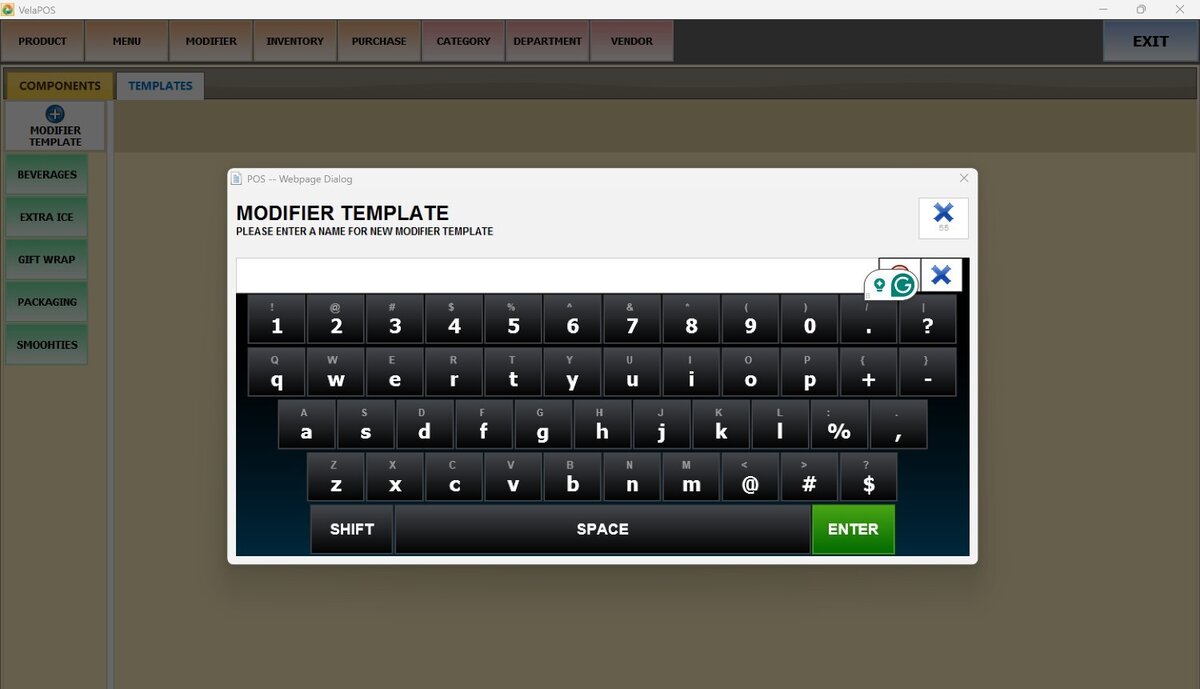
Press MODIFIER TEMPLATE, and enter a name.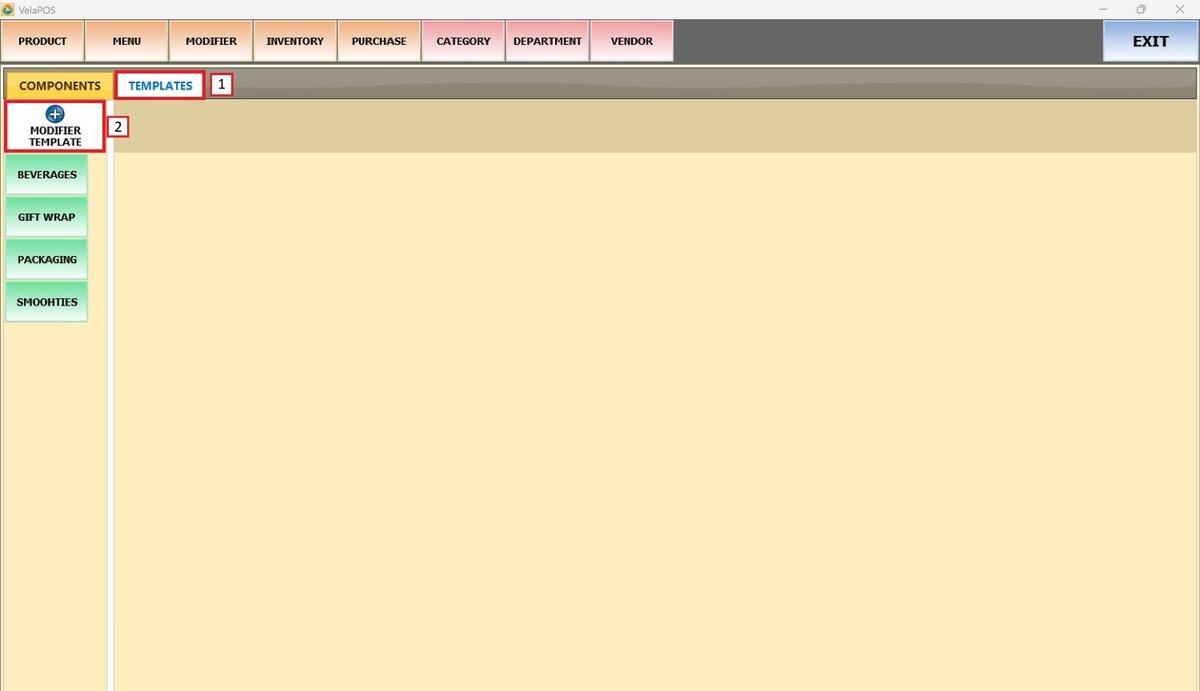
You can use DELETE to remove a template and use MODIFY to rename it.
Once the template is created, press ADD GROUP.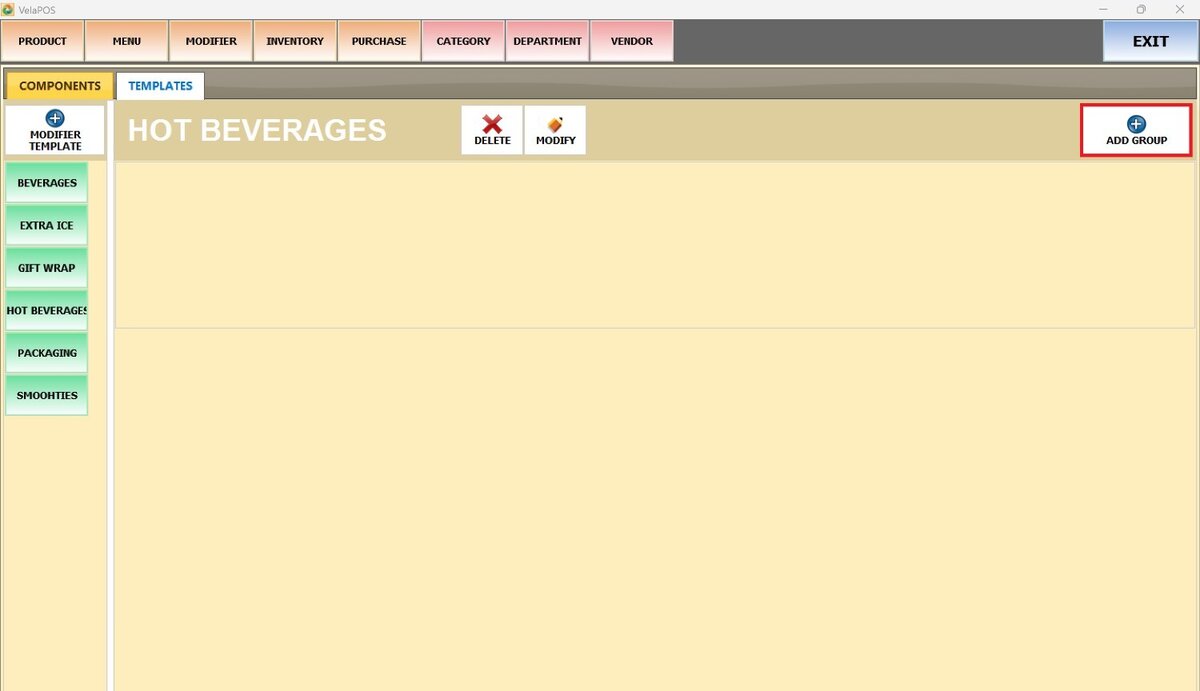
A pop-up will appear where you can set the template with the components and specifications:
1. COMPONENT: Open the dropdown menu to view and select from the full list of components available to add to the template.
2. MINIMUM: Define the minimum number of choices the user must select.
3. MAXIMUM: Define the maximum number of choices the user can select.
4. ROWS TO SHOW: Specify how many rows the component will occupy on the sales screen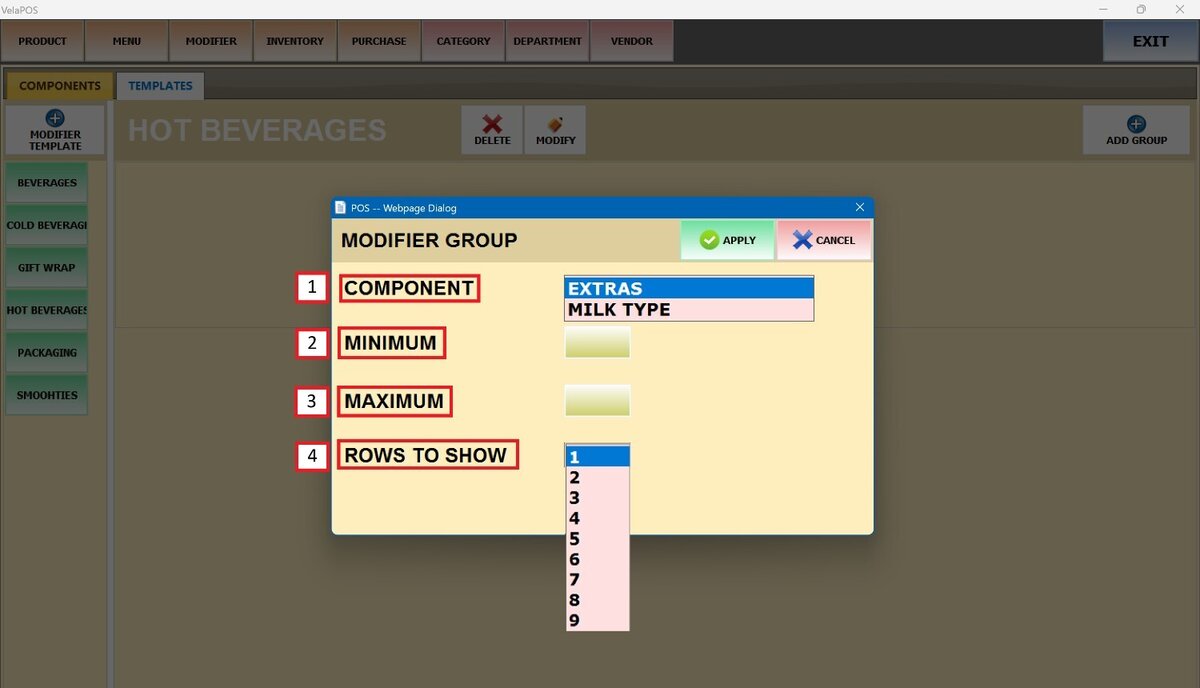
Once the information is completed, press APPLY.
Result:
The EXTRAS component group is added to the HOT BEVERAGES template.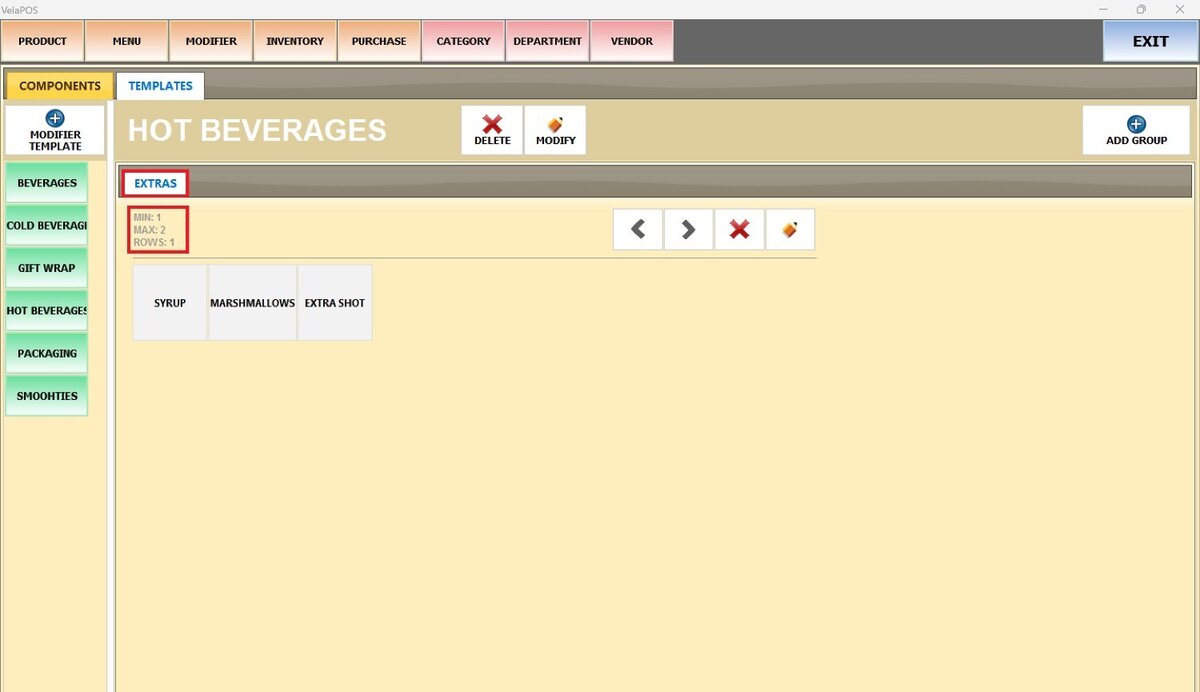
Use X to remove the component group from the template and use the PENCIL ICON to edit it.
See How to Assign Modifiers to a Product for product-level assignment.