New PO (Purchase Order)
This feature enables you to place orders with your vendors to restock products.
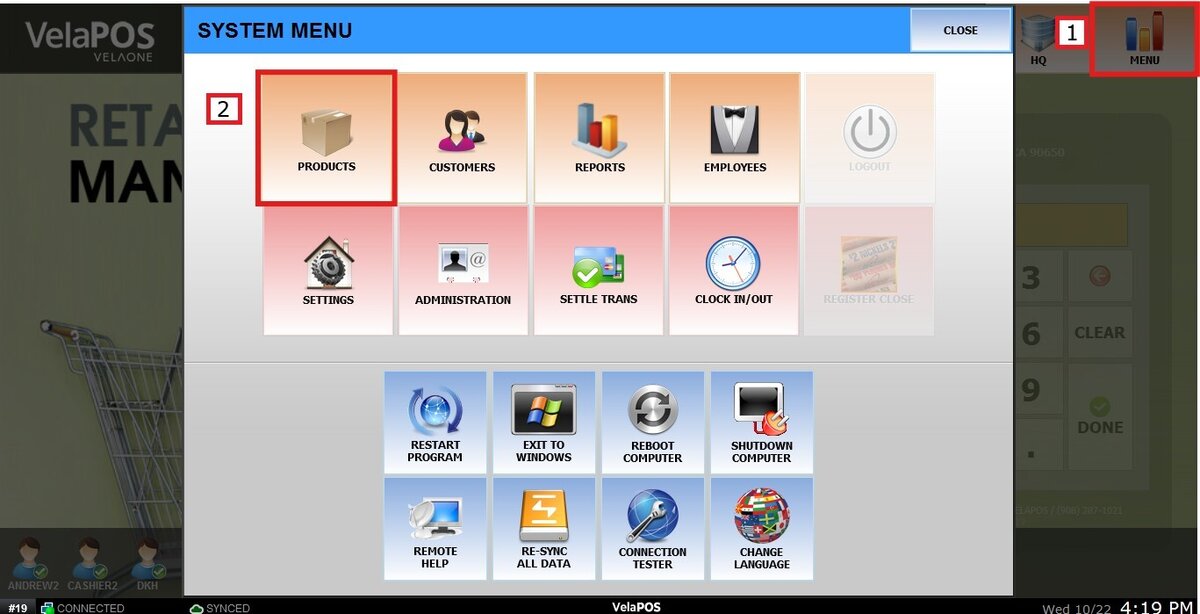
MENU > PRODUCTS > INVENTORY > ADDITIONS > NEW PO
Click on MENU, then select PRODUCTS
On the INVENTORY tab, under ADDITIONS, press NEW PO.

Select the desired vendor.
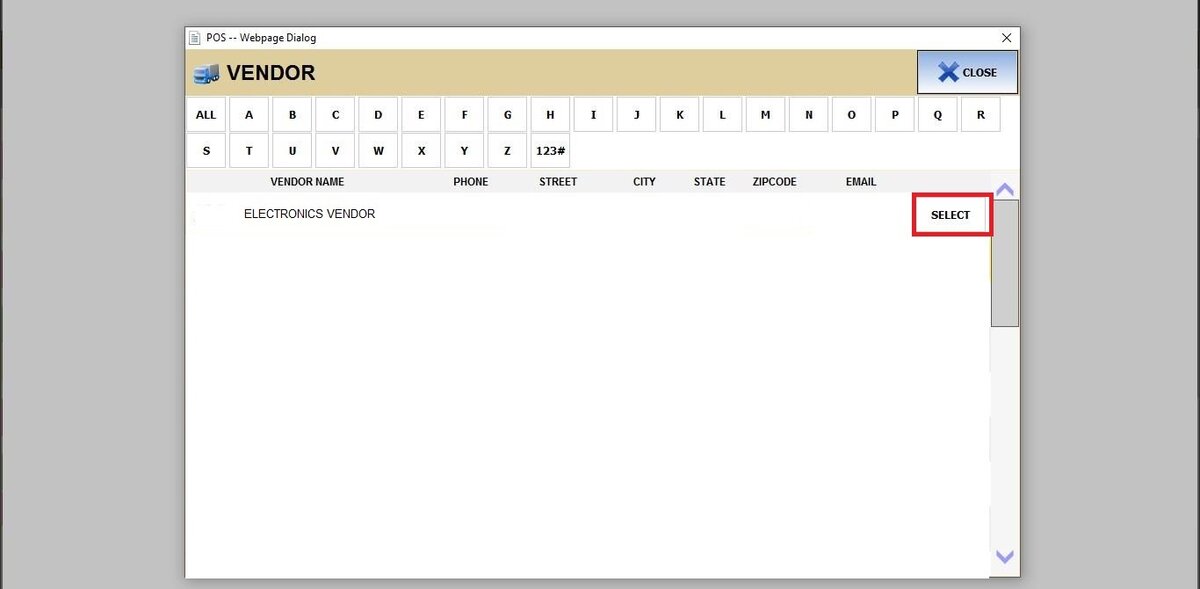
For guidance on setting up vendors, see the Vendor list guide.
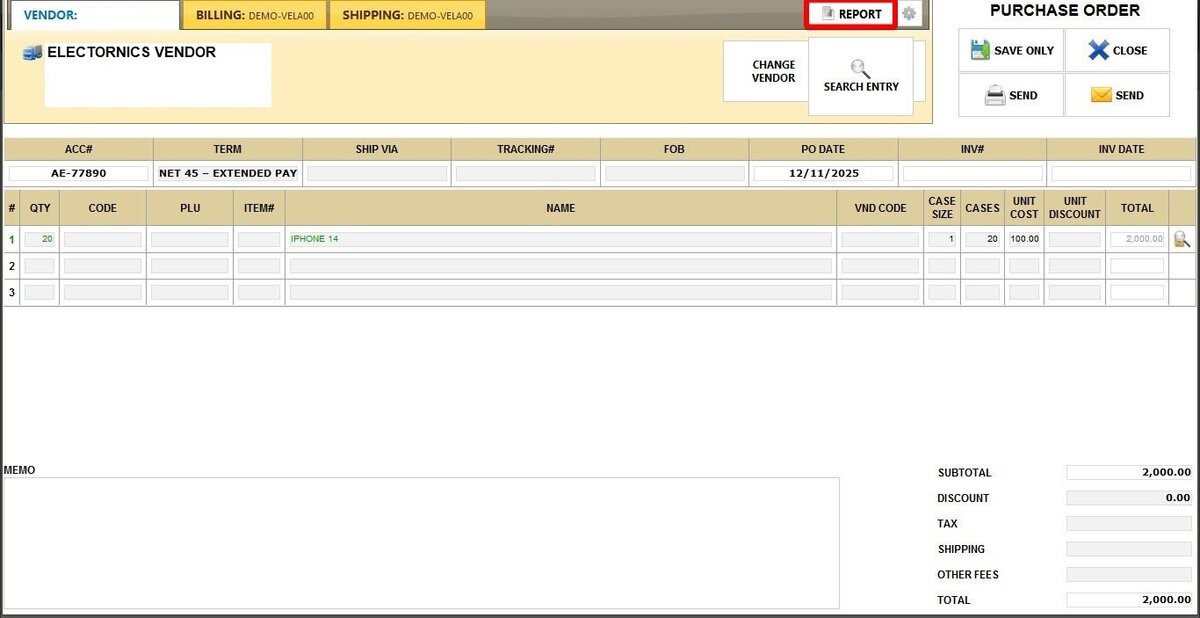
Adding Products
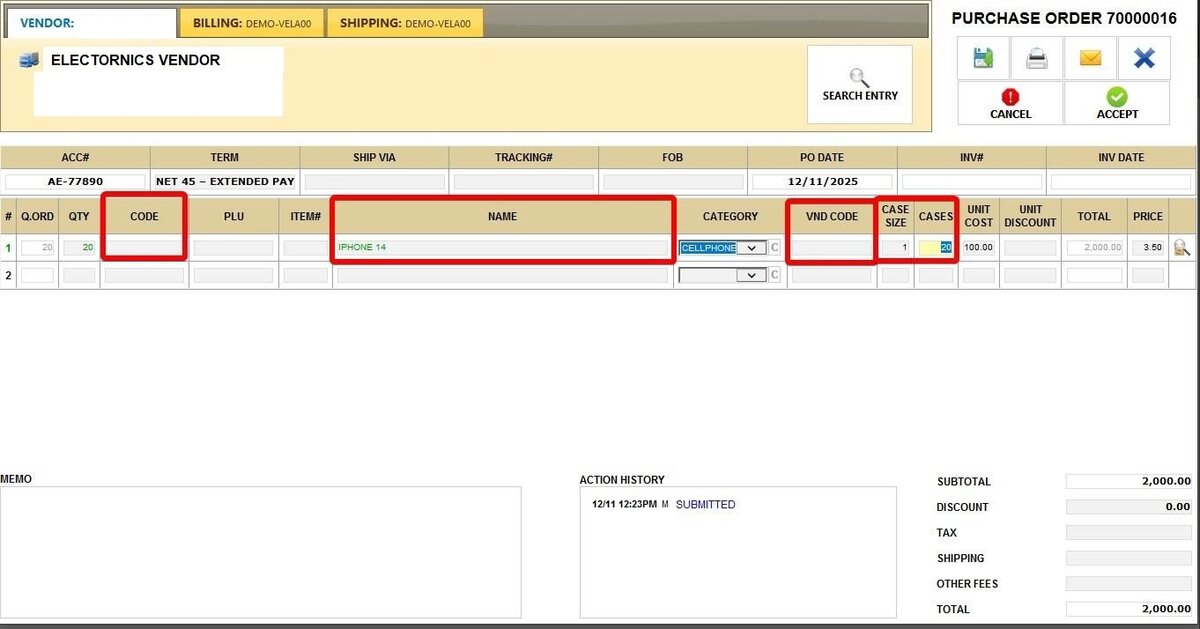
Input the products you wish to order and the required quantity. You can search for a product using its VENDOR CODE, CODE, or NAME.
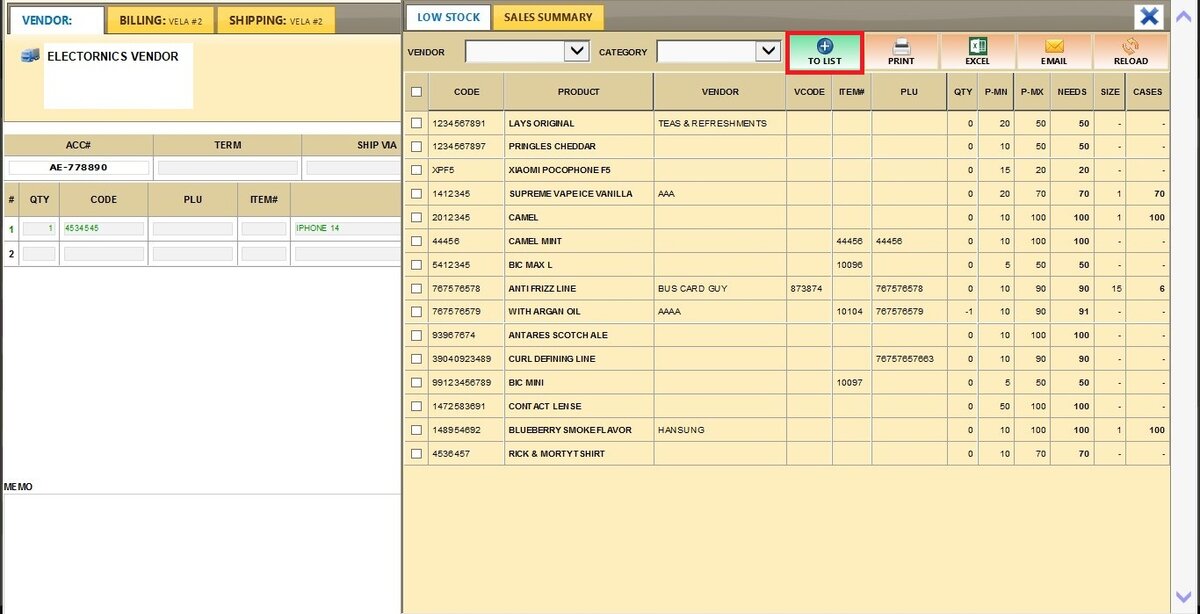
Adding Low Stock Items
To quickly add products currently running low to your order, go to the REPORT tab within the PO screen.
This report displays products with stock below the MINIMUM PARLEVEL. Check the box next to the items you want, then press TO LIST. The system will automatically add the necessary quantity to reach the MAXIMUM PARLEVEL. See the Minimum and Maximum Parlevel guide.

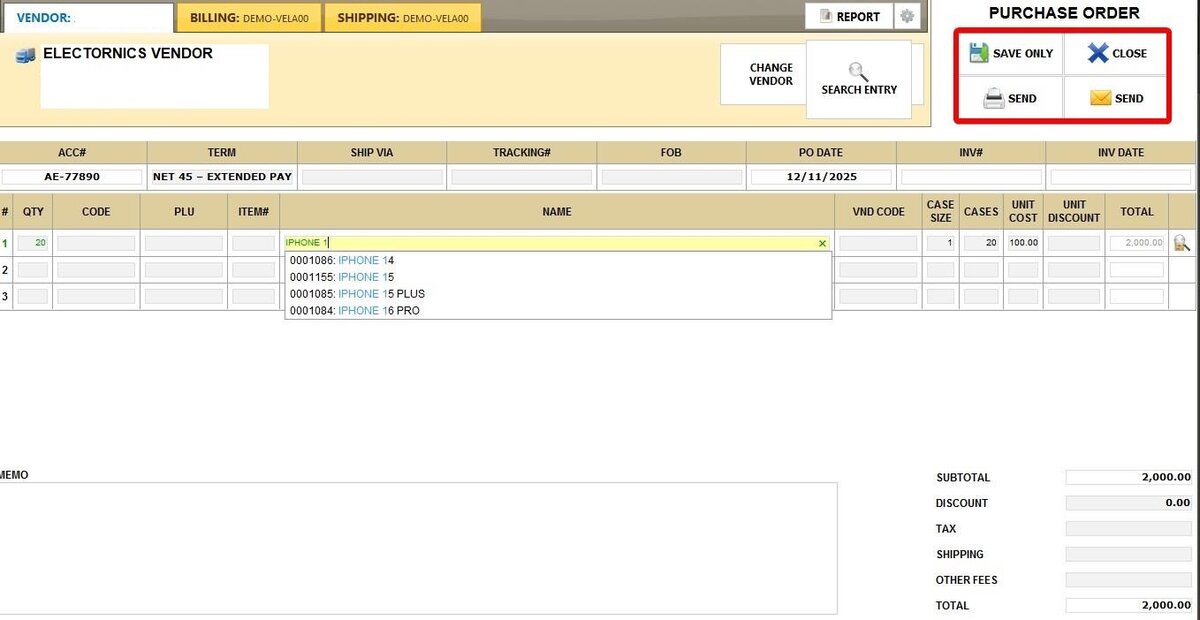
Finalizing the Order
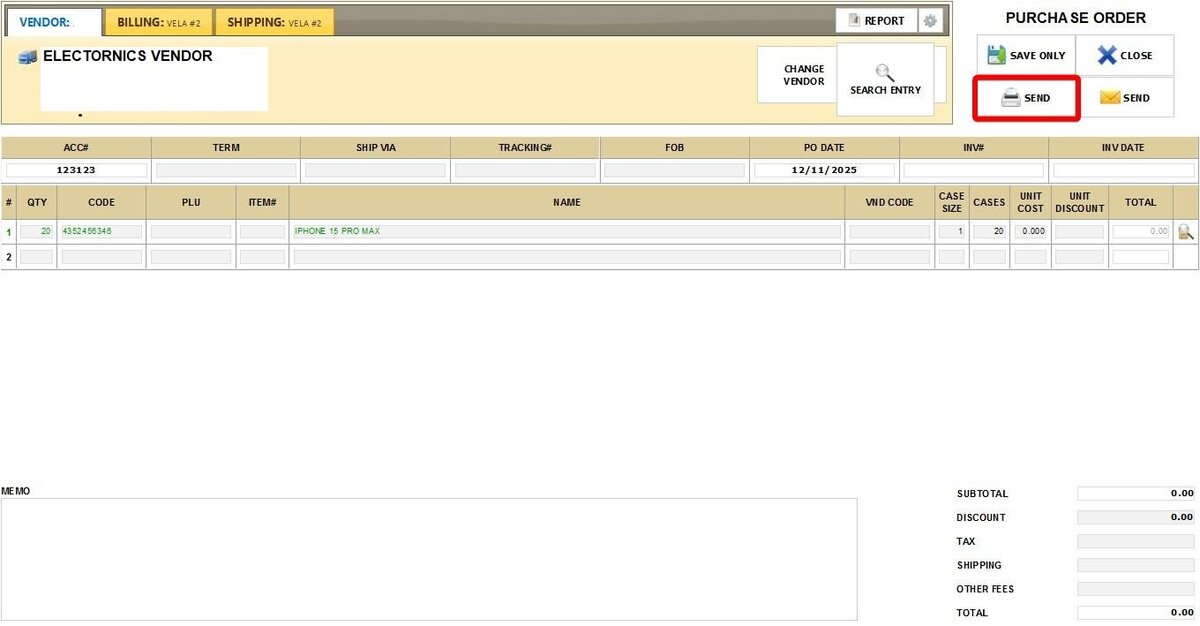
Fill in any necessary costs, memos, and discount information.
Next, you have three options: select SAVE ONLY to continue editing the order later, press SEND to print it or email it directly to the vendor, or select CLOSE to cancel the order entirely.
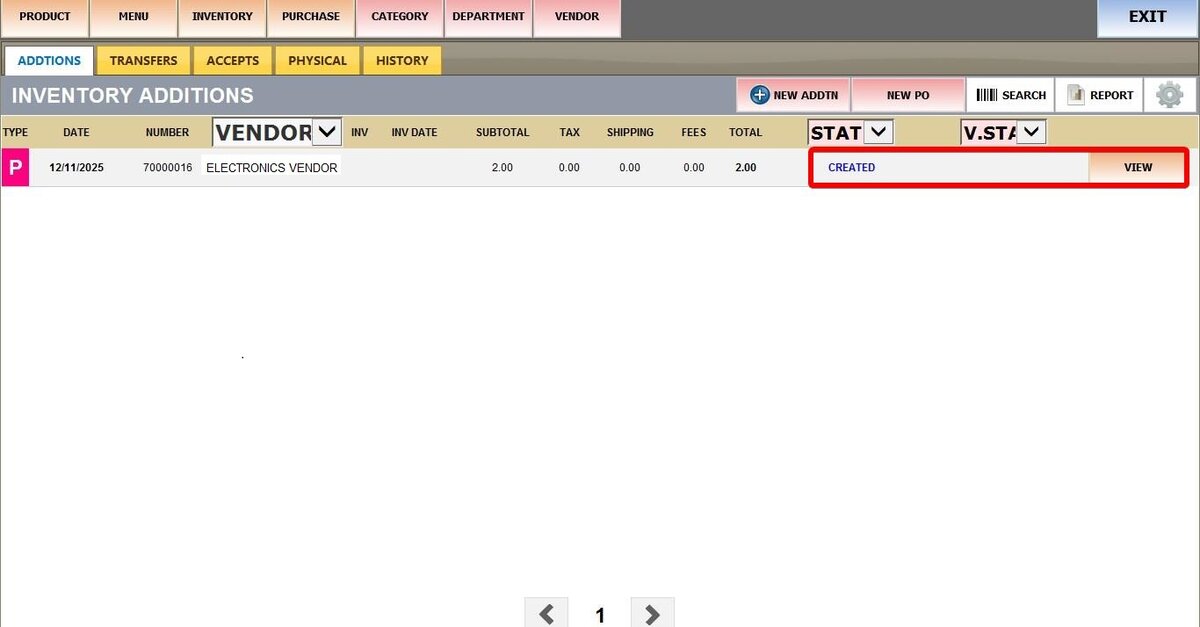
Receiving and Completing the Order
If you select SAVE ONLY, the PO will be displayed on the list as CREATED. You can click on VIEW to go back to the screen where you can send it.
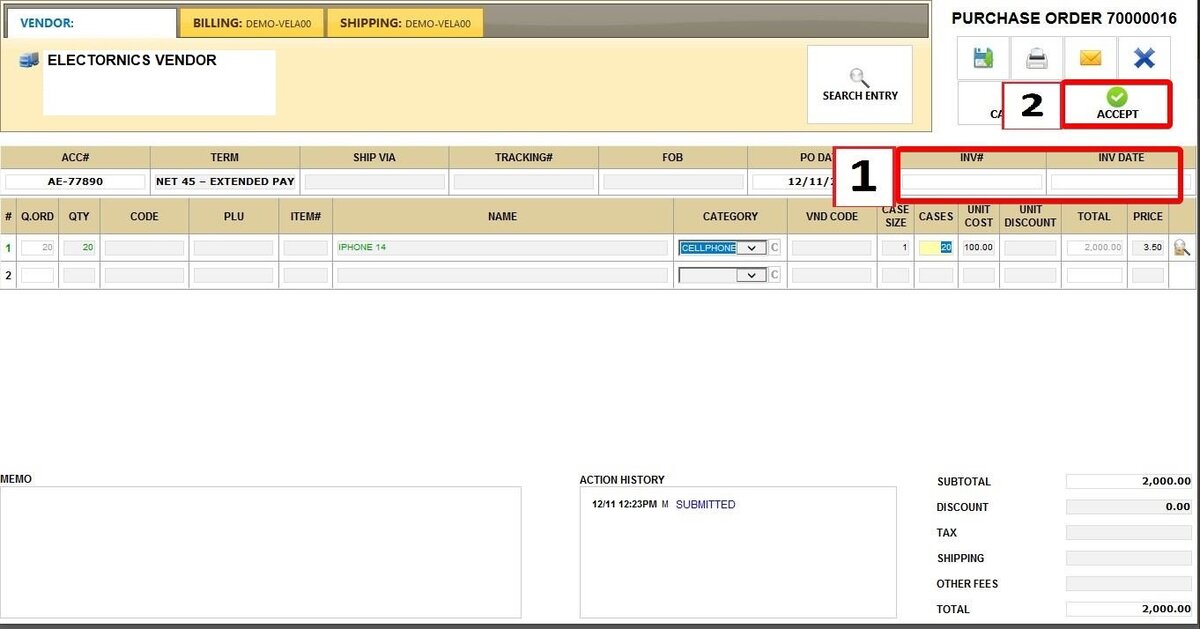
Once you press SEND, the purchase order will appear as ORDERED. When you receive the physical products from your vendor, press VIEW on the PO.

Fill in the invoice number, date, and other optional information as needed. Press ACCEPT to confirm the order, and the new stock will be added automatically to your inventory.
The order will now appear as COMPLETED.
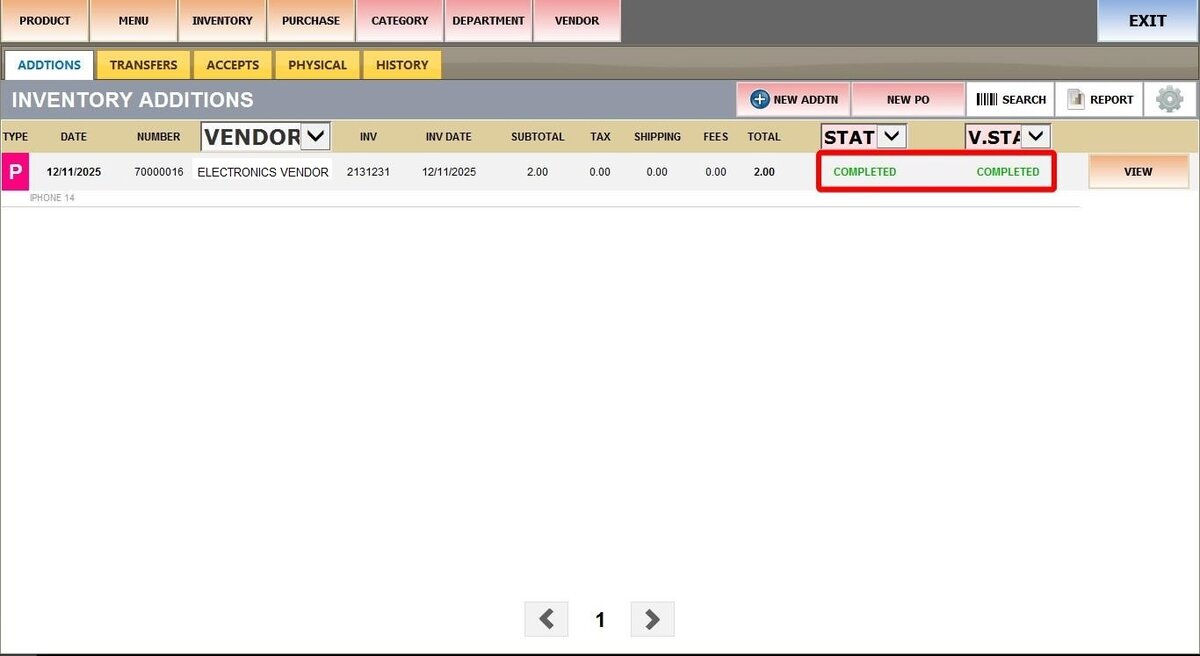
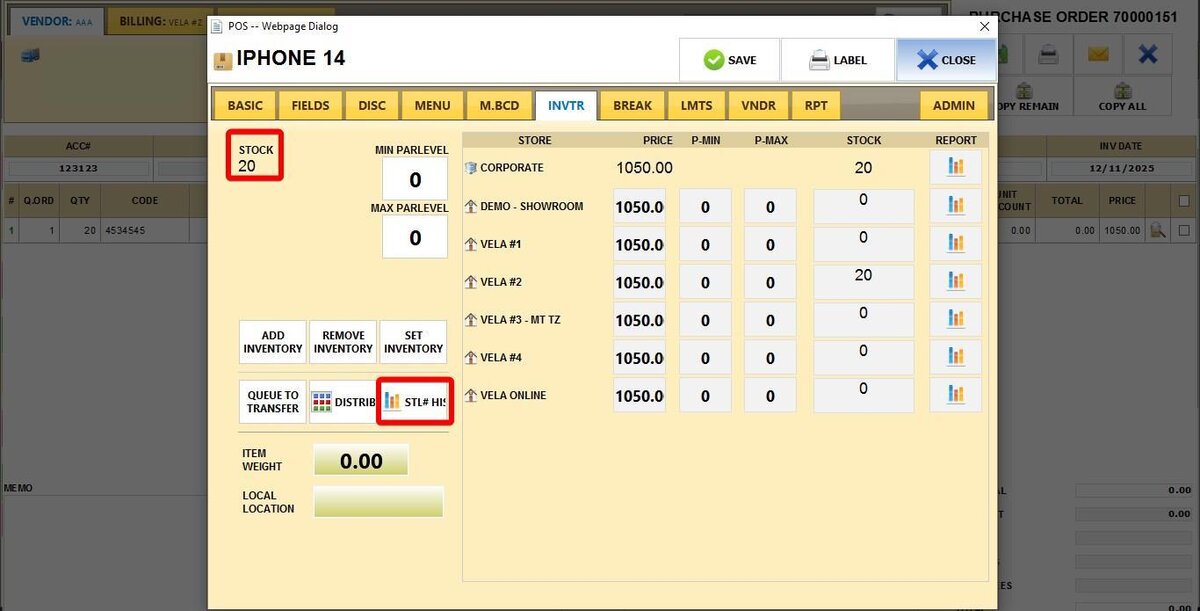
Result:
You can see the final stock reflected on the INVENTORY tab in the product detail screen. Additionally, you can review the successful Purchase Order record in the inventory history by going to STL# HISTORY.