Appointments
This area is used to enable the appointment feature, manage staff resources, and configure the services provided.
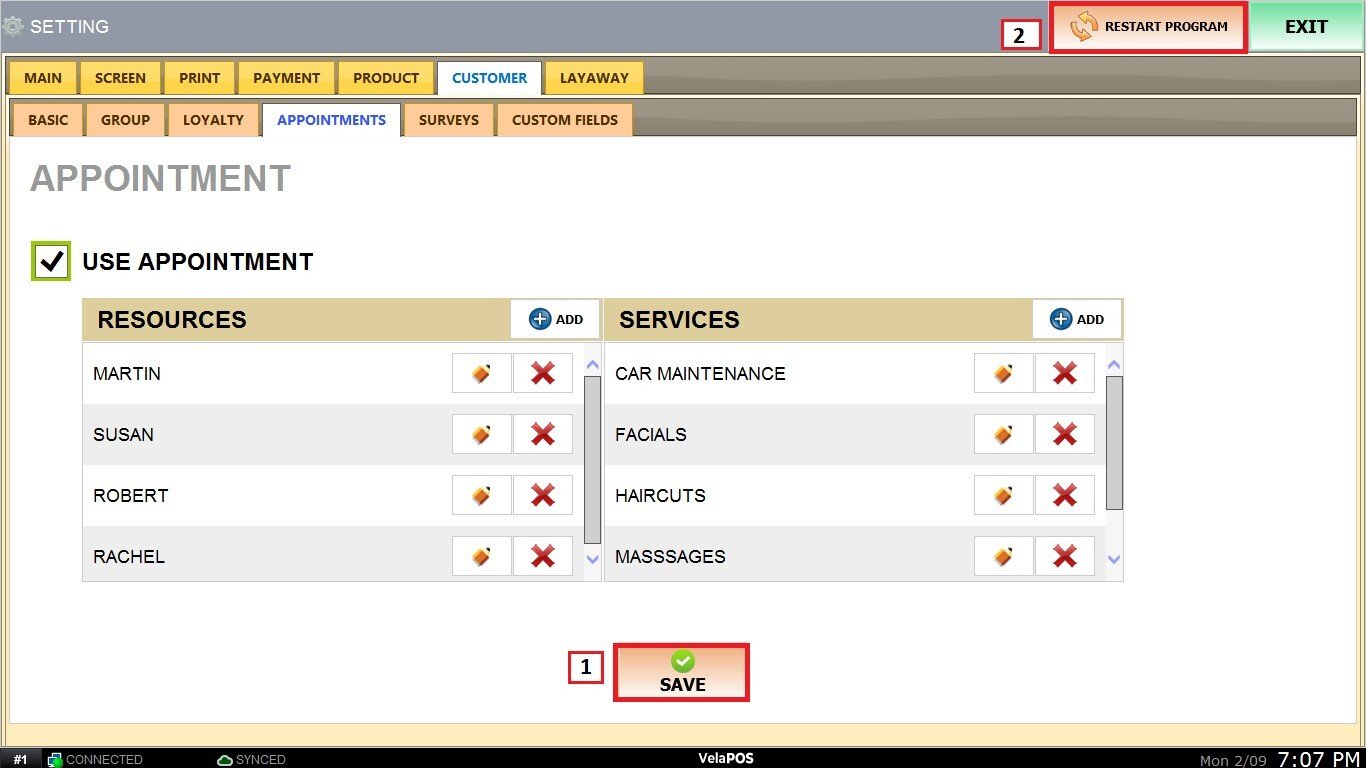
Main Screen> MENU> SETTINGS> CUSTOMER> APPOINTMENTS
Go to MENU and press SETTINGS.
Press CUSTOMER and select APPOINTMENTS.
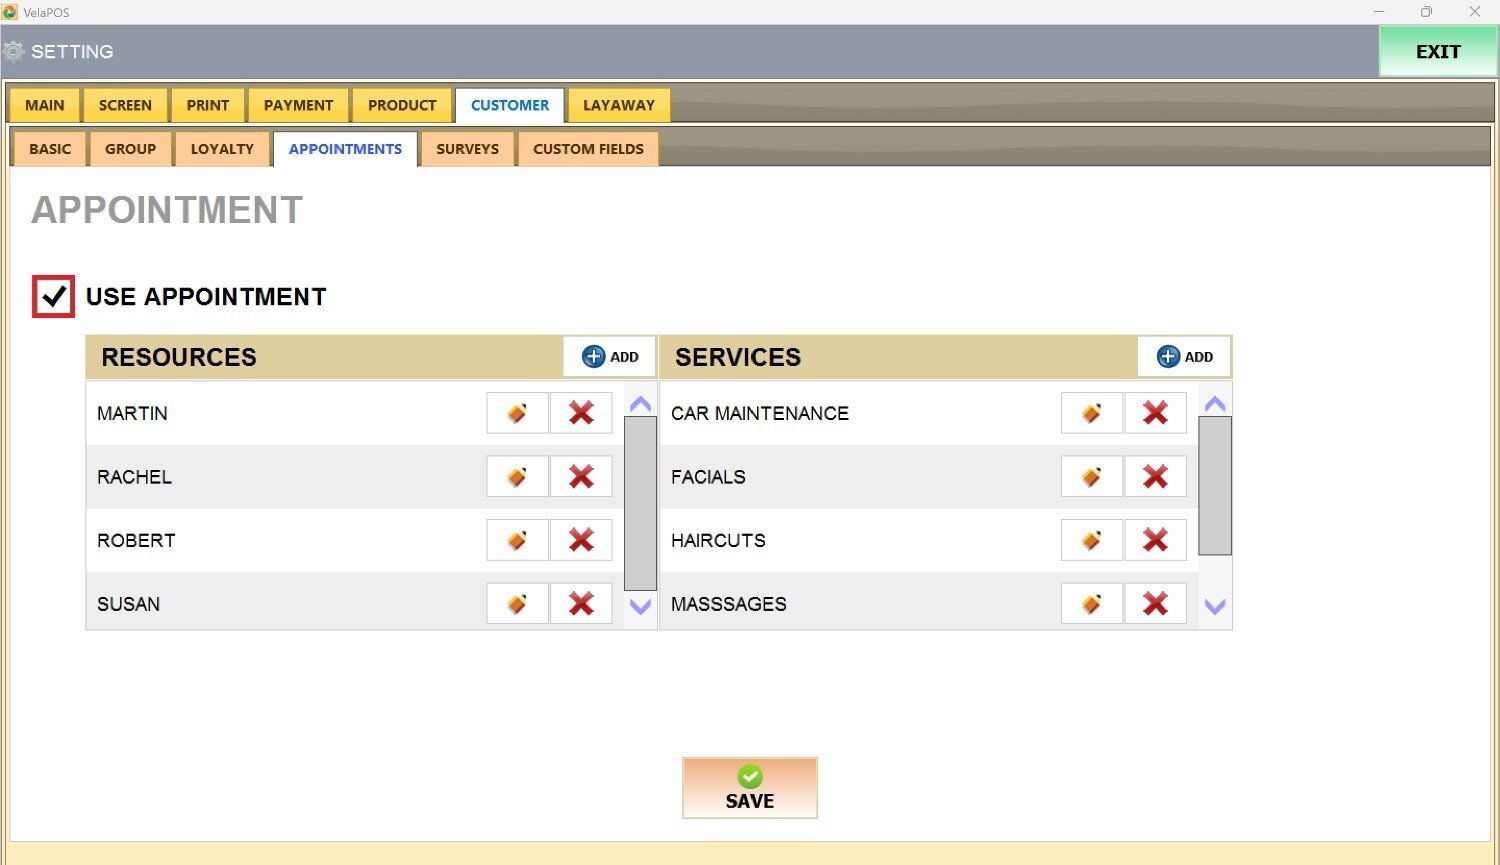
To activate the appointment feature, check the box labeled USE APPOINTMENT
Under RESOURCES, you'll find all the individuals who will perform the services.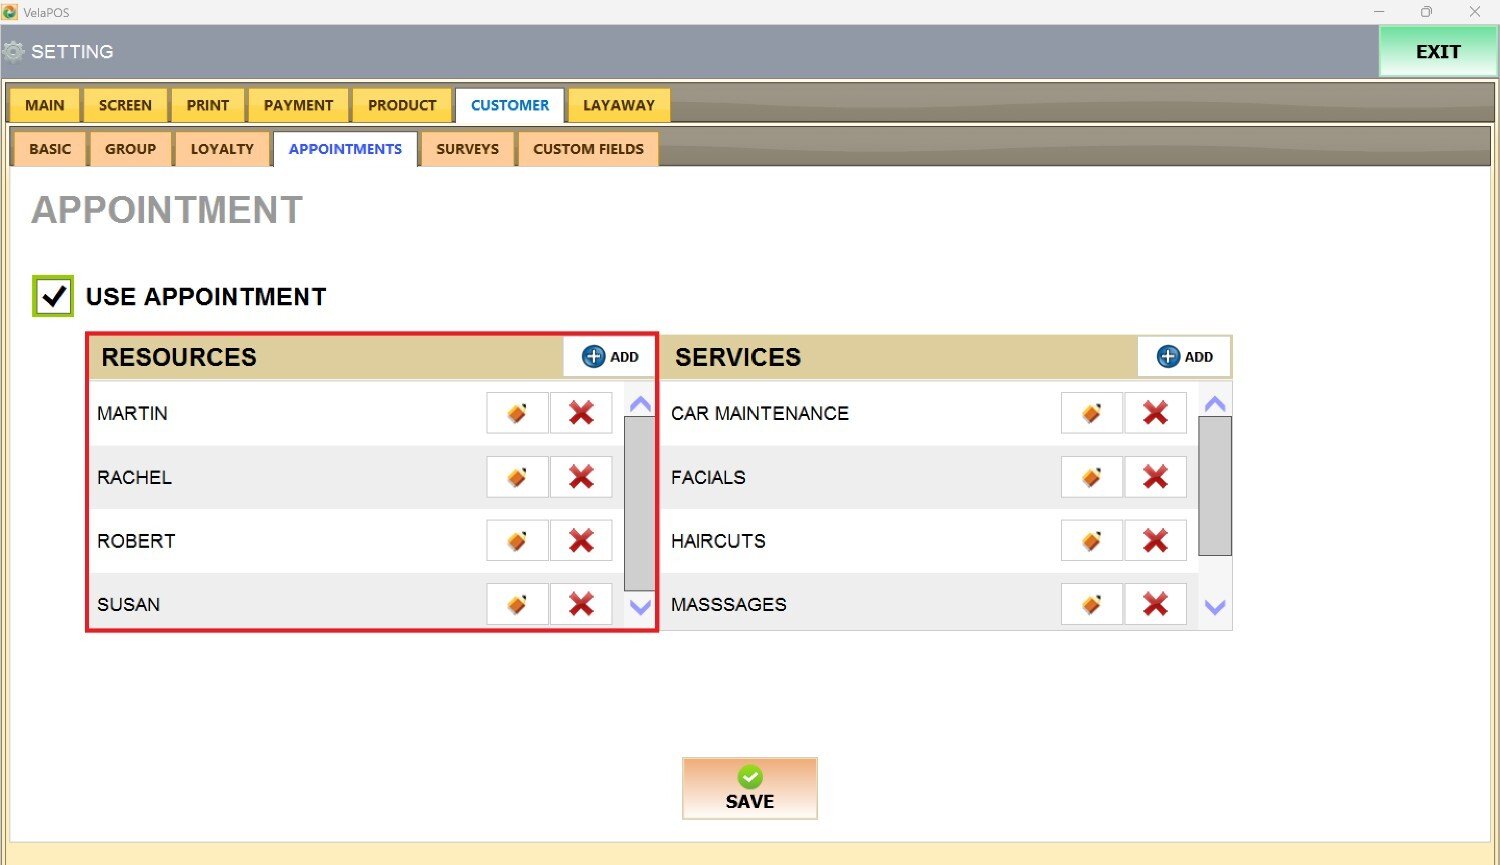
Press the ADD button next to RESOURCES, and it'll open the Appointment Resources screen.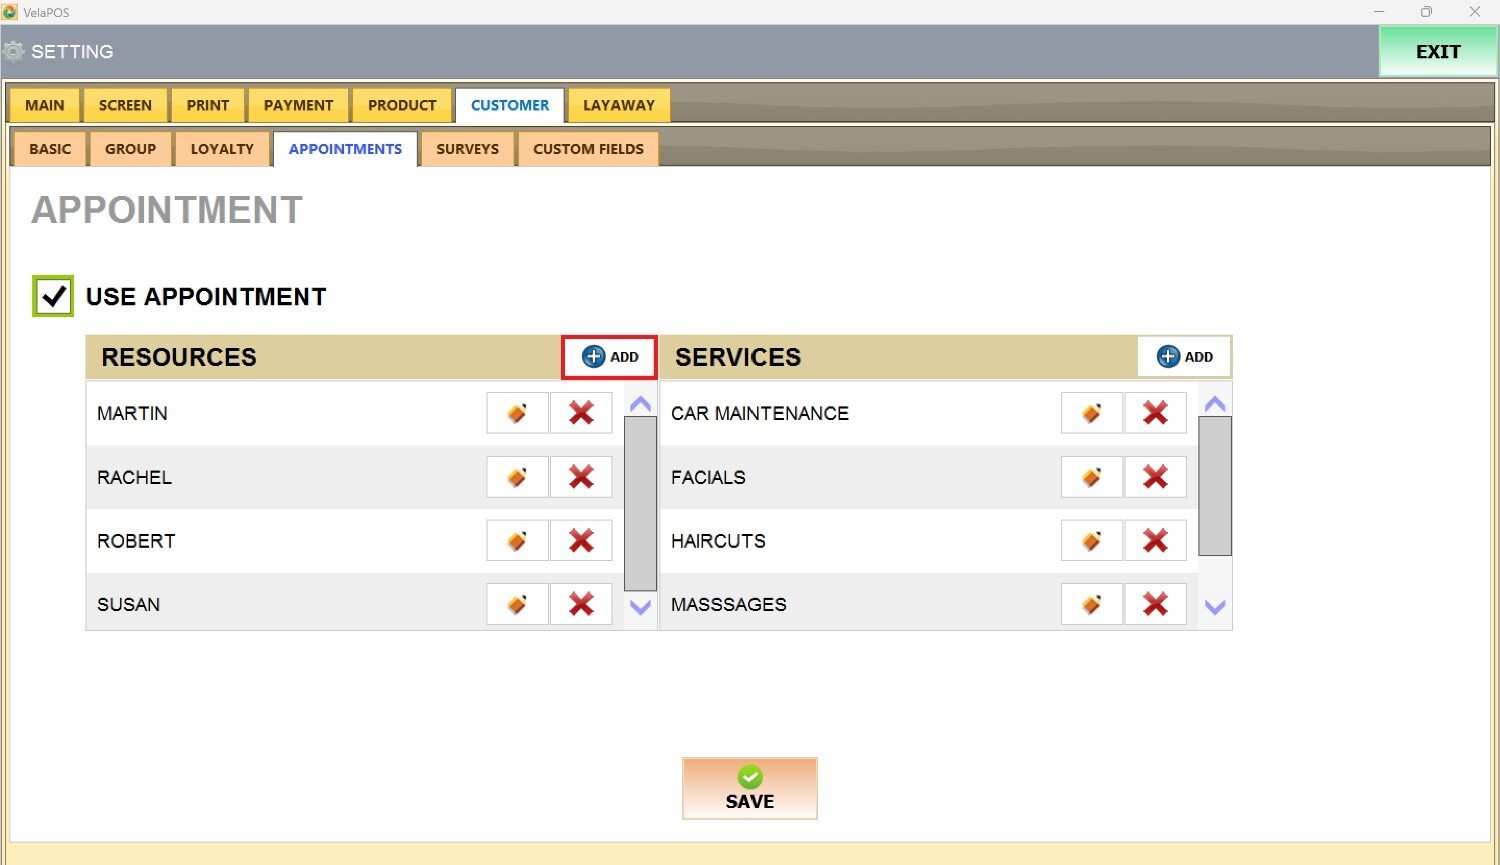
Enter the name of the resource.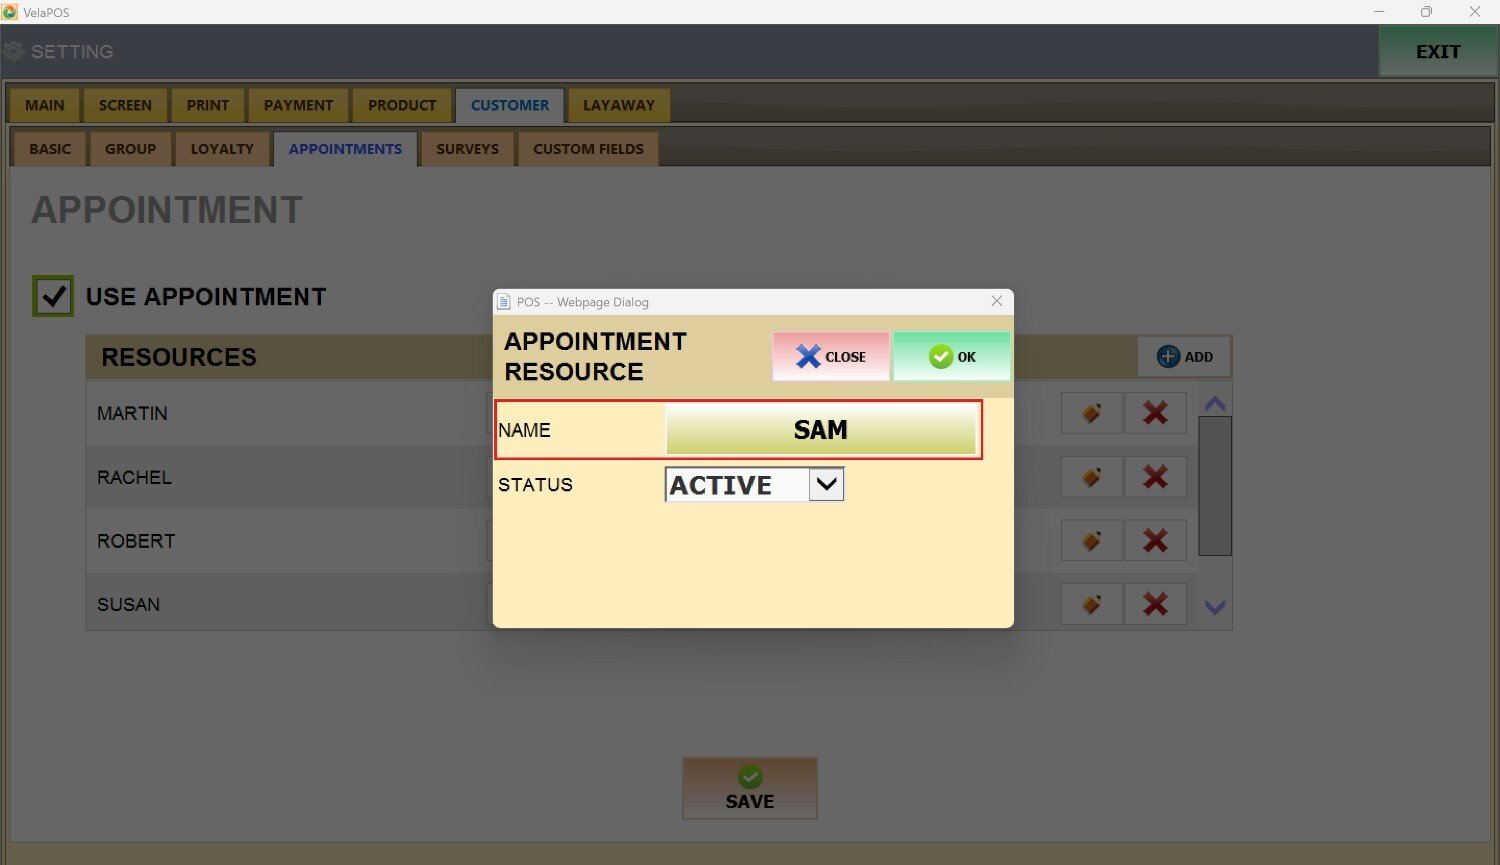
Next to STATUS, open the drop-down menu and select ACTIVE to make the resource available for appointments.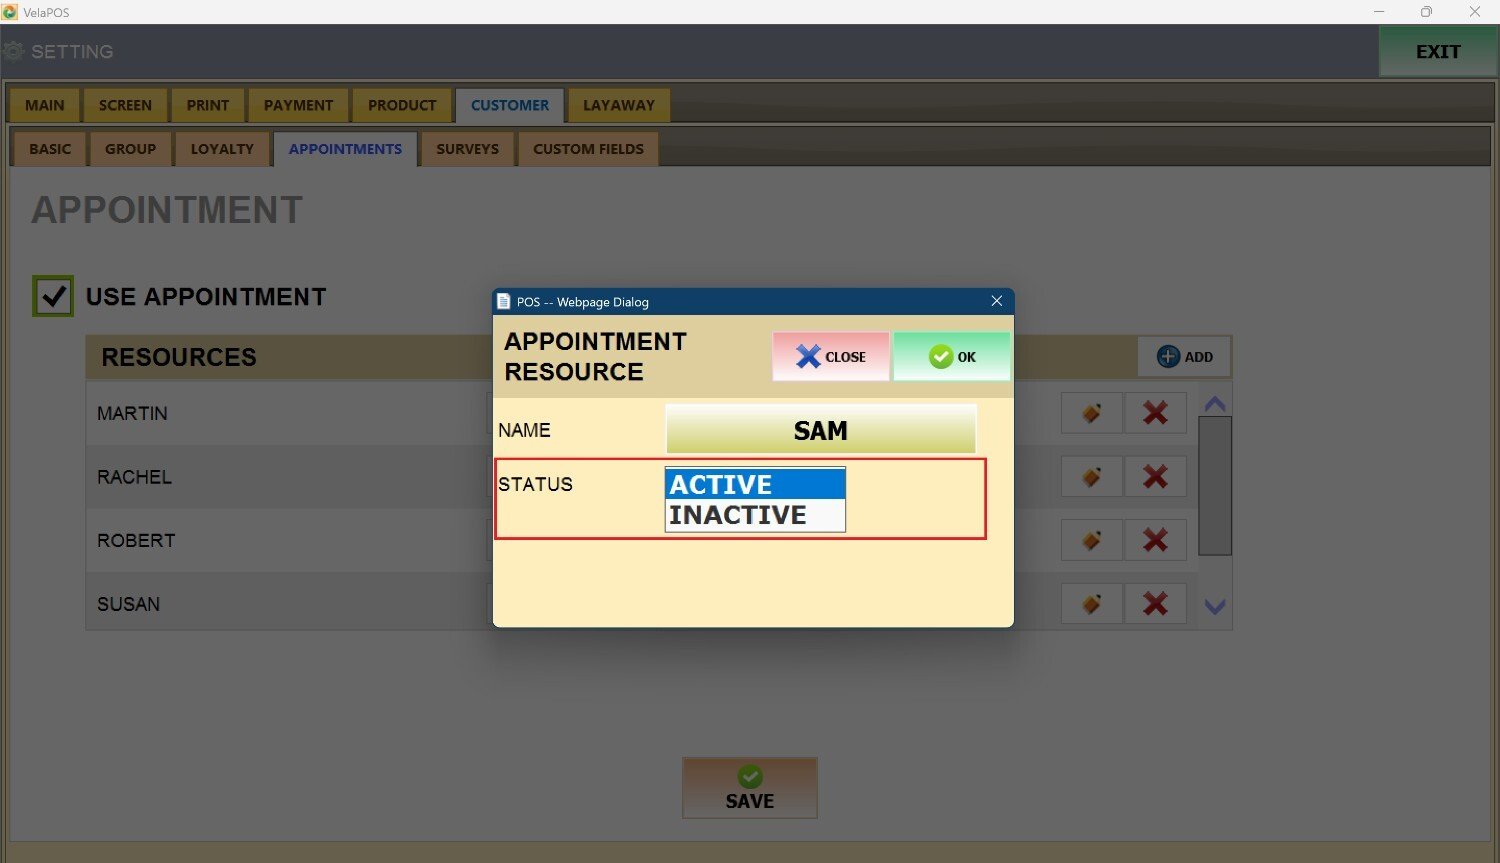
Press OK to save the new resource added.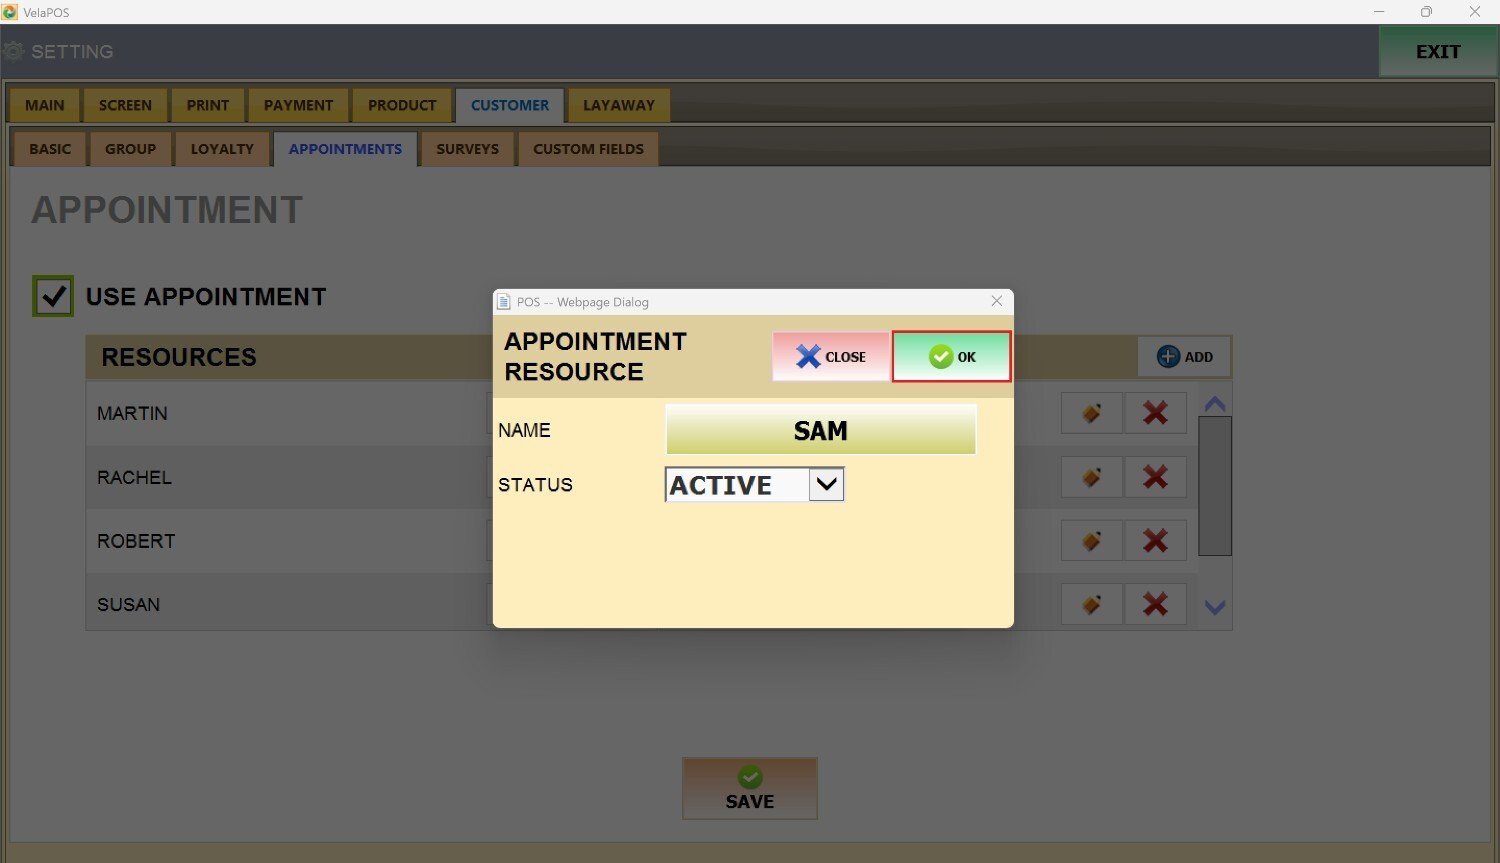
Beneath SERVICES, you'll find the list of the different types of appointments your business provides.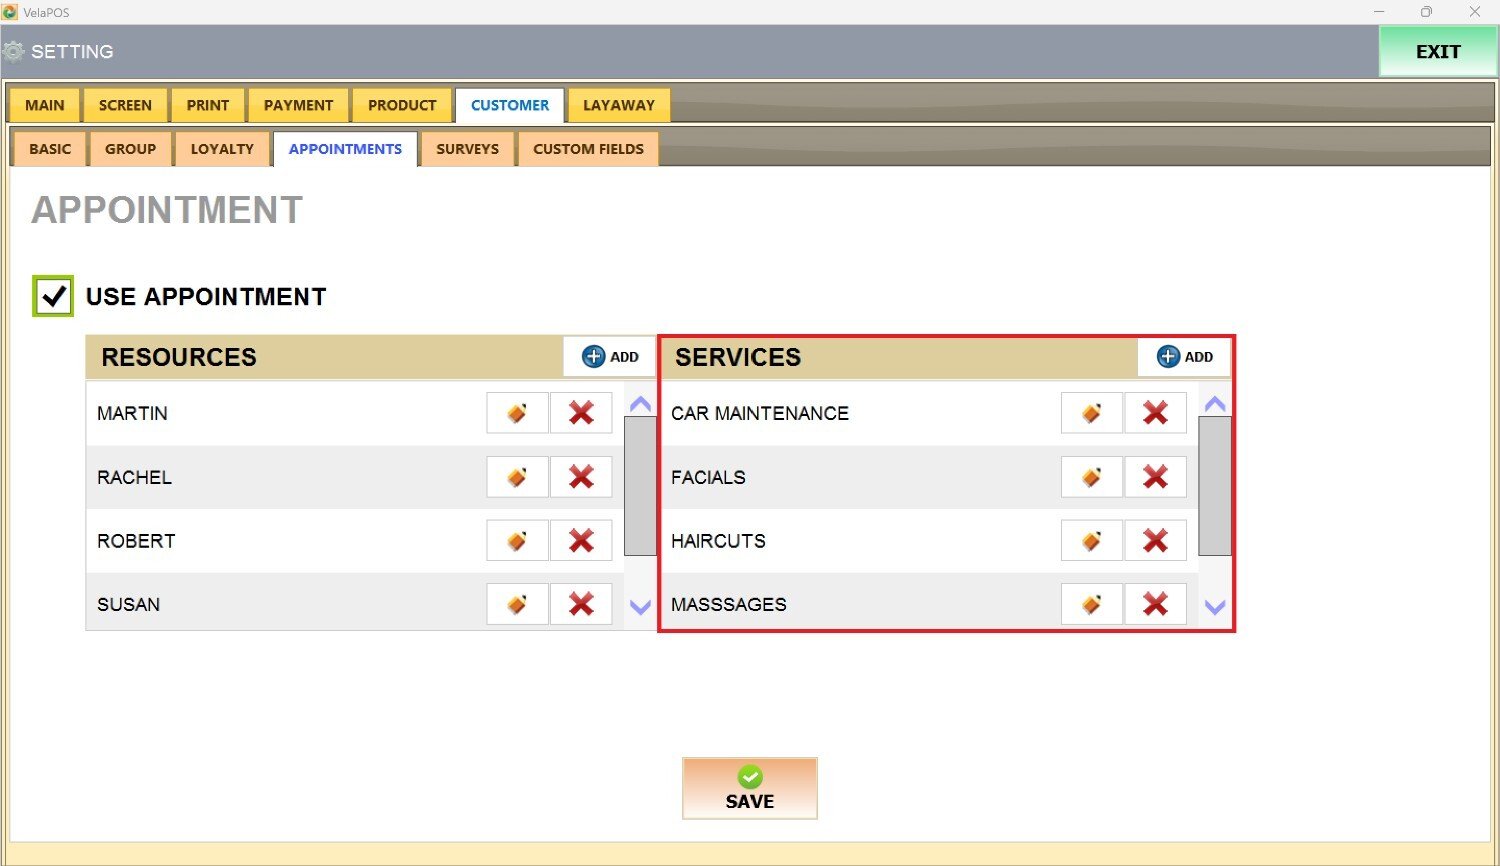
Press the ADD button next to SERVICES, and it'll open the Appointment Service screen.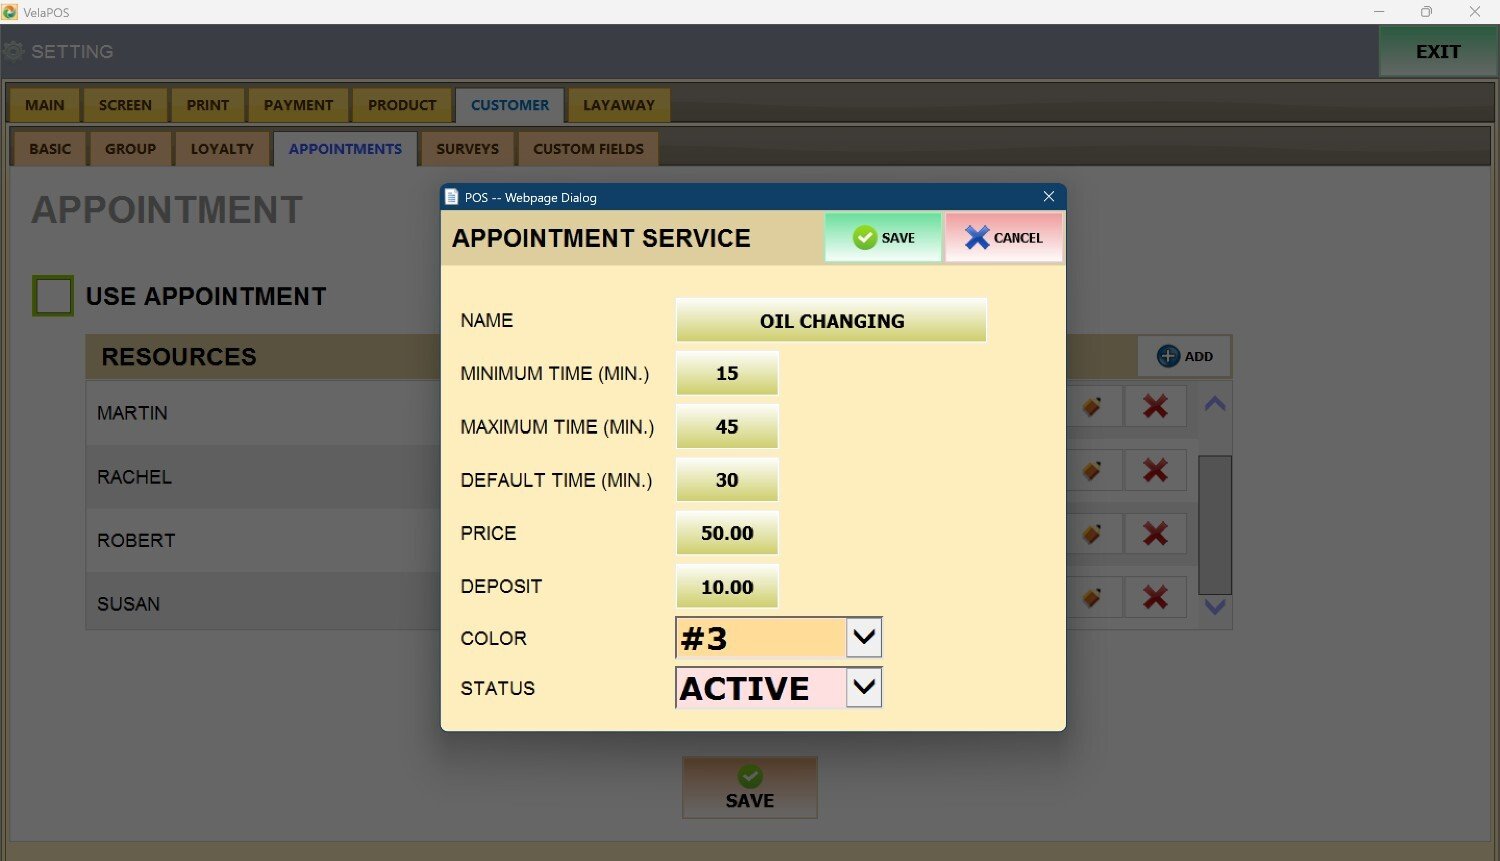
Enter the service details:
NAME: Title of the service.
MINIMUM TIME (MIN): Shortest allowed duration.
MAXIMUM TIME (MIN): Longest allowed duration.
DEFAULT TIME (MIN): Standard or typical duration.
PRICE: Customer cost.
DEPOSIT: Upfront payment required to confirm booking.
COLOR: From the drop-down menu, choose a color for the visual identifier in the schedule.
STATUS: Open the drop-down and choose ACTIVE so the service can be bookable.
Press SAVE and RESTART PROGRAM to store the new service added.