Standard Coupon
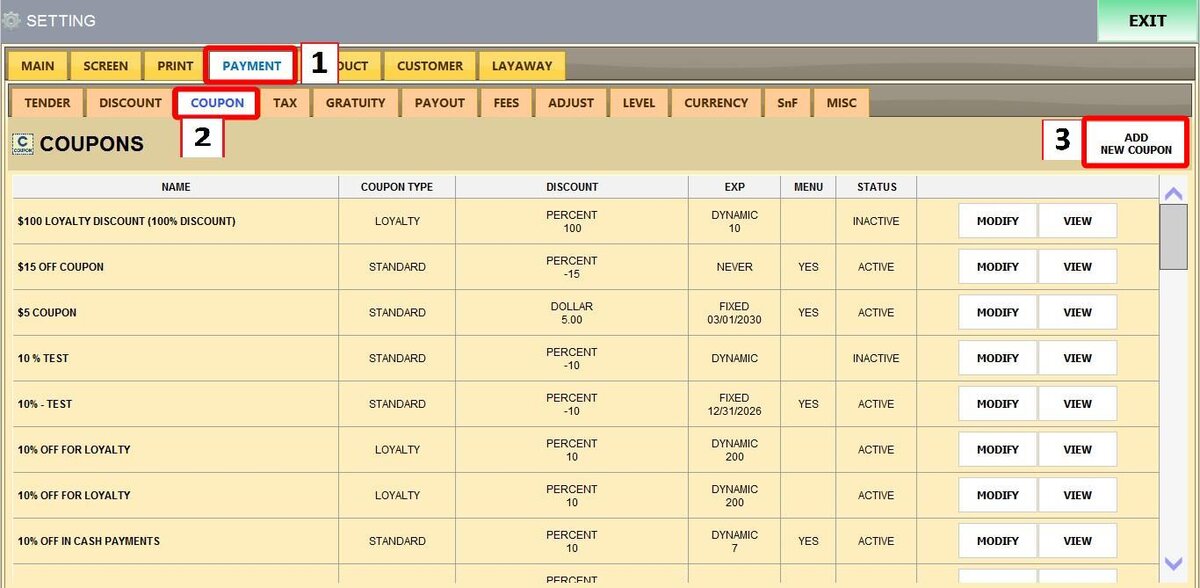
Main Screen > MENU > SETTINGS > PAYMENT > COUPON > Click ADD NEW COUPON
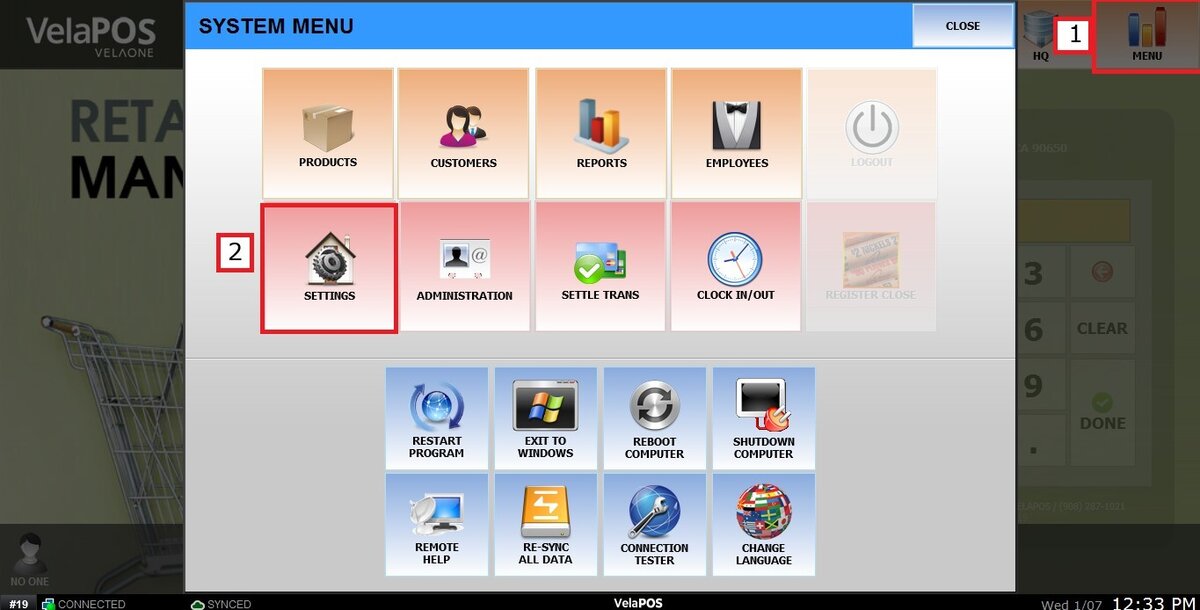
Go to SETTINGS, then MENU.
Go to PAYMENT then COUPON, and click ADD NEW COUPON.
To set up your STANDARD COUPON, enter the details for the fields below.
NAME: The name for the coupon (e.g., "Holiday 15% Off").
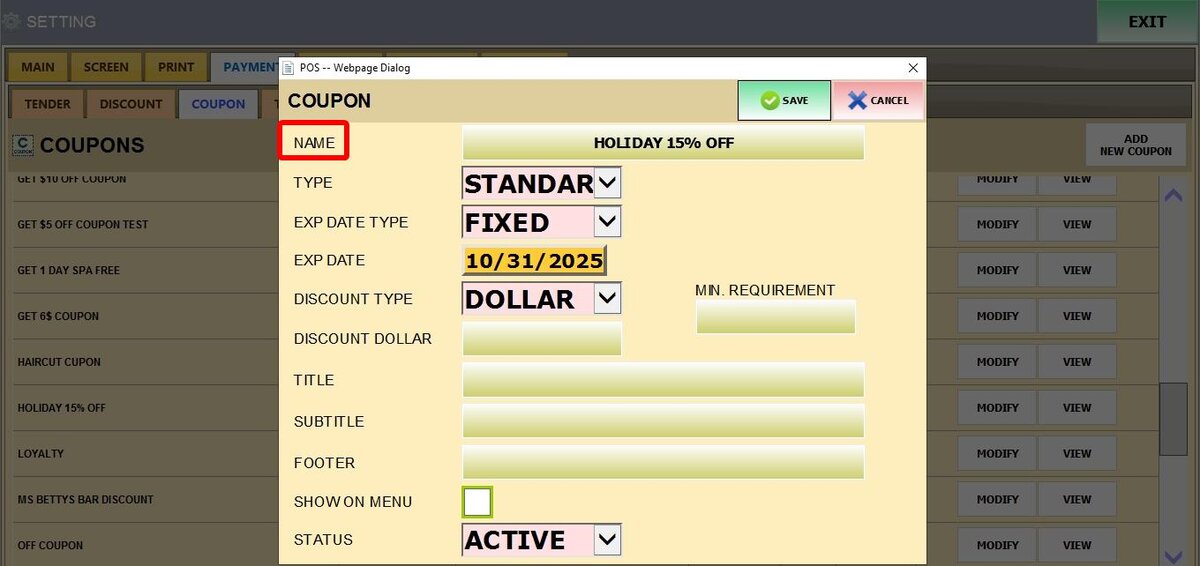
HINT: the Minimal Information you need to fill is NAME, DISCOUNT TYPE and DISCOUNT PERCENT or DOLLAR AMOUNT
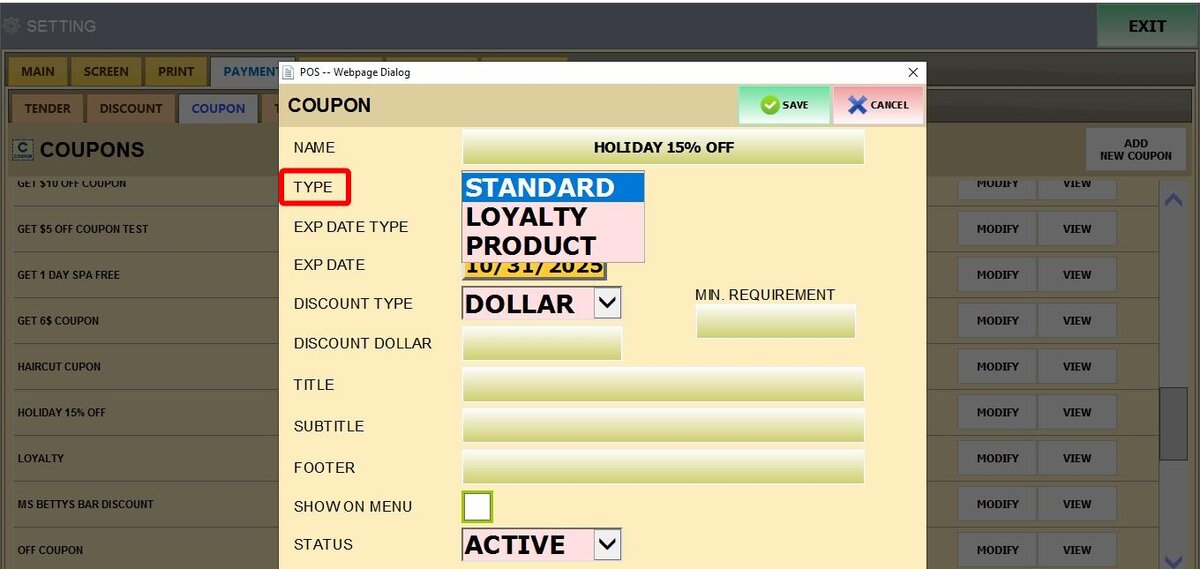
TYPE: Set this to STANDARD. (For other types, see Loyalty Coupon and Product Coupon).
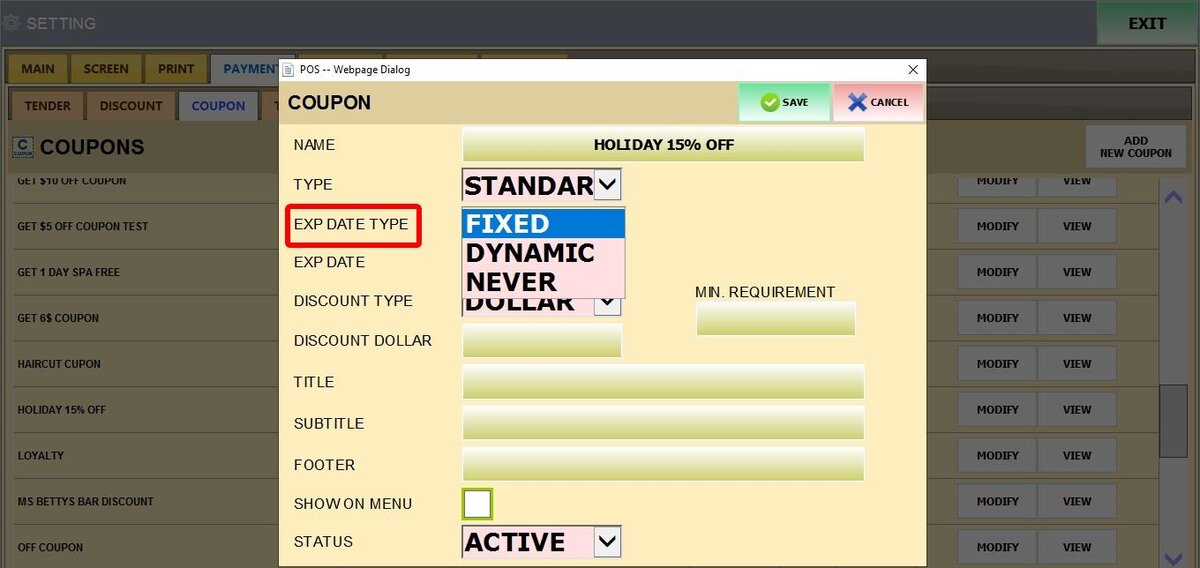
EXP DATE TYPE: Defines the coupon's expiration behavior, with the following options:
1. Fixed: Requires a specific date input in EXP DATE.
2. Dynamic: Allows you to input the number of days the coupon will last until it expires.
3. Never: The coupon will never expire.
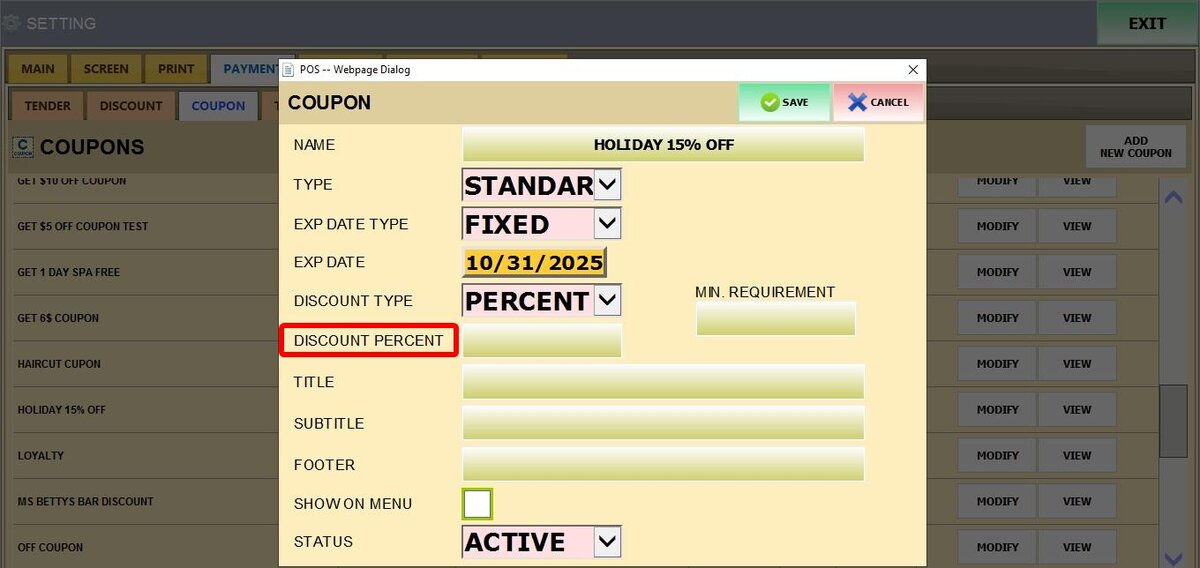
EXP DATE: Enter the date or value based on the EXP DATE TYPE selected.

DISCOUNT TYPE: Defines how the discount is calculated, with the following options:
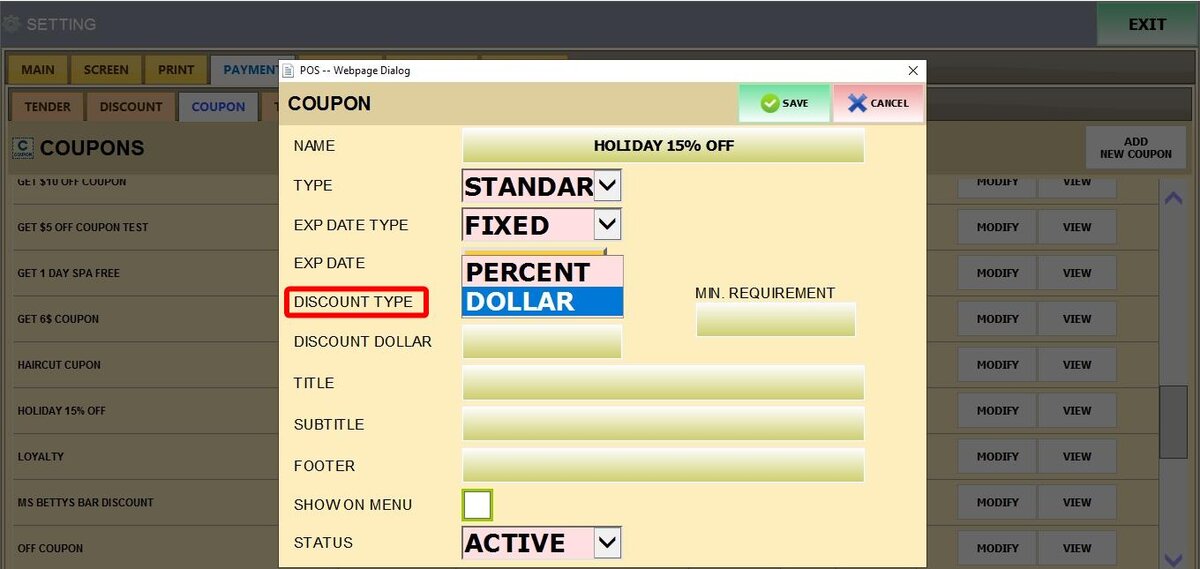
1. Percent: Applies a percentage-based discount to the item or transaction.
2. Dollar: Applies a fixed amount discount to the item or transaction.
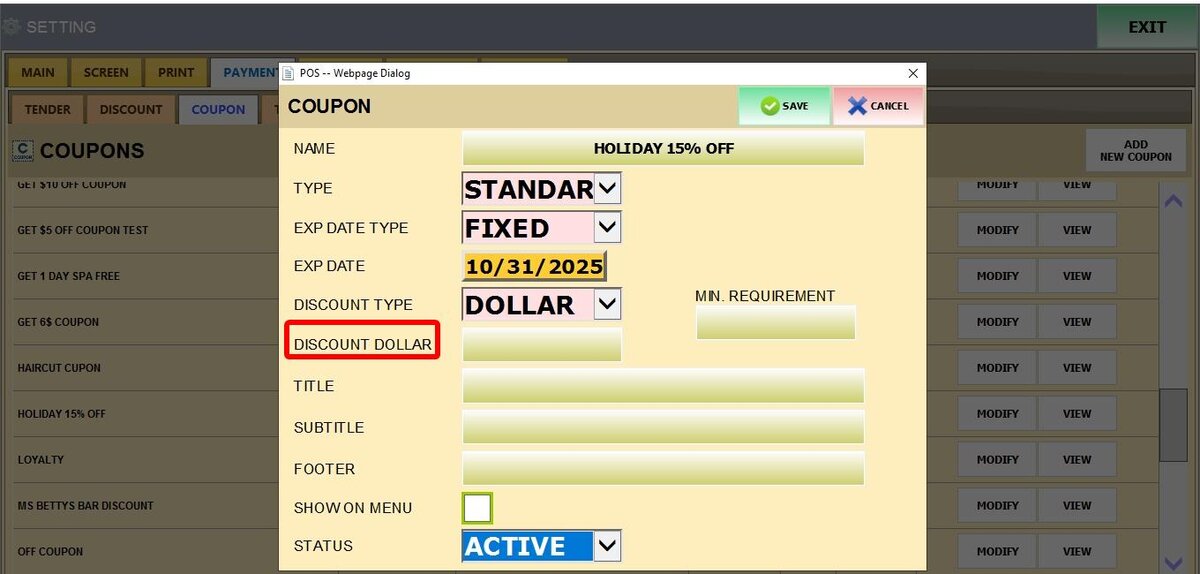
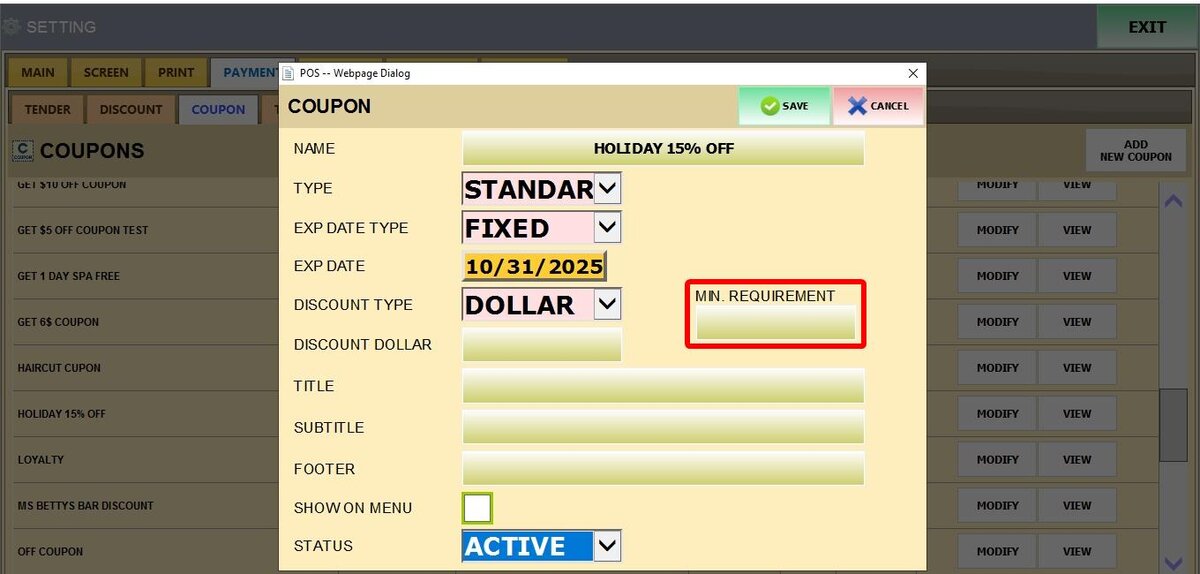
Depending on the Discount Type selected, you will need to enter the corresponding value.
MIN. REQUIREMENT: Enter the minimum purchase total (in currency amount) required for the coupon to be valid.
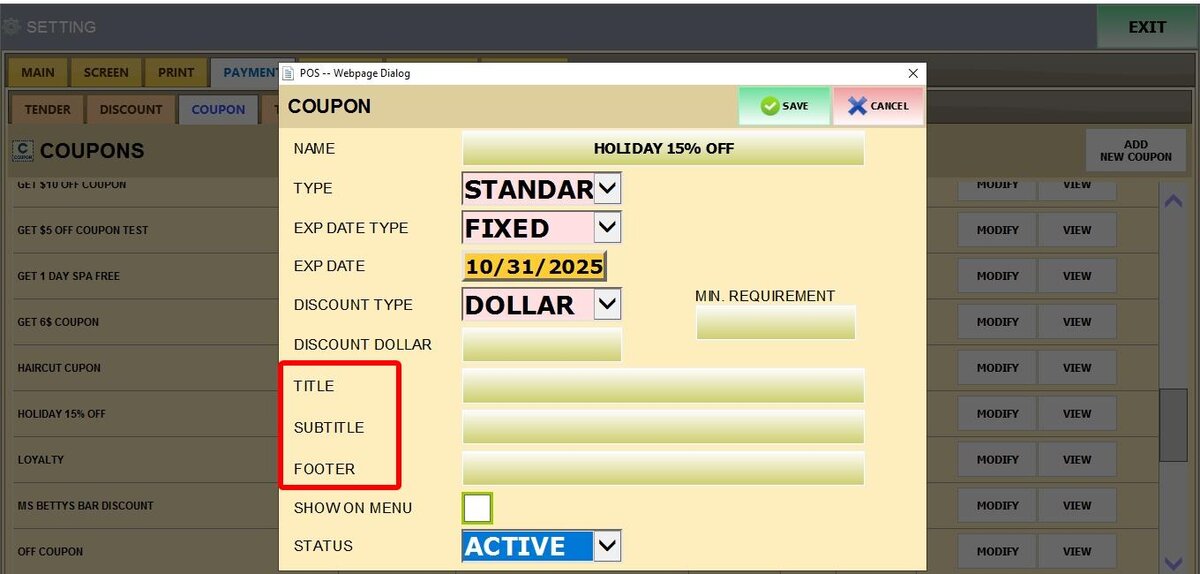
The next section covers the text that will appear on the digital and physical coupon
TITLE: The main heading that will appear on the final printed or digital coupon.
SUBTITLE: Secondary text that appears under the Title.
FOOTER: Text that appears at the bottom of the final printed or digital coupon.
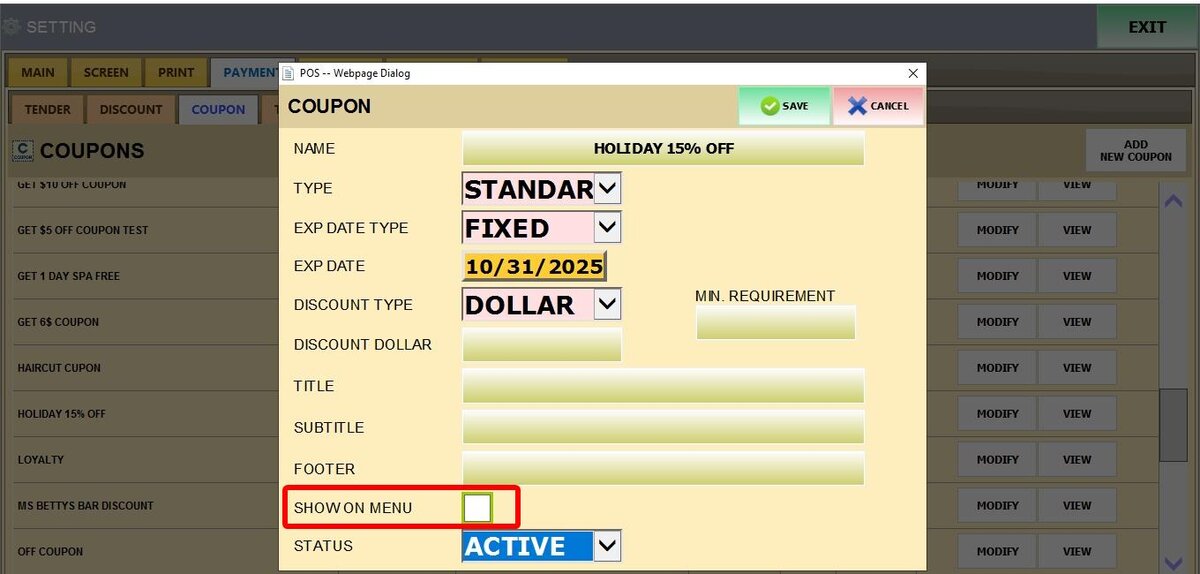
SHOW ON MENU: Check this box so the coupon appears as a selectable discount option on the Sales Screen.
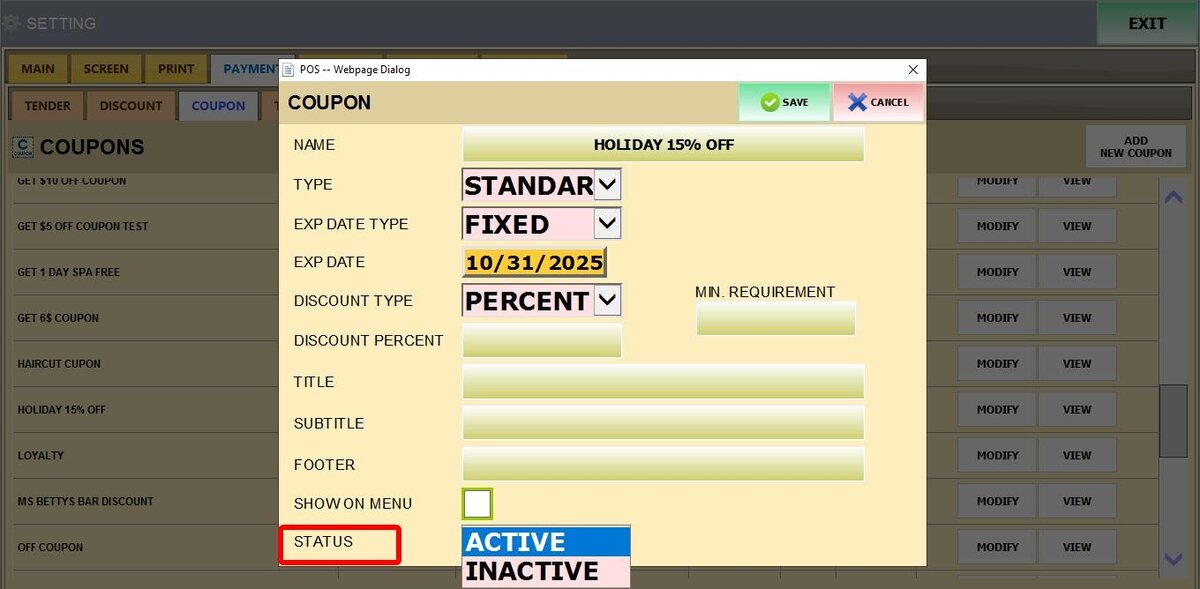
STATUS: Defines the coupon's usability:
1. Active: Makes the coupon usable.
2. Inactive: Disables the coupon.
Click SAVE, and the new STANDARD COUPON is now usable and will appear in the coupon list, where you can view it and modify it.
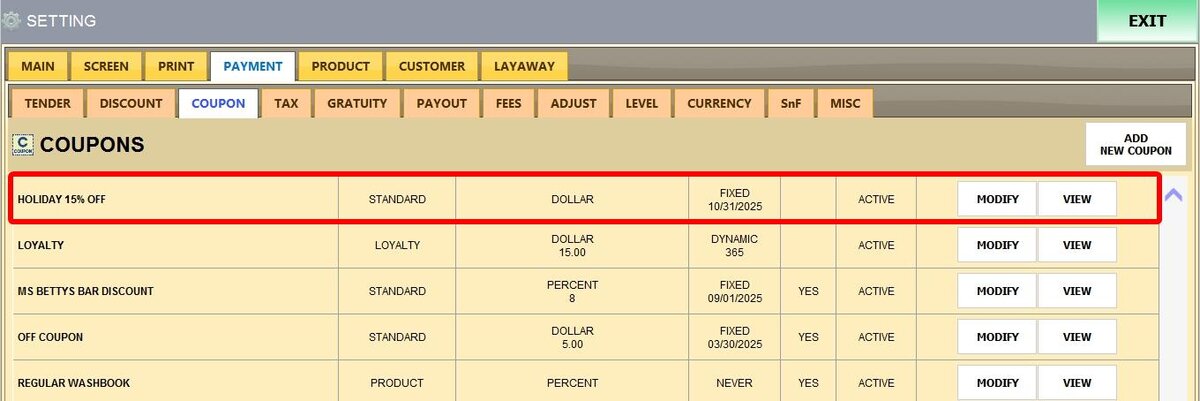
Click VIEW to see it and print it.

Refer to the Apply Standard Coupon guide for instructions on how to apply the coupon.