Additions Gear Icon
These tools help you track inventory additions by exporting purchase orders as a CSV file and providing a detailed breakdown of apparel additions within a selected time range.
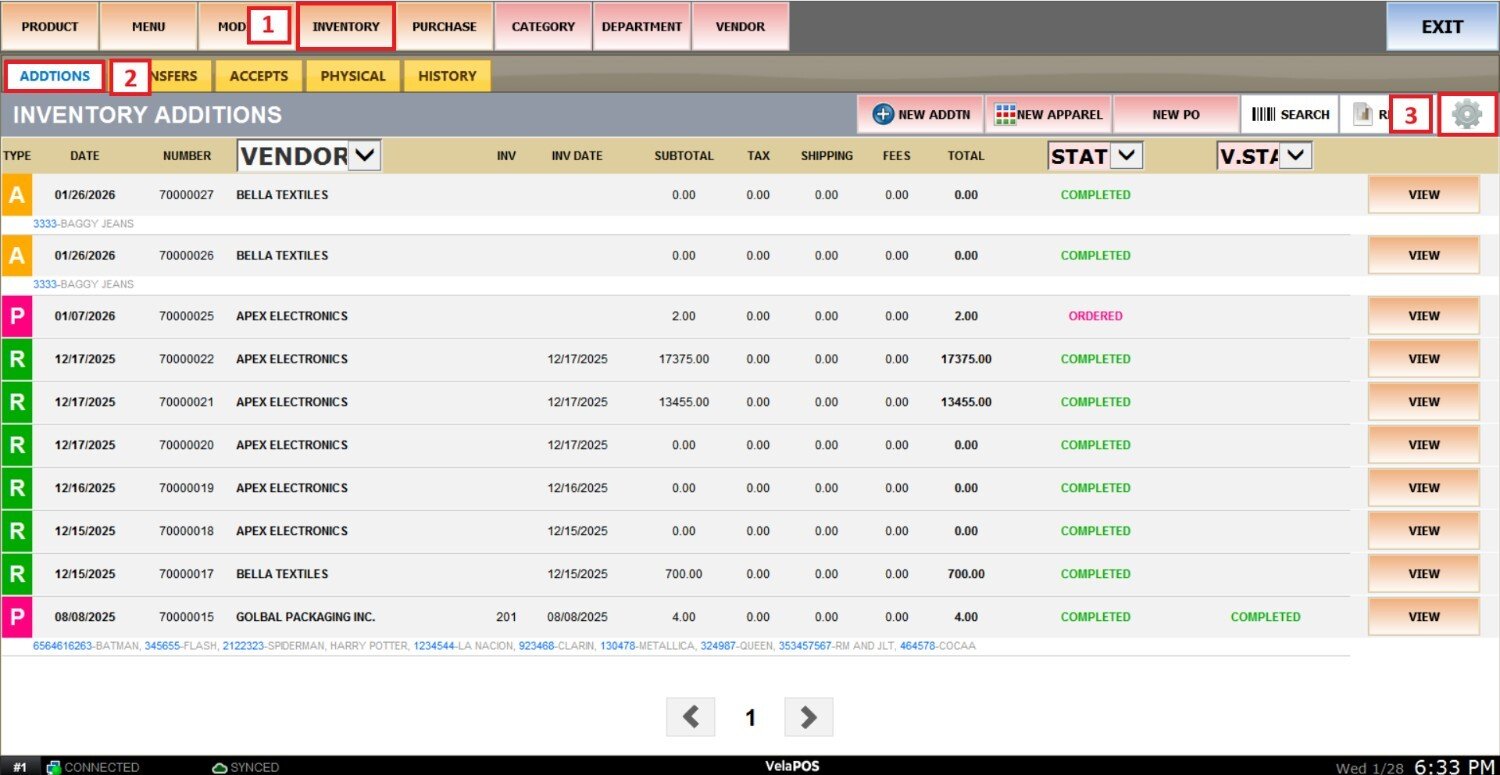
Main screen > MENU > PRODUCT > INVENTORY > ADDITIONS > GEAR ICON
Go to MENU and select PRODUCTS.

Go to INVENTORY, select ADDITIONS, and press the GEAR ICON.
EXPORT TO EXCEL
With this option, you can export a summary of all inventory additions made within a selected time range as a CSV file.
After pressing the gear icon, select EXPORT TO EXCEL.

FILTERS
You can customize the information you want to export by using the filters before exporting.

1. VENDOR: You can choose whether to export additions made by a specific vendor by opening the drop-down menu and selecting the desired one, or leave the All Vendors option selected to see a summary of all recorded vendors at the same time.
2. DATA With this filter, you can choose whether to export the information as a general additions summary or as an additions-by-product report.
3. TYPE: Choose the type of additions you want to export. Regular Additions, Apparel Additions, or Purchase Orders. You can also select All Types to export a complete summary of all additions.
Note: If you select the Apparel option, an additional filter will appear allowing you to filter the summary by location.
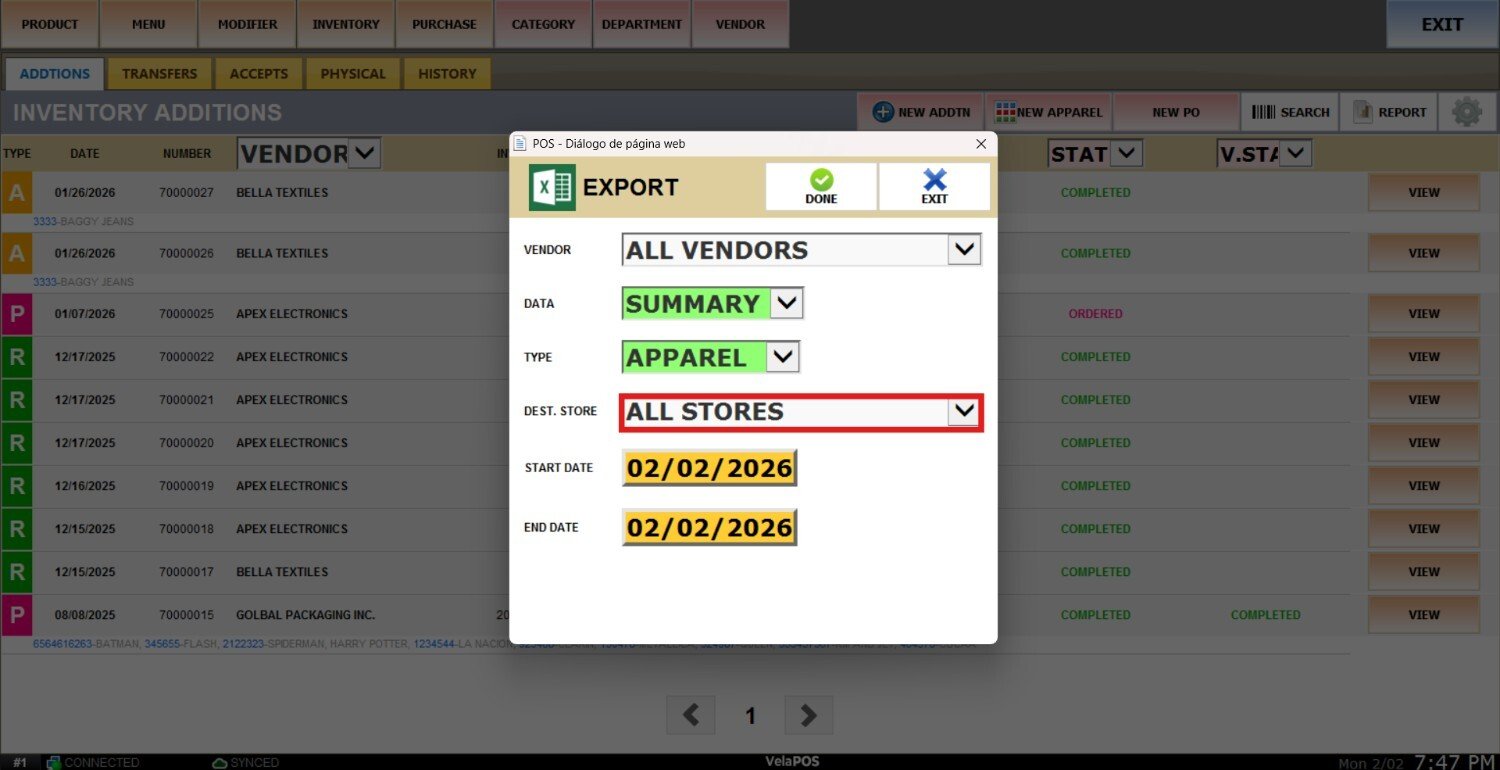
4. TIME RANGE: Define the time range for the summary by selecting the START DATE and END DATE fields.
Once completed, click on SAVE to export the file.

Result
This is an example of how the CSV file looks when the default filters are selected.

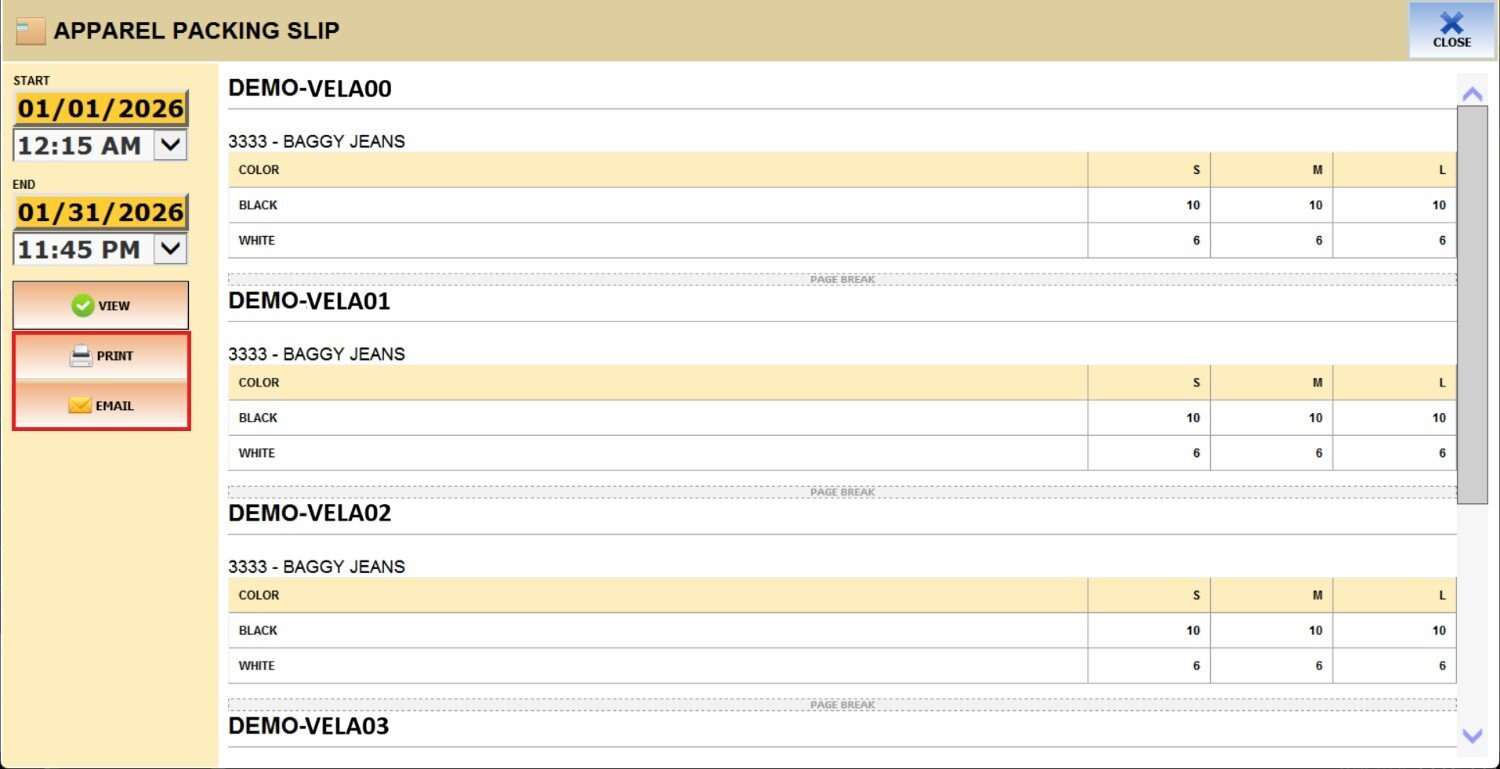
APPAREL PACKING SLIP
This option provides a detailed breakdown of apparel additions, organized by different locations.
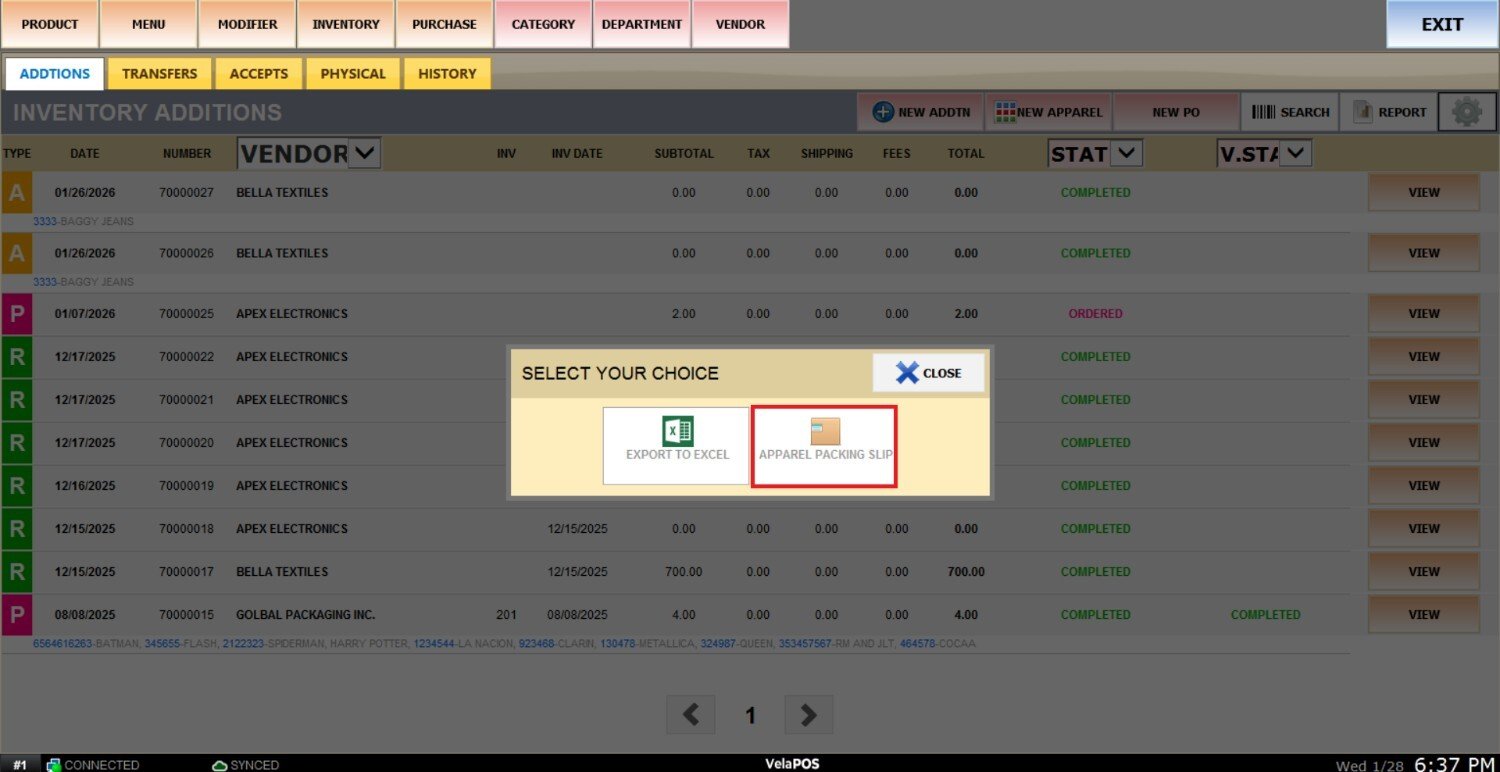
After pressing the gear icon, select APPAREL PACKING SLIP.
To view the report, begin by selecting its date range.
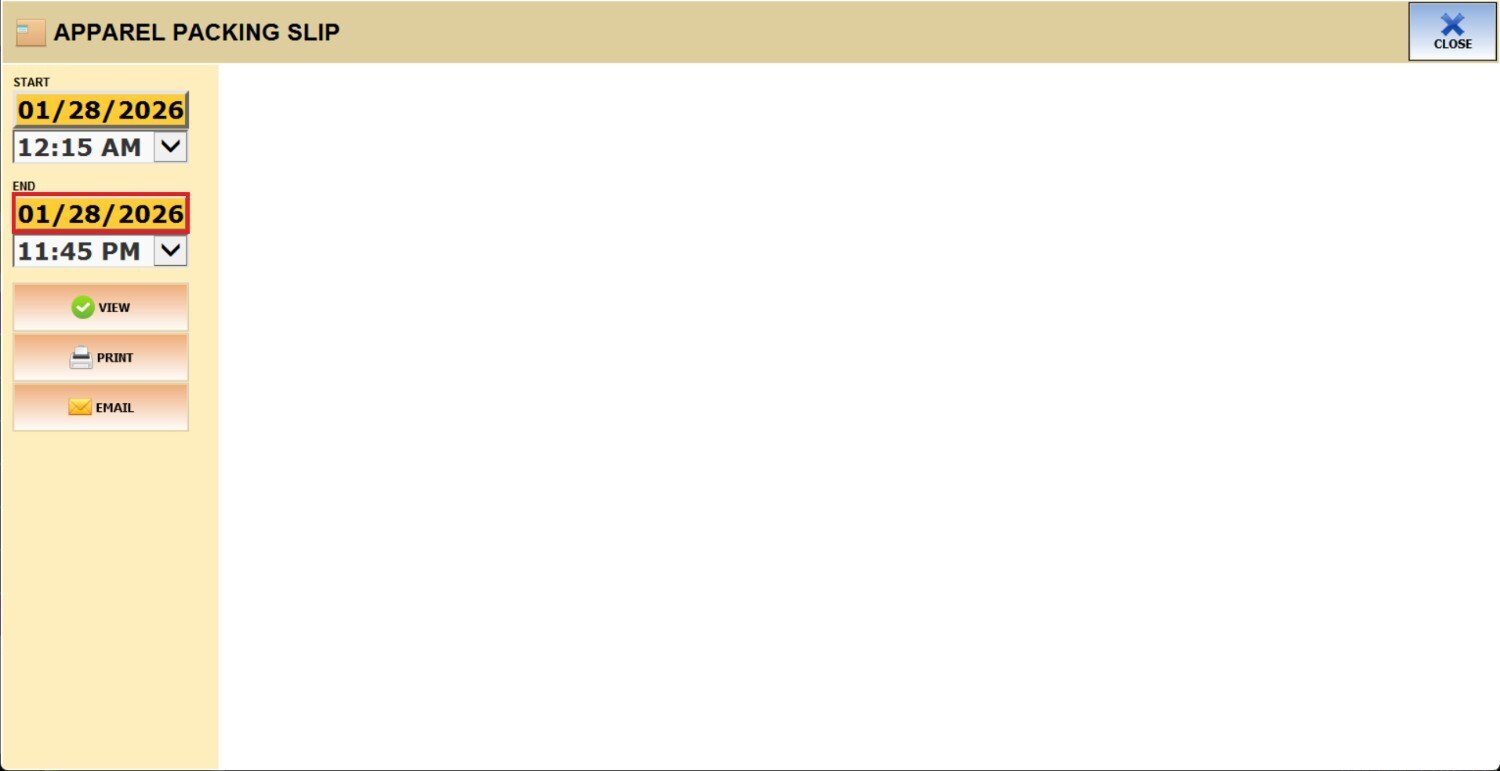
Press on the START field and select the date on the displayed calendar.
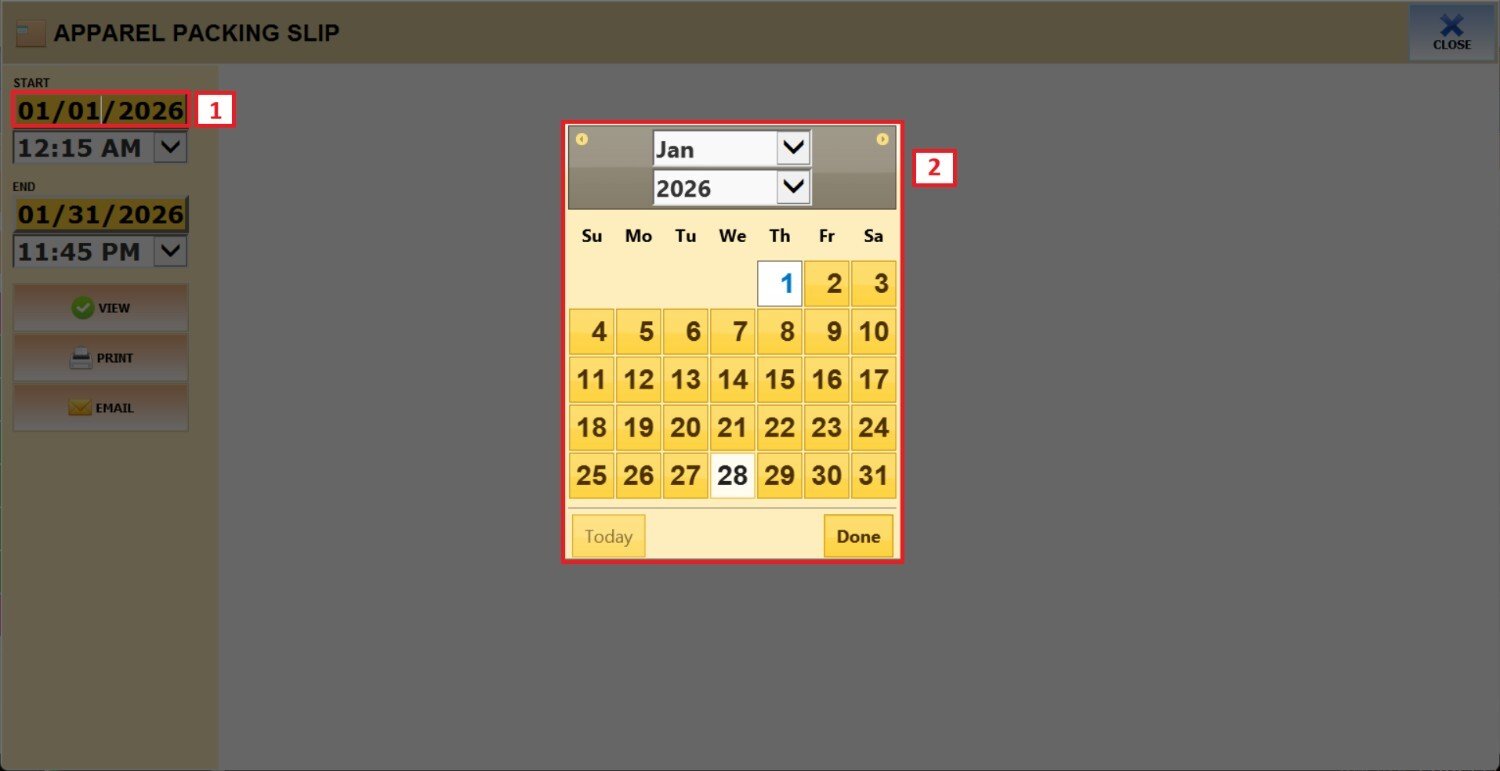
Repeat the same process for the END field to set the final date of your report.
You can also filter the data within a specific hour range.
Open the drop-down menu below the start field.
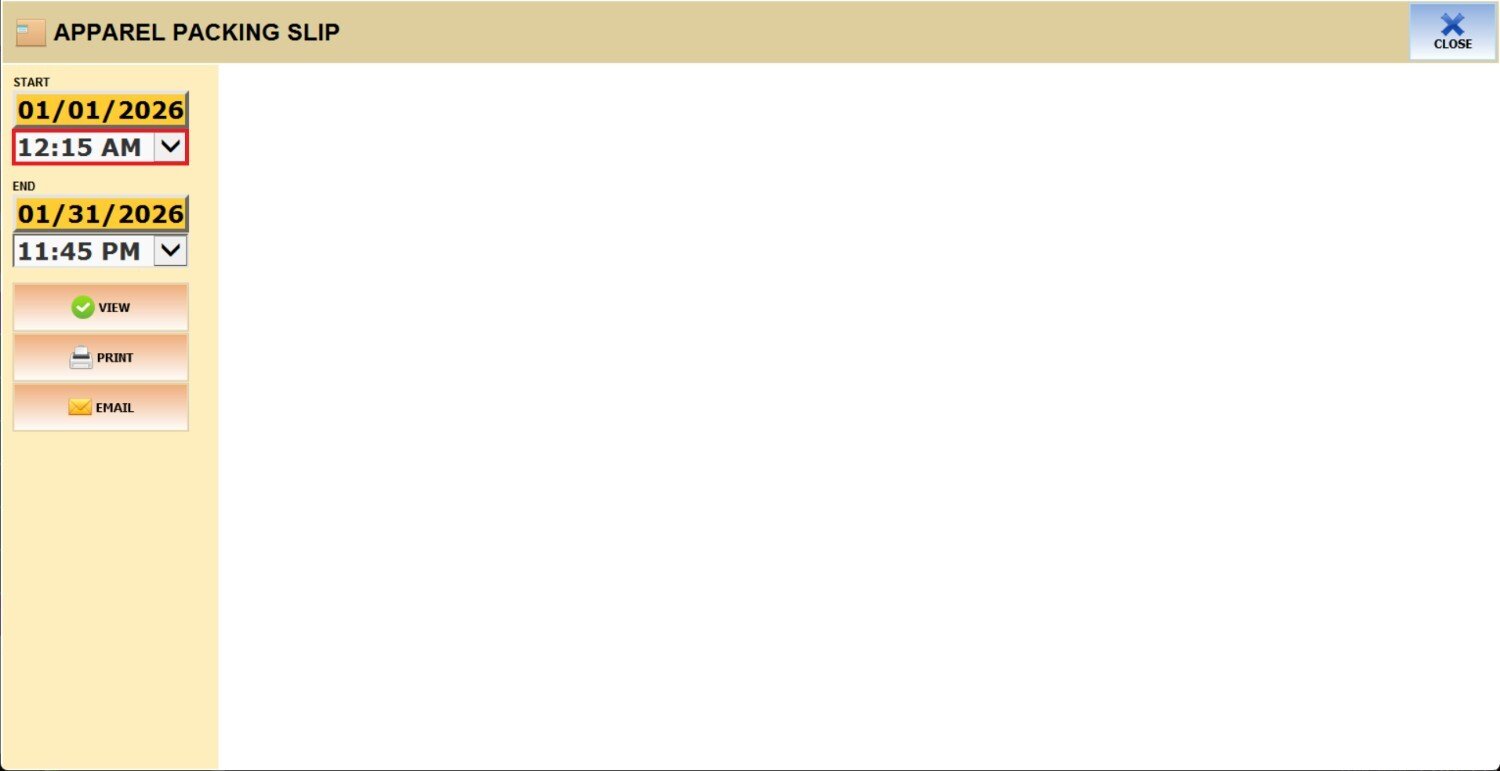
Repeat the same process for the drop-down menu on the end field to set the final time of your report.

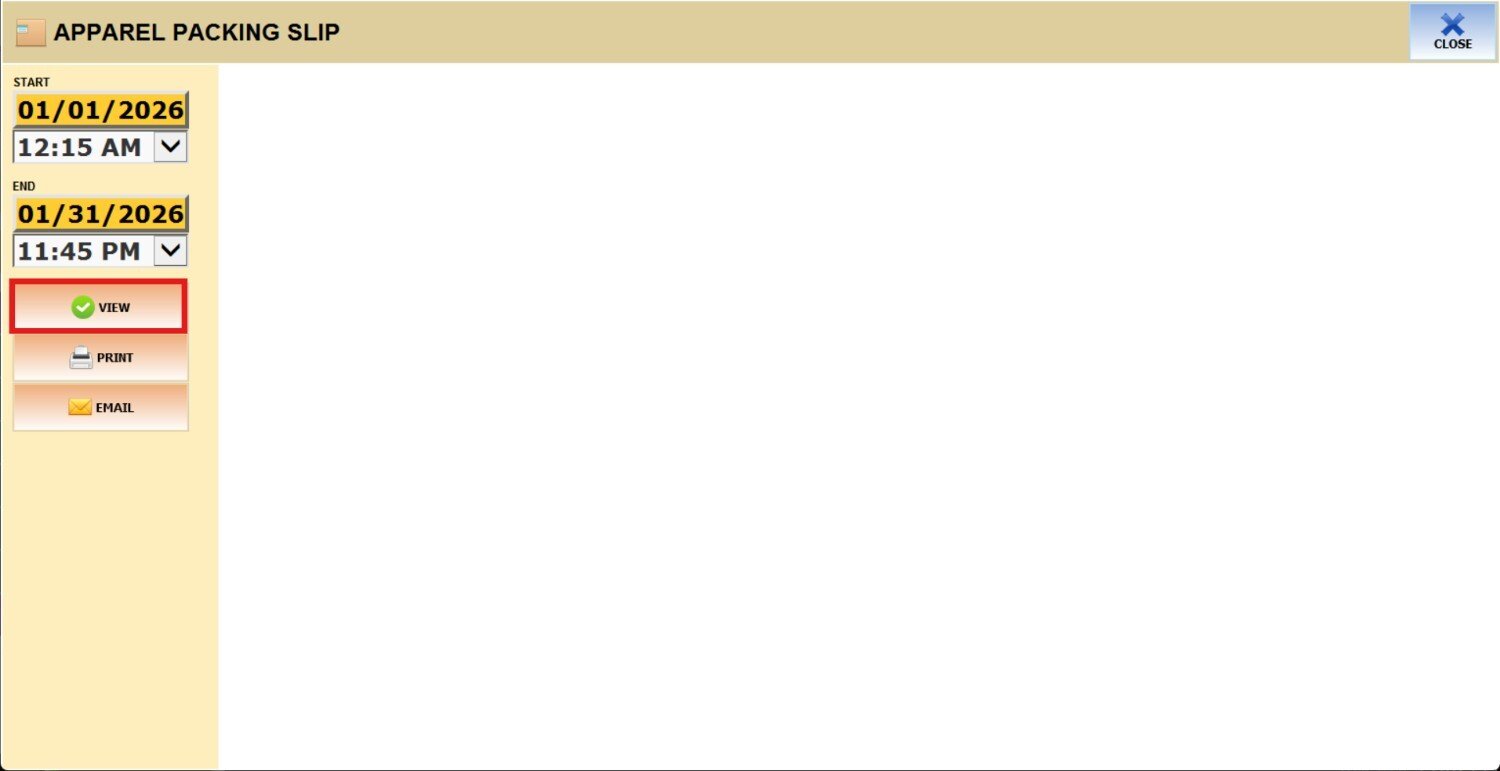
After setting the date range and time frame, press VIEW to display the report based on your selections.
Result
It displays all apparel additions grouped by location and separated by item and size.

It also includes the option to PRINT it and to EMAIL it.